My boyfriend has recently developed an addiction enthusiasm for wine, and I collected the empty bottles out of the foresight that I’d need to add some DIY vases to my vase-ridden apartment. Though I can never have too many vases, my boyfriend seems to think I’ve surpassed that limit a long time ago, so this was my attempt at compromise. As long as he’s emptying wine bottles (don’t worry, I help him out), I might was well decorate and use them as vases, right? :P This time around, my objective was fall decorating.
This is a super simple DIY and you only need a few things. The materials include wine bottles, painters tape, rubber bands (optional), and my holy grail DIY weapon:
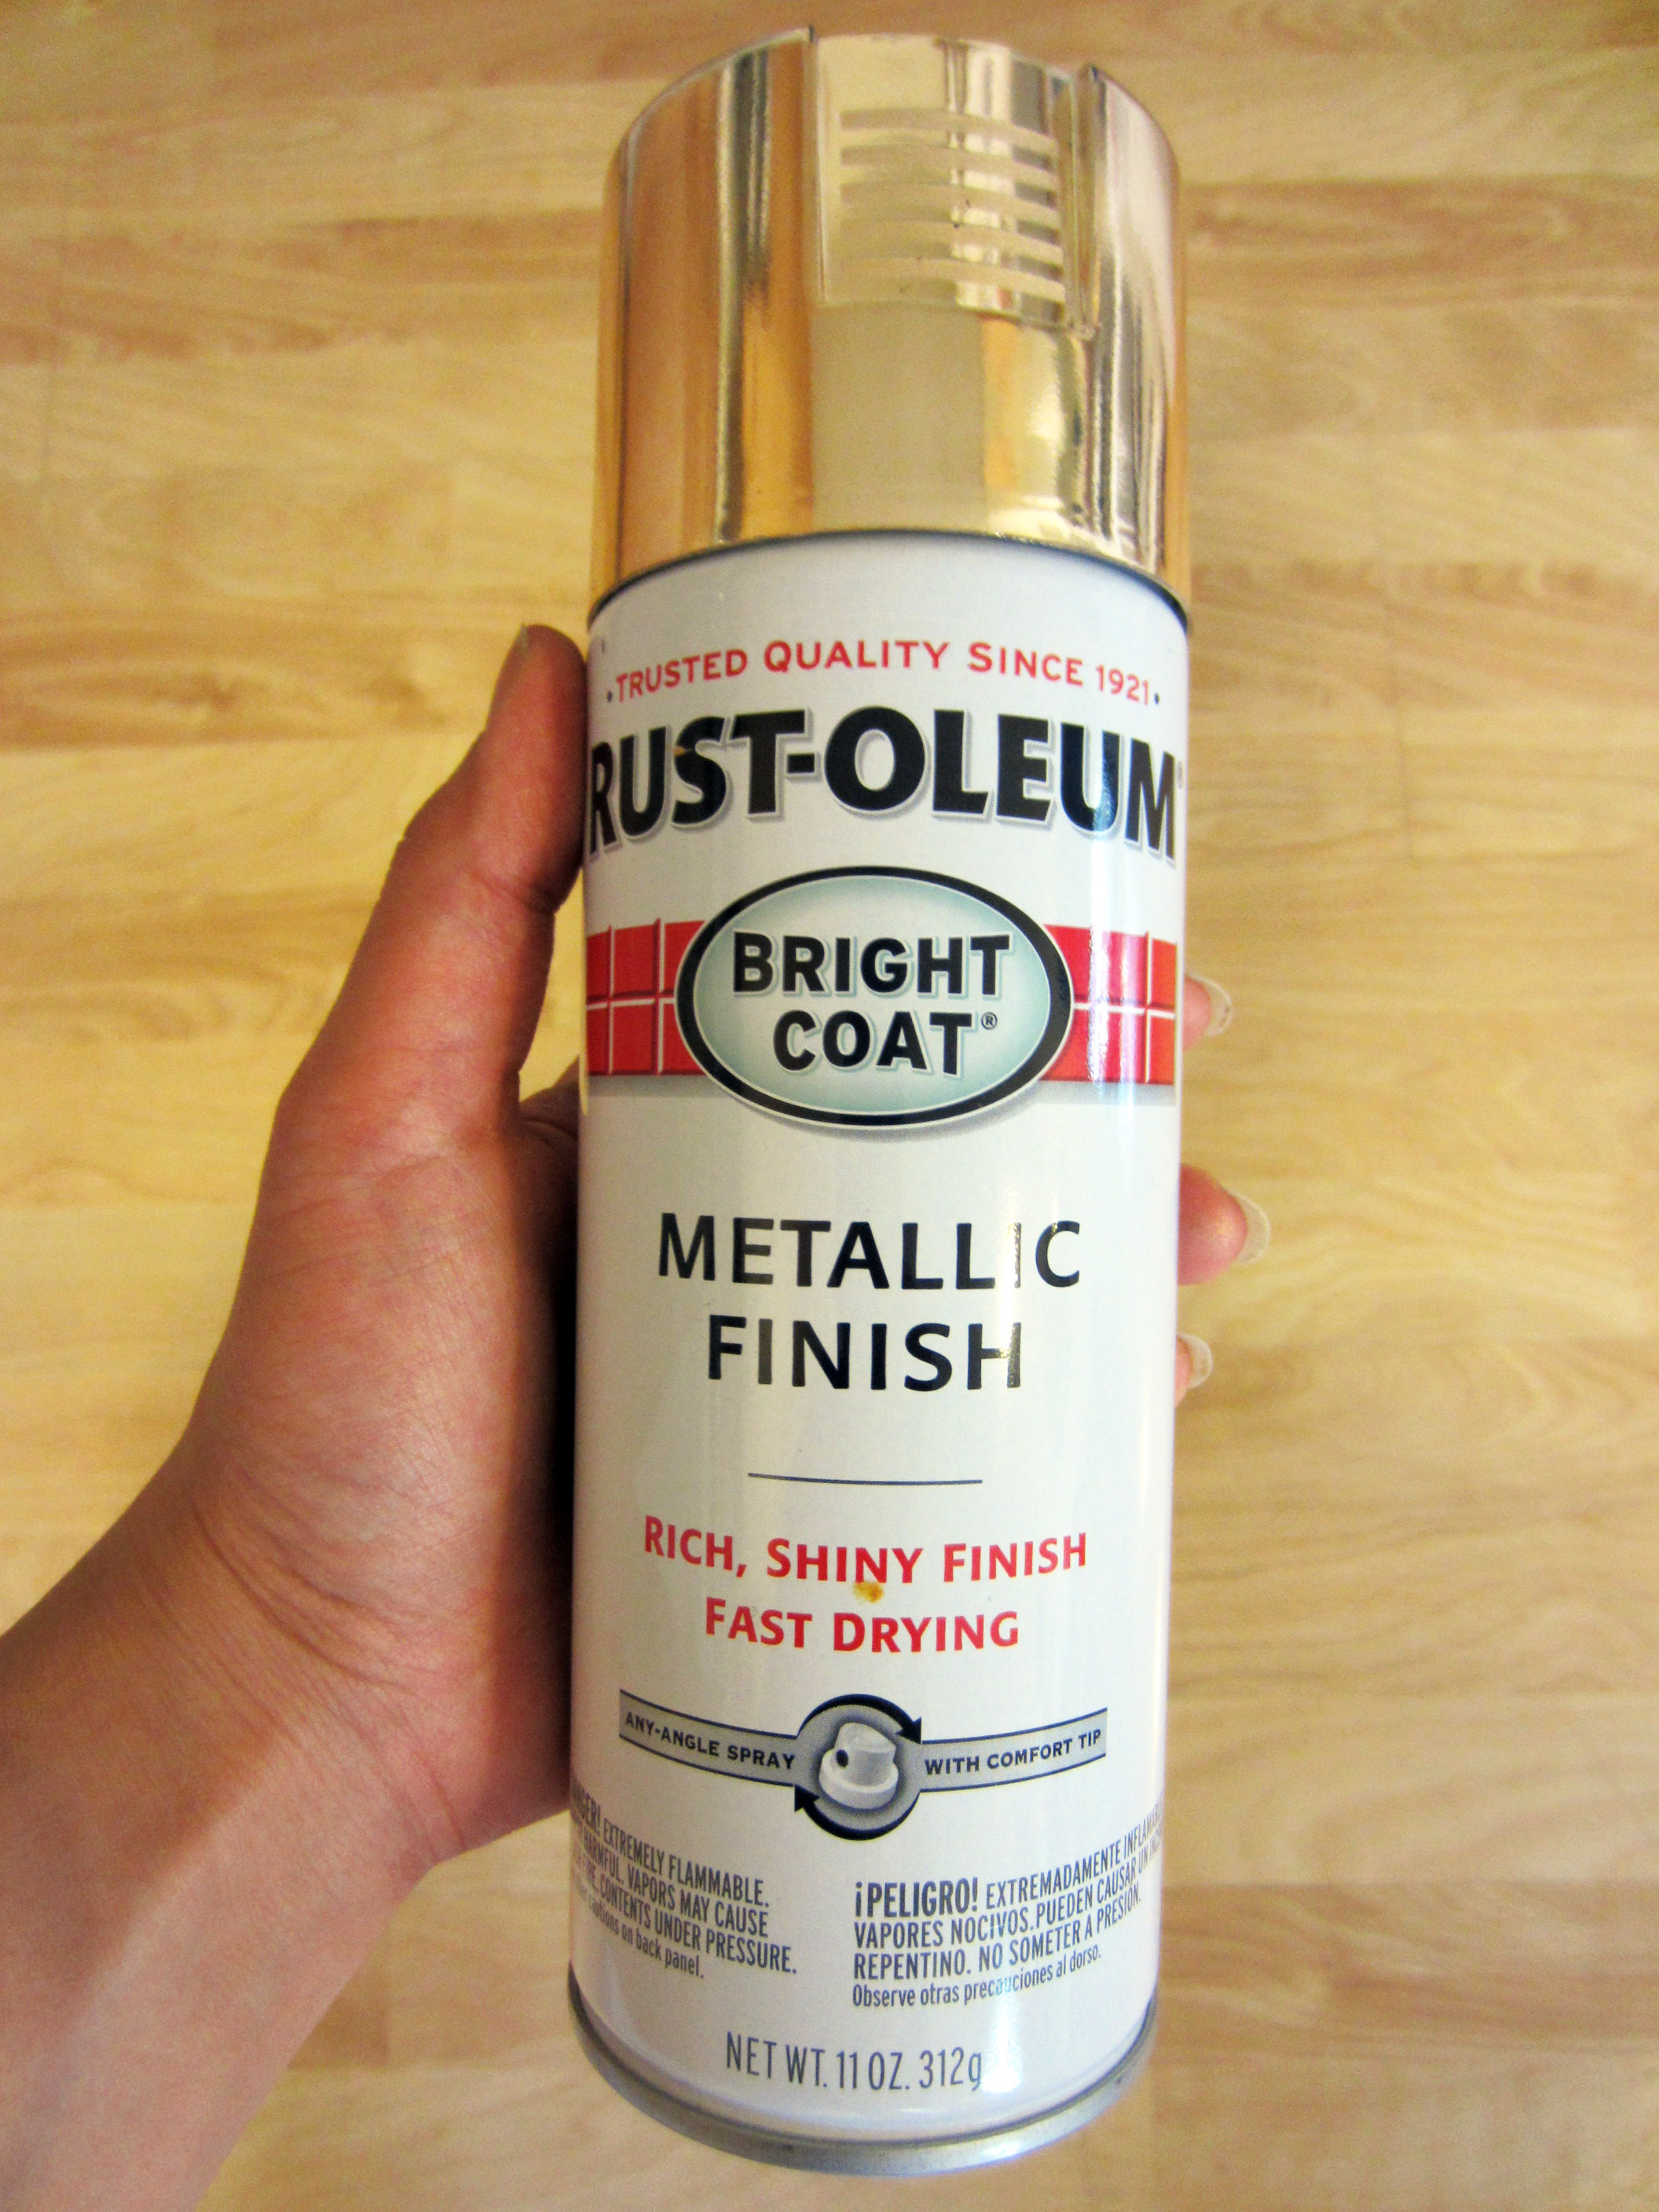
THIS. Pinterest was not lying about this one. I got mine here (affiliate link). If you’re as crazy about gold as I am, Rust-oleum Metallic Spray Paint in Gold will make you want to paint everything you own in its awesome, goldy goodness.
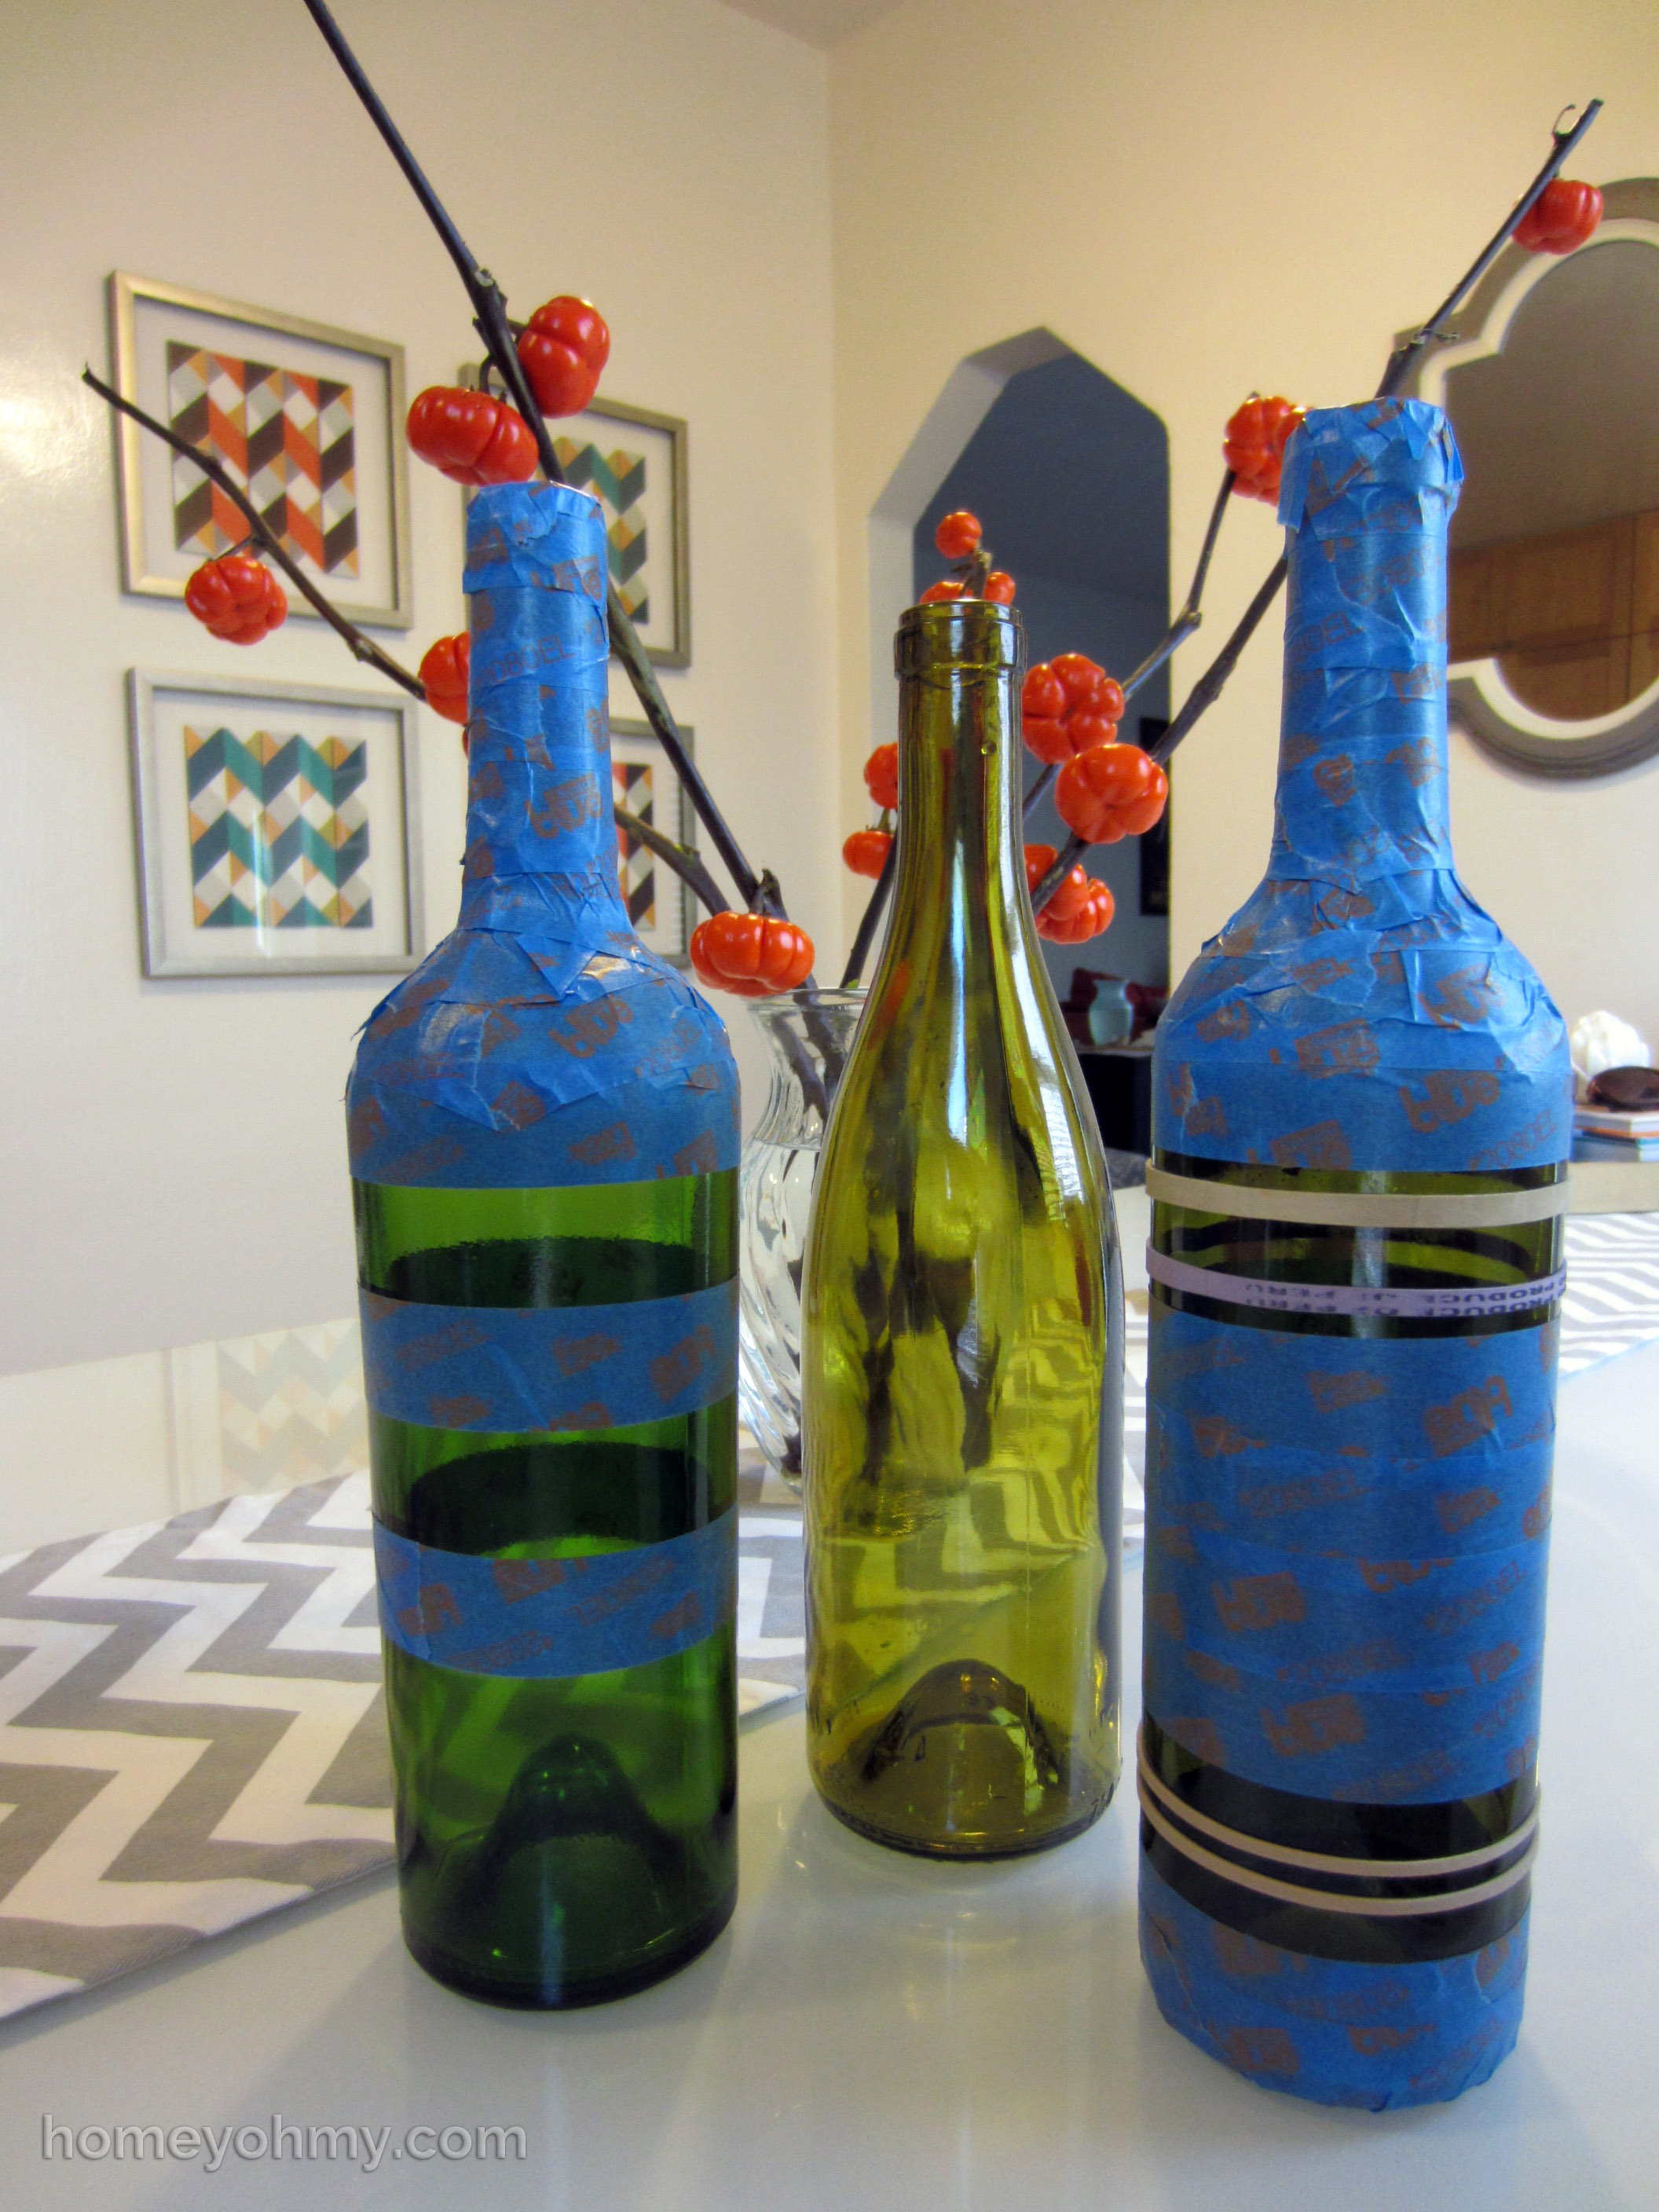
I wanted to have at least one bottle painted entirely gold in order to see the color in full force, but for the other two bottles I taped them up in two different stripe patterns. For one of them I used only painters tape to create thick stripes, but on the other I used four rubber bands to create thinner spacing between smaller stripes.
The next step is to spray paint the bottles, but let’s refresh some basics since I feel like I should have done this before I started (aka I messed up).
SPRAY PAINTING TIPS:
- Really make sure there are no bubbles in the tape edges near the portions of the bottle that you are painting. Use a credit card to scrape over the tape edges so that the seal is tight and no spray paint can leak through
- SHAKE THE CAN A LOT before spraying. Do not underestimate this step. I used to ignore the instructions on the back of spray paint cans that say to shake for 2 minutes thinking it doesn’t make a difference, but it does in terms of how evenly the color comes out. Do it.
- Test the paint after shaking it by spraying it onto any scrap material you have. If the paint doesn’t come out even in color, resume shaking. Repeat until the color comes out evenly.
- Use light, multiple coats instead of trying to spray one heavy coat. This will give you much more even coverage and prevent the paint from dripping.
- Start spraying off of the surface and then sweep it across. If you start the spraying on the surface of your material, you are more likely to create uneven texture and will be able to see where your stroke started. The goal is to get a clean, air-brushed look.
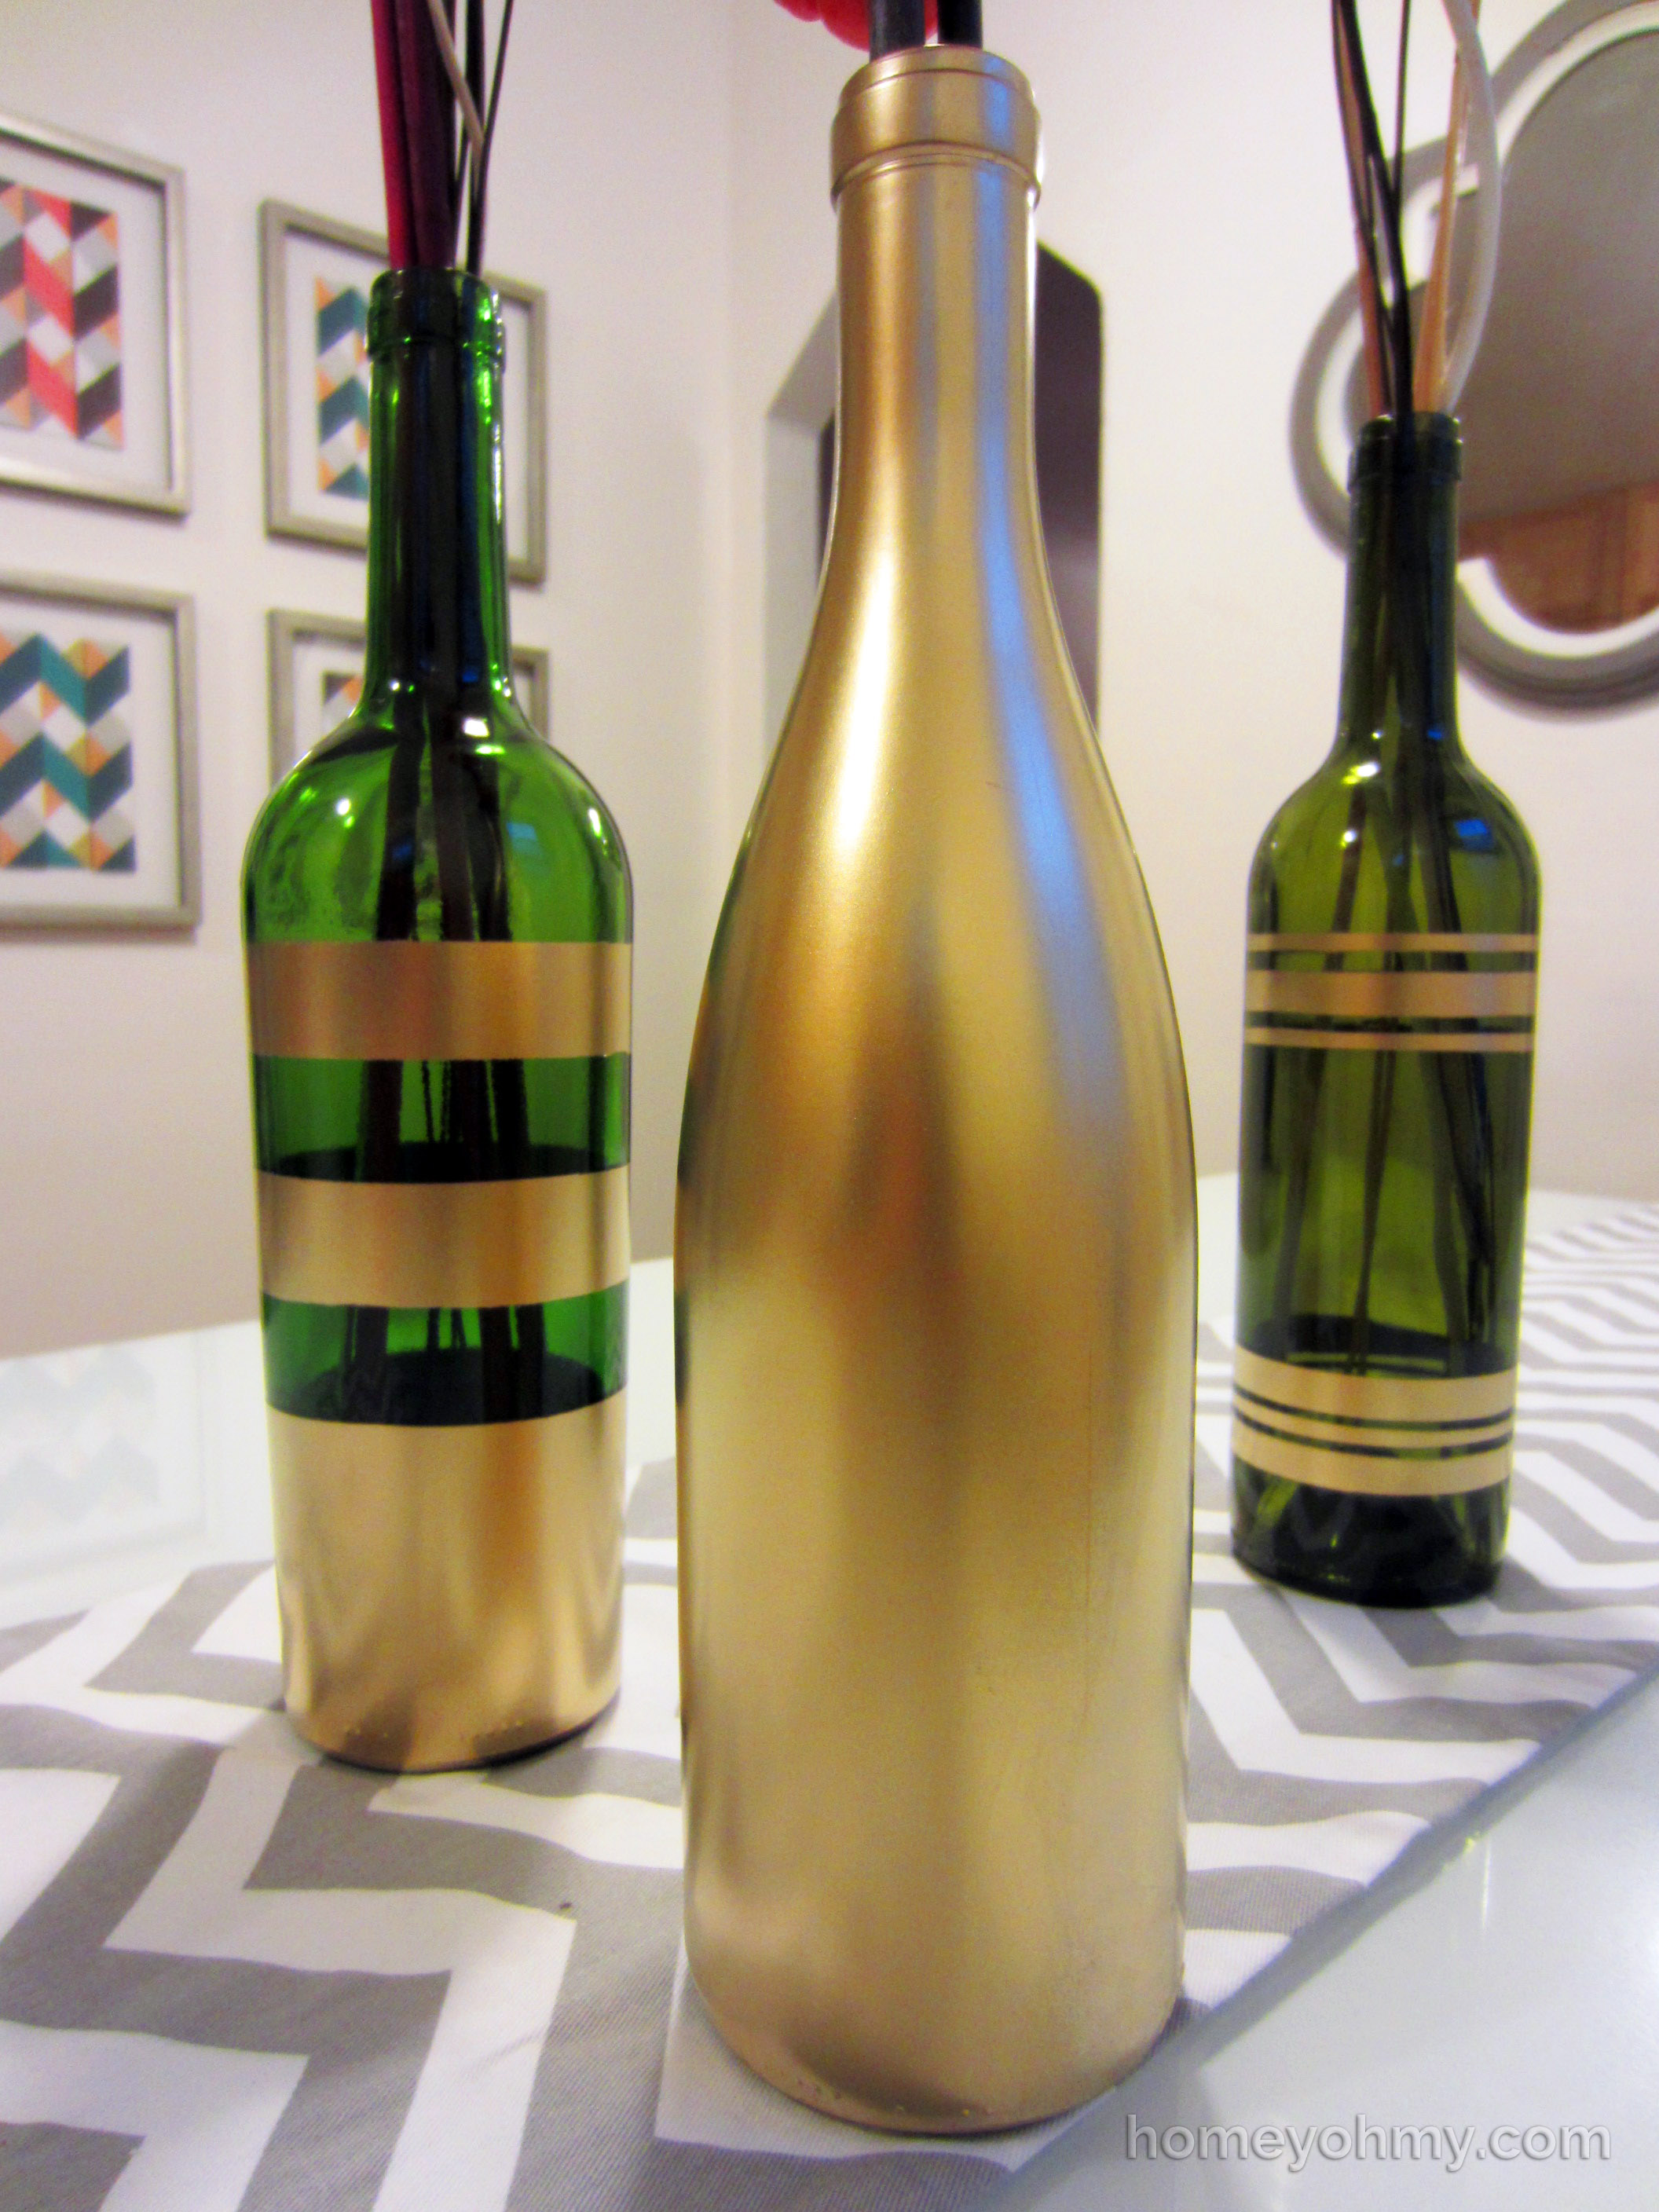
And there you have it! The paint is dry to the touch after an hour but should be left to dry fully for 24 hours. If the spray paint leaked through the tape in some parts, you can just scrape off the imperfections with your fingernail, like I did. That also brings up a point that these painted bottles are not ideal for heavy handling and are best for purely decorative use.
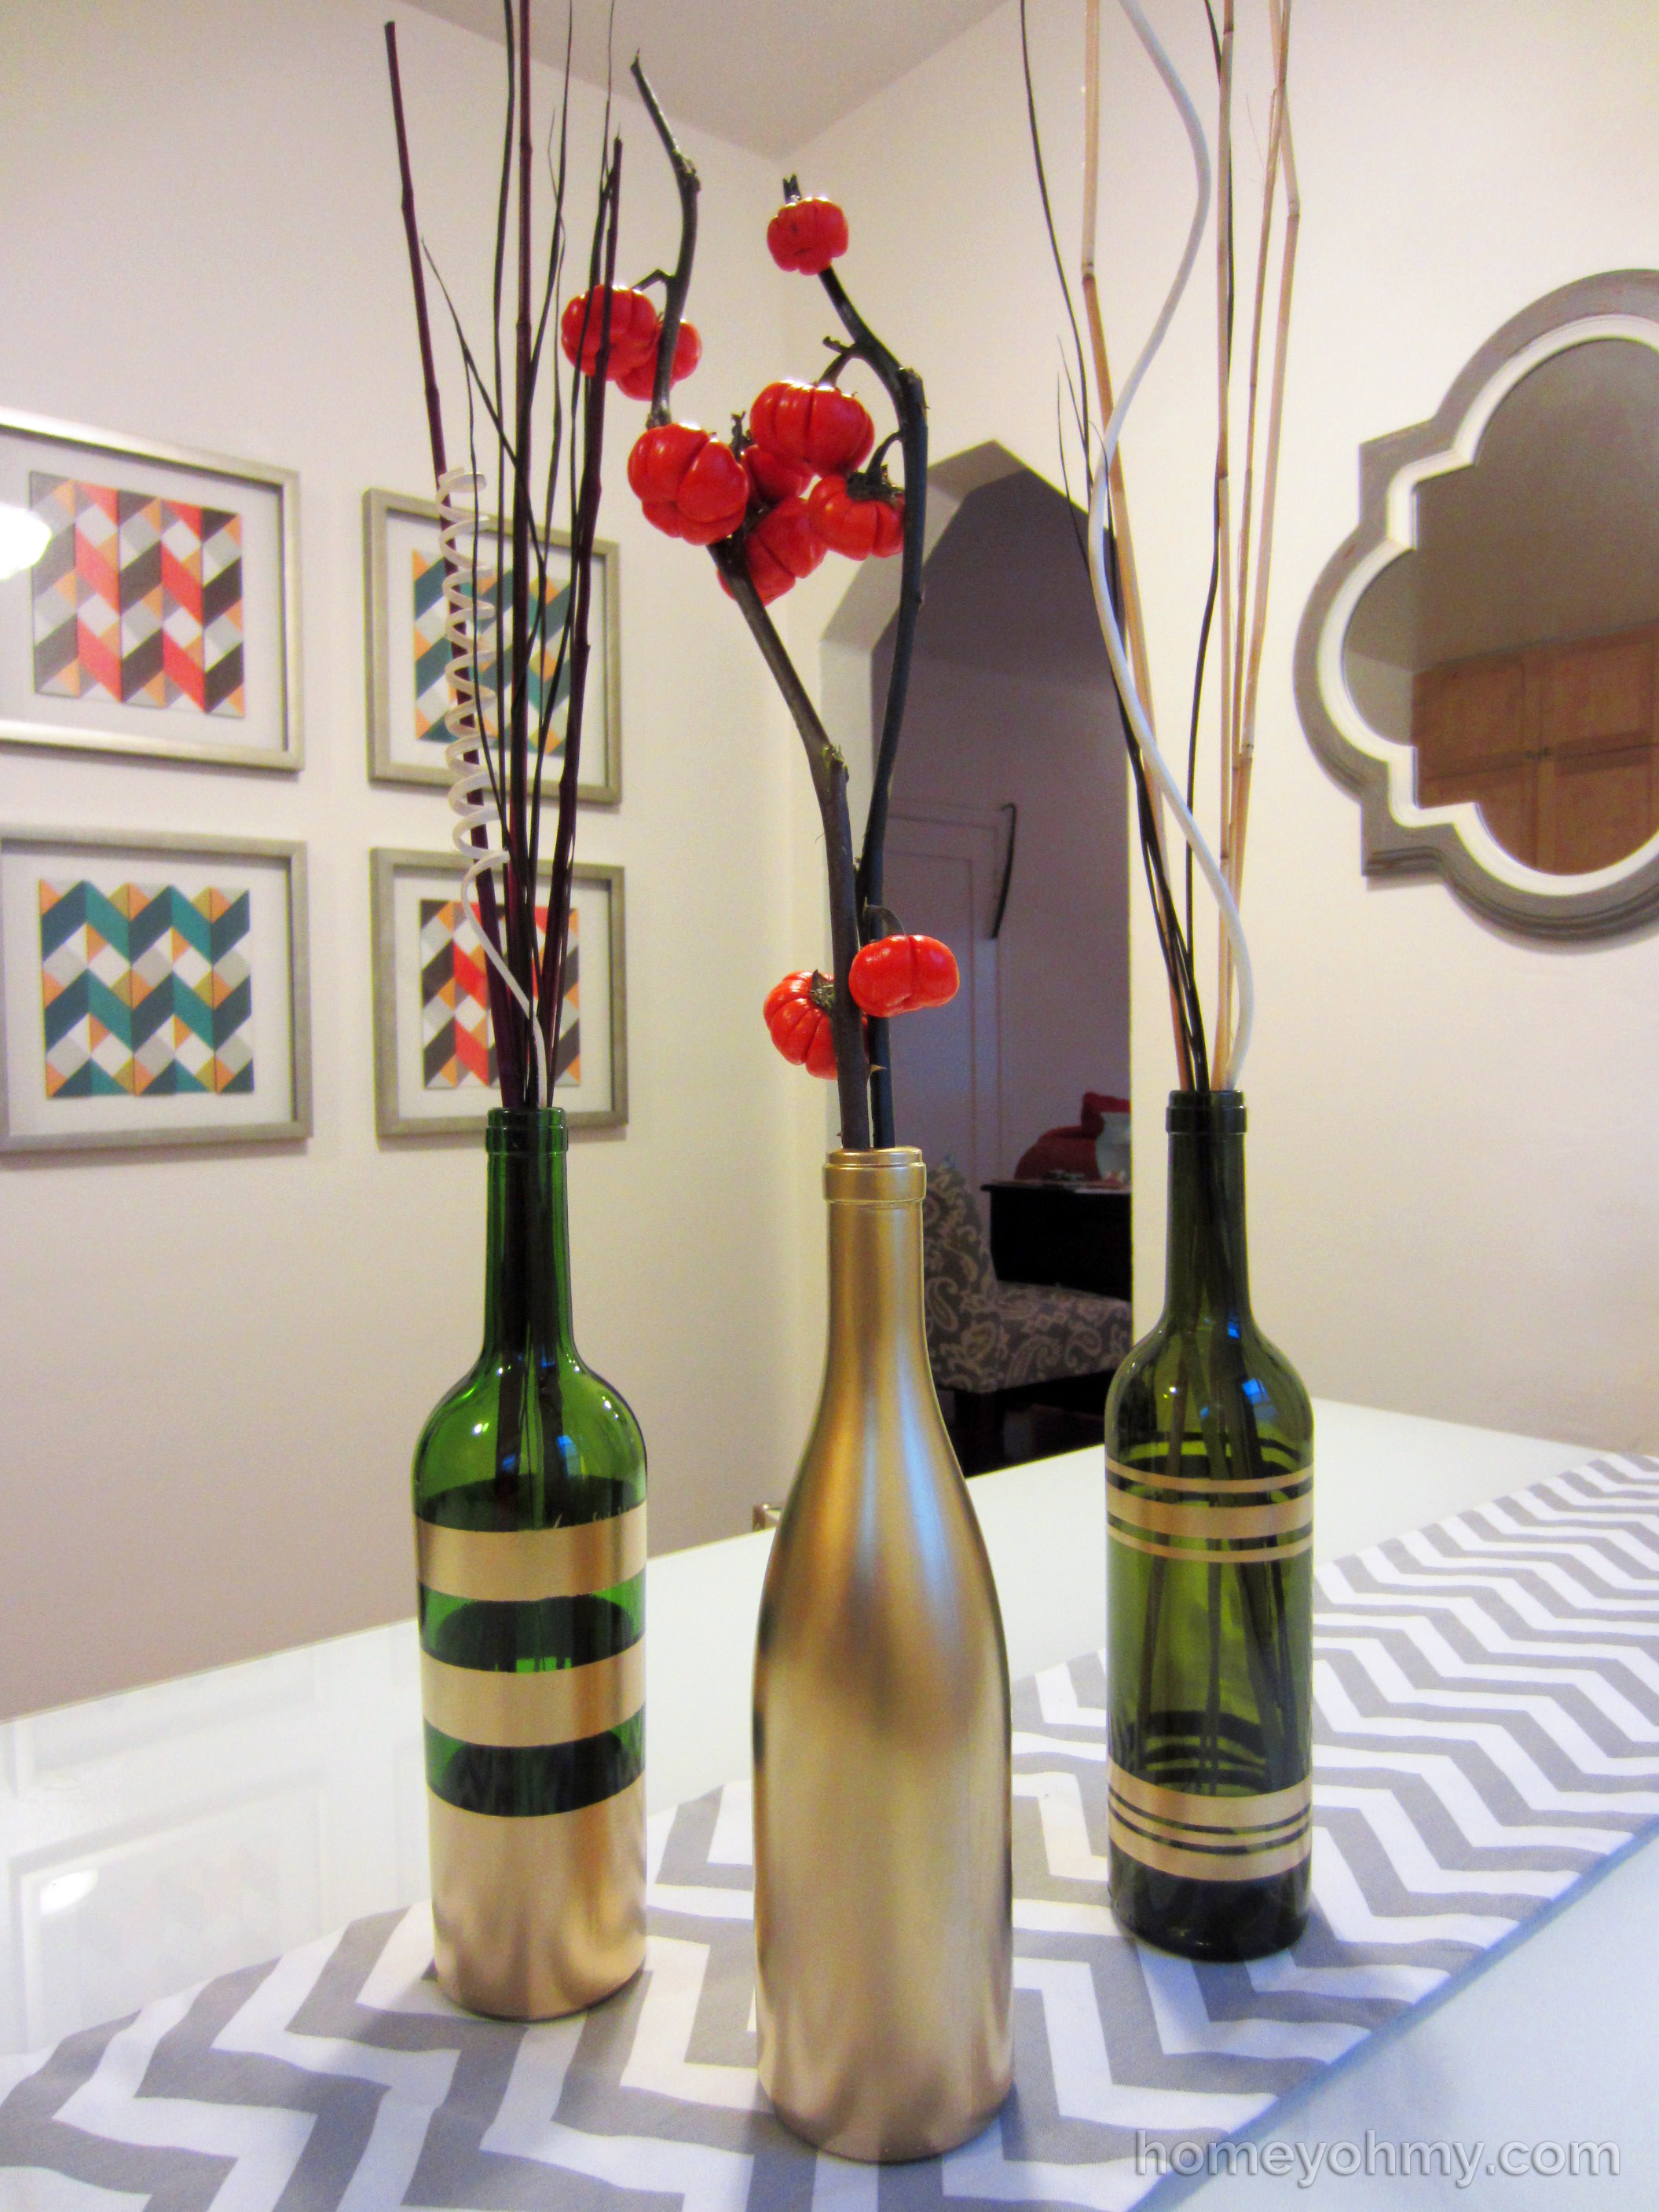
As for what to put in them, I had originally planned on putting in some white silk blossoms I had, but I saw these mini “pumpkin trees” at Trader Joe’s and just couldn’t resist (the majority of my floral/plant purchases are impulse buys during a trip to Trader Joe’s). The thing that got me is that they’re REAL!
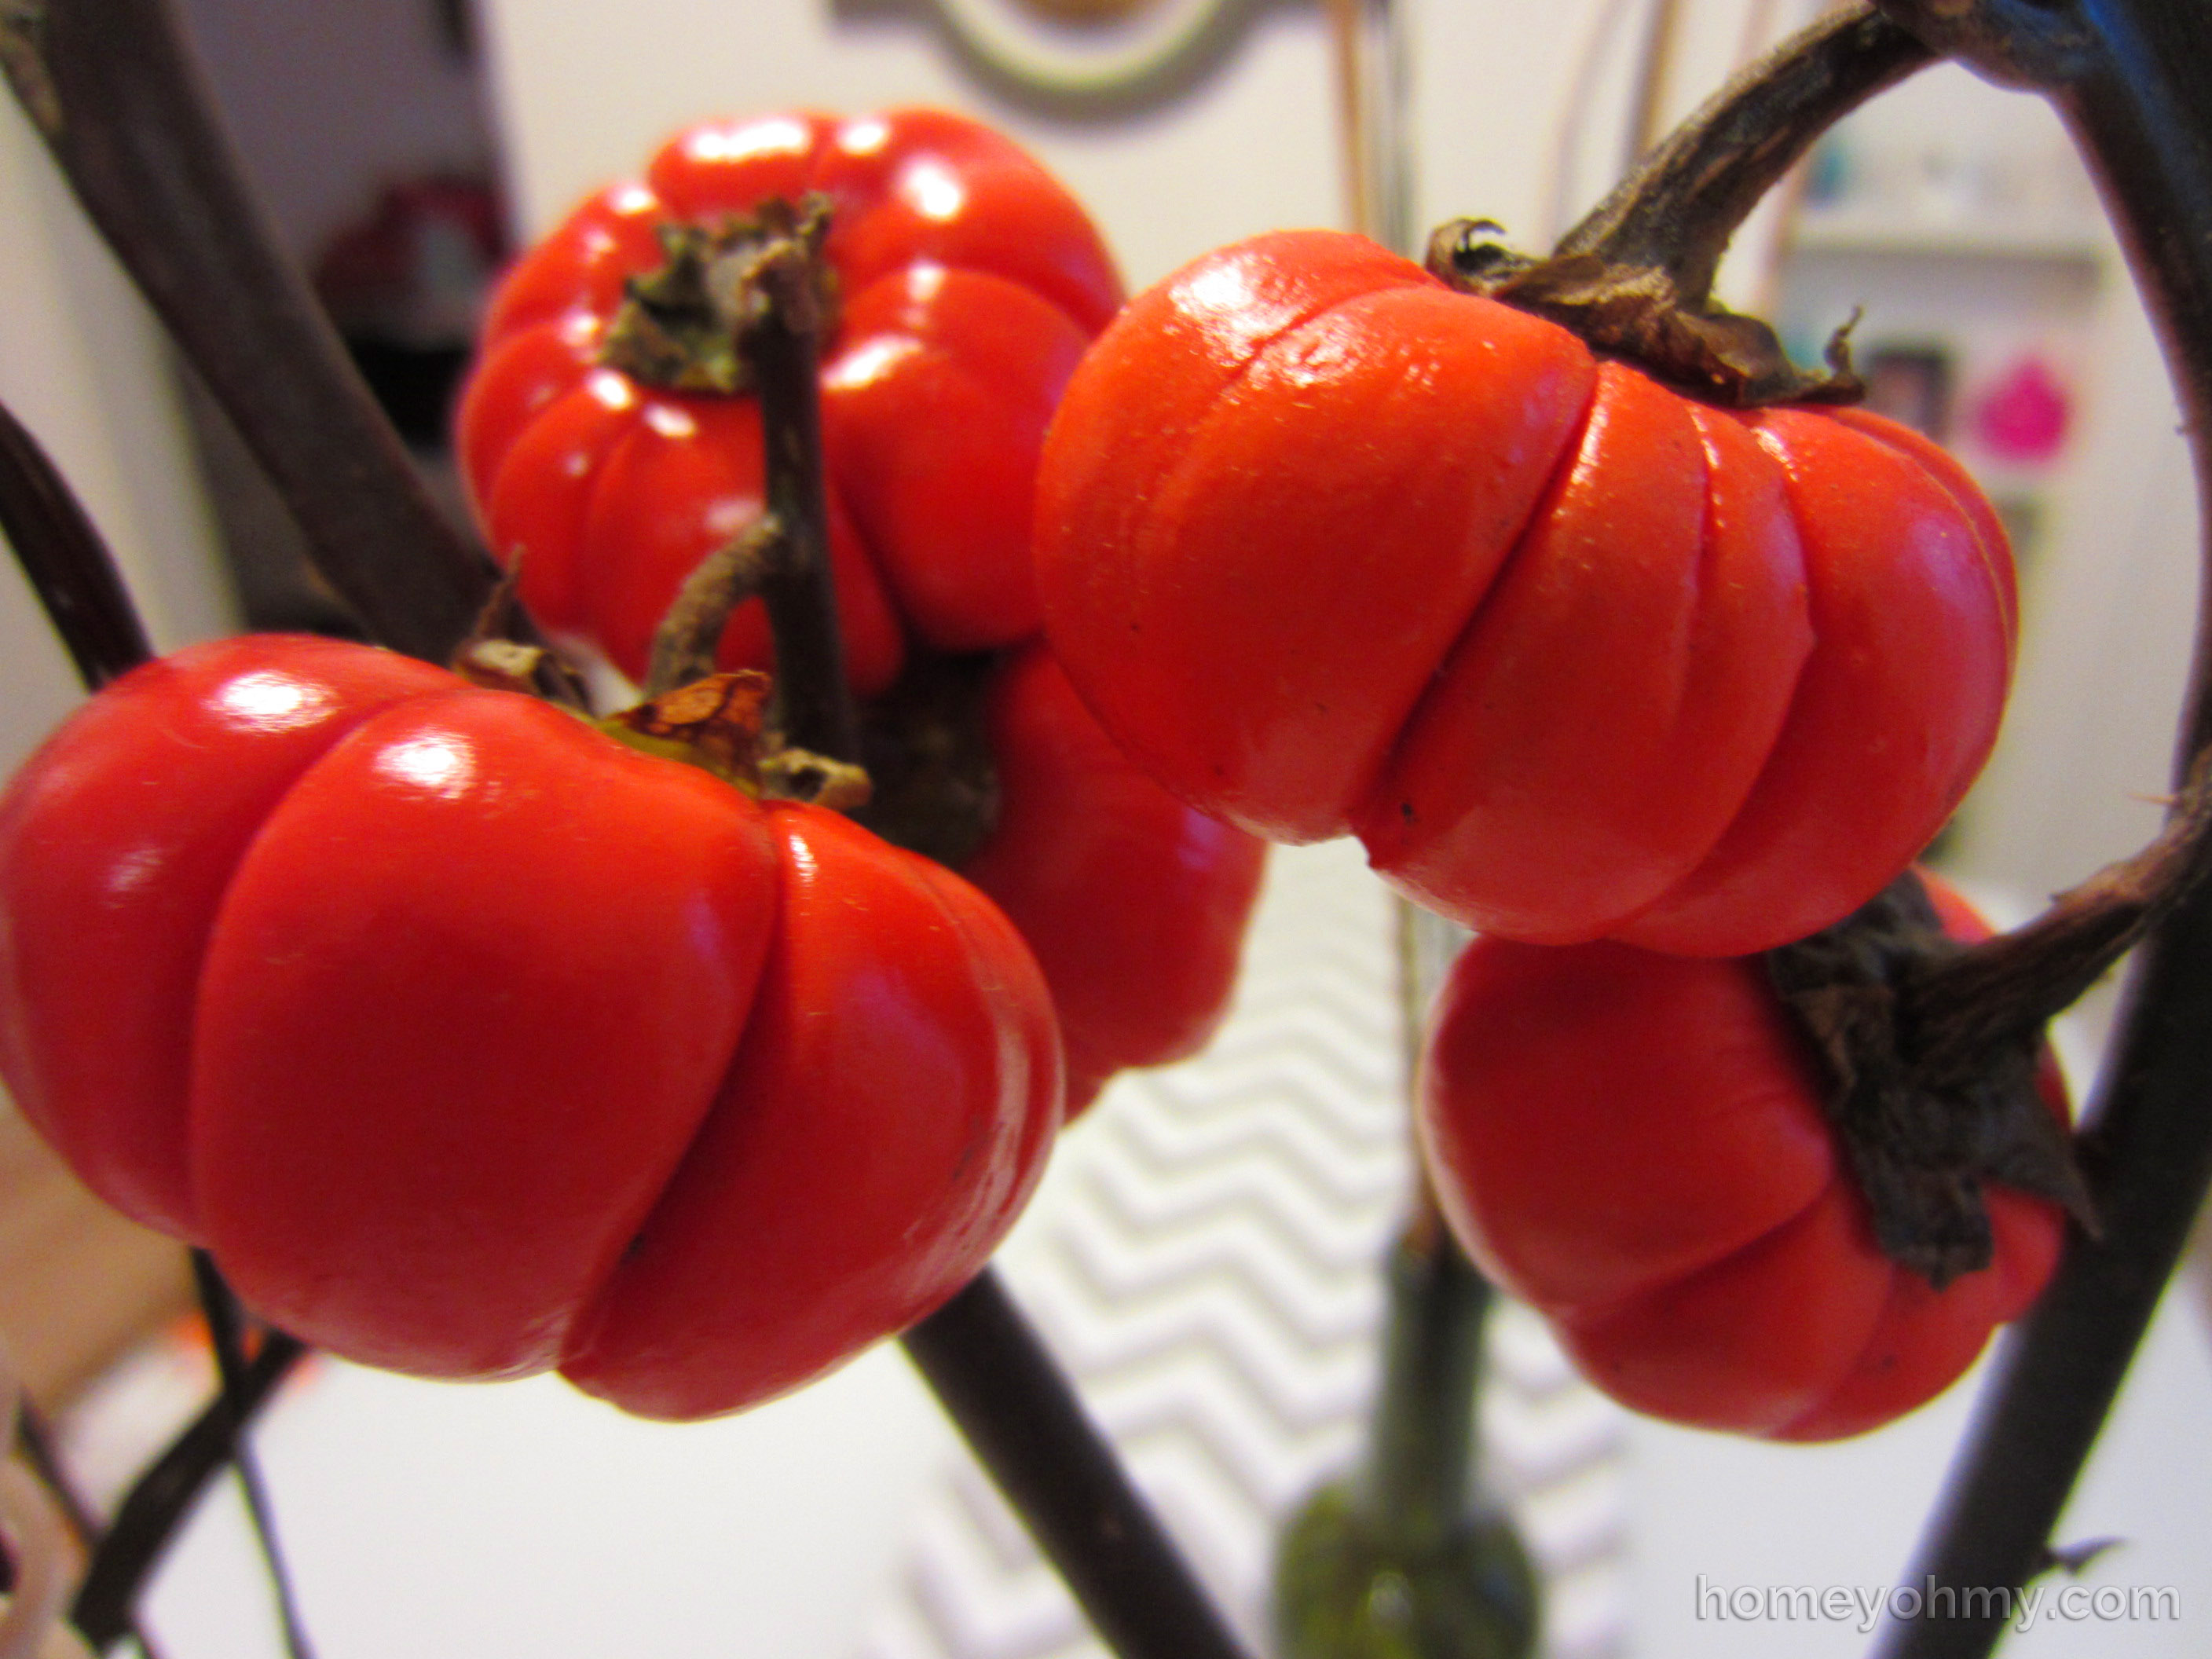
I had no idea these cuties existed, and when I saw that they were bunched in a bucket of water, I started to daydream about how they might grow into full-sized pumpkins. Will they? No, probably not. But they are too darn cute and forced me to buy pumpkins in September.
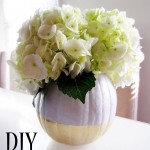
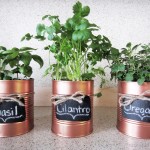
I put the pumpkin trees in the gold bottle, and for the other two bottles I put in some grass stick bouquets that I got at the dollar store. Because of their height, I probably wouldn’t keep them as a centerpiece on my dining table and will most likely move them to the living room.

Replace the pumpkins when they die or go more traditional with some flowers? My love for pumpkins was purely in eating them and this is the first time I’m actually decorating with them. Luckily, the bottles are versatile and can work throughout the year instead of just during the fall season.
Thanks so much for stopping by!


Love love LOVE!!!!
Love you <3
This is super cute!! I’m going to try this. :)
When you do, PLEASE PLEASE PLEASE show me!!
AMAZING!!! So so cute.
You are amazing. And cute.
Great tips, I am guilty of not shaking and it can ruin your project! Your bottles turned out so professionally!
THANK YOU! Aren’t we ALL impatient about shaking something “vigorously” for 2 minutes???
You are such a good girlfriend to help with the wine consumption like that, I would do exactly the same! Love the gold spraypaint they make very cool vases for Halloween and Xmas as wel :)
Aw, I’ll make sure my boyfriend reads your comment. Thank you for liking this project!
Those loos fabulous!!! How long did you wait to re-coat them to get a solid finish?? I’m attempting to do some in solid white rolled in Epsom salt
Your bottles are really cute. I think your tiny pumpkin plant is actually an eggplant, see the rare varieties that Baker Creek shows here: http://www.rareseeds.com/store/vegetables/eggplant/
I have heard that painting bottles is easier by sticking dowels, 8 inches or so longer than the bottle is high (if bottles are 12 inches than the dowel should be about 20 inches,) into the ground, a cardboard box, or other stable surface and then inverting the bottle onto the dowel. It makes it so you can cover all sides and the bottoms without having to worry about marring the surface. Is that how you set them up to paint? Do you have some other *magical* way to paint them?
~Karen from Eastern Washington State
Wonderful inspiration! Looking to do my wedding centerpieces like this. How many cans of the spray do you recommend for 40 wines bottles fully coated?
Hello! Did you painted the 40 bottles? How many cans did you needed?
Tks in advance for your response!!
Hi
i made a mistake and used paint on gold model paint which ran everywhere, i mixed up my posts and paints. I am wondering if i tried to clean that paint off with alchohol, would i then be able to spray paint with gold paint, and do i need to spray an undercoat on first?
I particularly want to use this one bottle as i made a really good cut on it to make a glass and i would like to return it to the donor as my first project, lol
regards
mags
I notice you paint a lot of glass. Do you ever have trouble with peeling or paint scratching off. I love the look and wondered especially about the desk accessories you painted. Thanks..
Hi Jamie! If I’m painting a surface that will get a lot of wear, I’ll finish with a few layers of clear acrylic spray or polyurethane spray to protect it. When it’s something purely decorative like these wine bottles, I’ll just paint it and let it be since they won’t be handled. With my desk accessories, I sprayed the protective clear acrylic and they’ve held up fine. Hope this helps!
It looks great! I didn’t think to tape off areas to give it a stripe pattern! I’ll have to try that method next time! http://modeandhoney.com/diy-spray-paint-gold-vase/
I am OBSESSED with these. I would like to do something similar with Skyy vodka bottles, since they’re blue! However, I tried and TRIED so badly to make a “perfect” line with the painter’s tape around the bottle, but I never can… Any tips on how to wrap the painter’s tape around the bottle so that the line will be straight like yours? Anything would help, thank you SO much in advance1
Hi Kayce! The Skyy bottles would look beautiful!
Taping straight is something I eyeball, and I never get it perfect, so I don’t have much to advise on that part. For those clean edges, I suggest scraping over the edges of the tape with a credit card or your nail to make the seal as tight as possible. Accidents can still happen though, and I’ve found that the paint that leaks under the tape can be scraped off with your nail, which is how you can clean up the paint line edges a little bit. You can also use a cotton swab dipped in rubbing alcohol to erase the bigger mistakes, but this has not been as precise as scraping with my nail.
Thanks so much for your question, and I hope this helps you out!
Hi dear – I am going to attempt to make these tonight. I was wondering if you could spray a coat of clear coat over them to make them less scratchable. Or could you bake these in the oven when finished painting.
Hi Connie! I’ve never tried baking, so I don’t have any insight on that method. I do use a few coats of clear acrylic spray, like this one, for spray paint designs that I want to keep extra protected. Let me know how it goes!
Beautiful project, thank you for sharing!
A couple questions, do you have a sense of how many bottles you can cover with one can? (I’m looking to spray paint about 40 bottles.)
And, do you have advice on how to avoid making a huge mess? I live in an apartment, and I’m sort of intimidated by the possible mess-factor of spray paint! (I keep thinking I’ll need to do it in the alley, with a drop cloth, but then wondering how I’d get the still wet bottles out of the alley!)
Thank you!
Hi Beth! 40 bottles… such a tough thing to estimate. It depends on how much of the bottle you paint and how many layers you do. I want to say you could safely do 40 with 2 cans. I almost think 1 can is enough if you’re partially painting each bottle, but I’d go with at least 2 I think. I’ve never done that amount before so this is truly a rough guess!! If you end up doing it, please let me know how many cans you used :)
I’m in the same situation. I live in an apartment and I go behind my building with a giant drop cloth and spray paint back there on the ground. I do have the comfort of leaving everything there and coming back when it’s all dry, but don’t know if you’d feel the same about doing that in your alley. Even if there was a way to safely carry the wet bottles inside to dry, the paint fumes will fill up your home and that won’t be healthy (I’ve tried it before. It’s bad.) I’d figure out whatever you can to find a safe drying area outside… maybe you have a friend with a garage or private outdoor area that can help you out.
Thanks so much for your answers! That’s all very helpful info. I think I’ll be doing a drop cloth in the alley, and hoping my friendly neighbors let me stow away the bottles in their garage while they dry.
I will definitely let you know how it all goes, and how much paint we go through. These are going to be part of the table centerpieces at our summer camp wedding, which is one month away, so I should have an update in the not-too-distant future!
Thanks again!
Hi there, I love the look of these for my home! I tried this project last night but when I took the tape off chucks of the paint kept coming off as well so my pattern was not… well, a pattern haha. Any pointers on removing the tape without taking half of my spray paint off?
Hi Valerie! Are you taking the tape off while the paint is still wet? The only time I’ve had paint come off with the tape is when I’ve waited too long and the paint has already dried. Let me know if that was the case!
I guess you really answered my question on this comment but do you remove the tape when the paint is very wet, like immediately or do you let it dry some?
The paint dries pretty quickly, so even though it’s ideal to do it while it’s still pretty wet, it mostly will have dried a bit by the time you start removing the tape, but yes I remove the tape immediately as soon as I can.
Love this! If I were to decorate over the rust-oleum spray paint with paint pens or acrylic paint, would it stay or is the coating not meant for that?
Hi Kayla! I’ve never tried that but my guess is that it won’t turn out so well. Usually I’ve learned that spray painted surfaces are best not to be messed with in any away aside from a protective top coat.