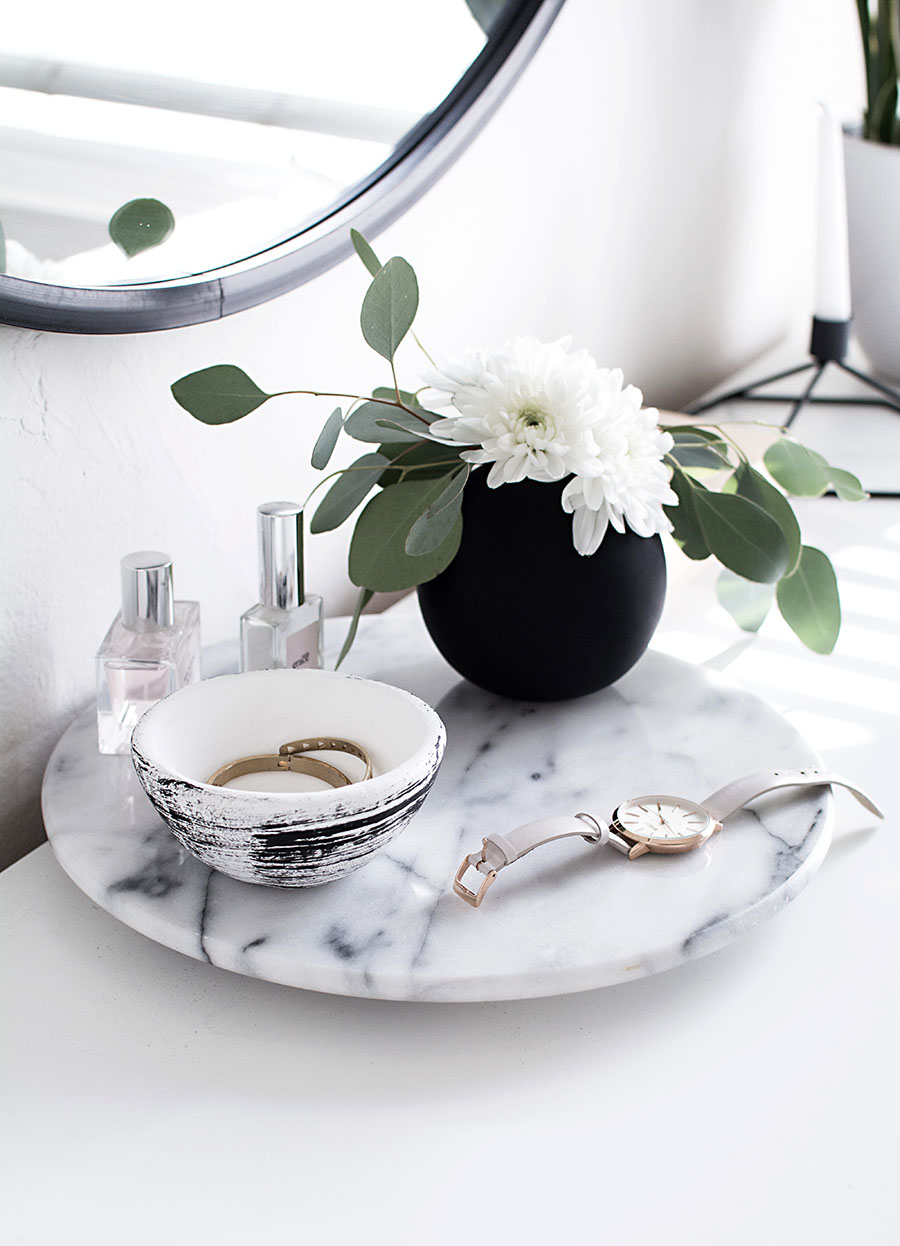
I learned about pinch pots in pottery class, which are an easy way to make clay bowls in the sense that they don’t require a lot of skill or materials, but to bring this craft home where most of us don’t have a kiln, air dry clay is the best option though it can be finicky. It has more of a putty texture and doesn’t smooth as easily, but this can be handled by frequently wetting your hands as you work with the clay to keep it moist, so keep that in mind for this DIY. It takes patience and a lot of love, but it’s equally cool and an easy first step in hand building clay projects! Read More
I learned about pinch pots in pottery class, which are an easy way to make clay bowls in the sense that they don’t require a lot of skill or materials, but to bring this craft home where most of us don’t have a kiln, air dry clay is the best option though it can be finicky. It has more of a putty texture and doesn’t smooth as easily, but this can be handled by frequently wetting your hands as you work with the clay to keep it moist, so keep that in mind for this DIY. It takes patience and a lot of love, but it’s equally cool and an easy first step in hand building clay projects!
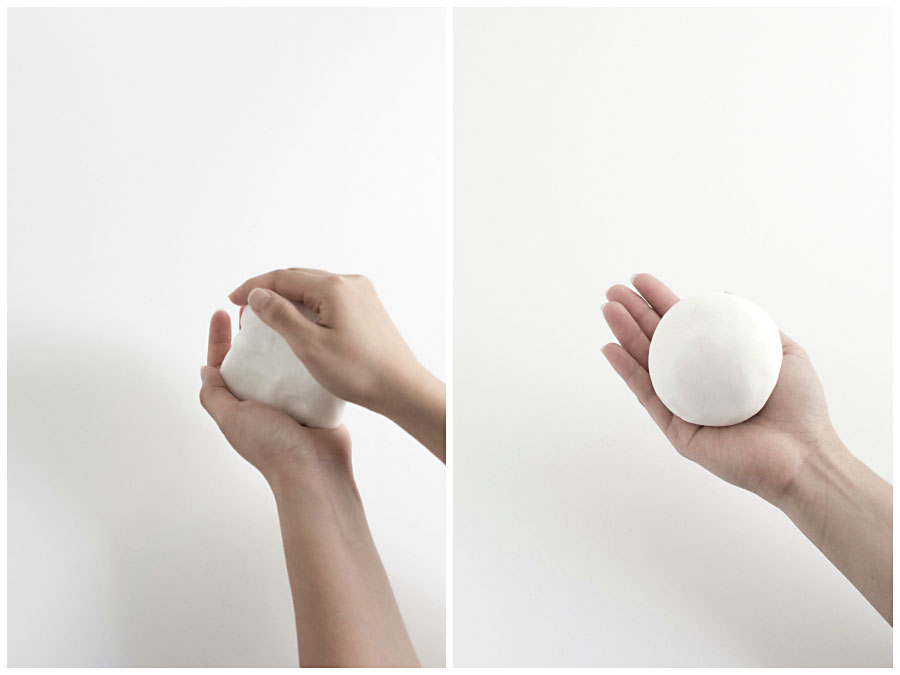
Use both hands to roll the clay into an orange sized ball.
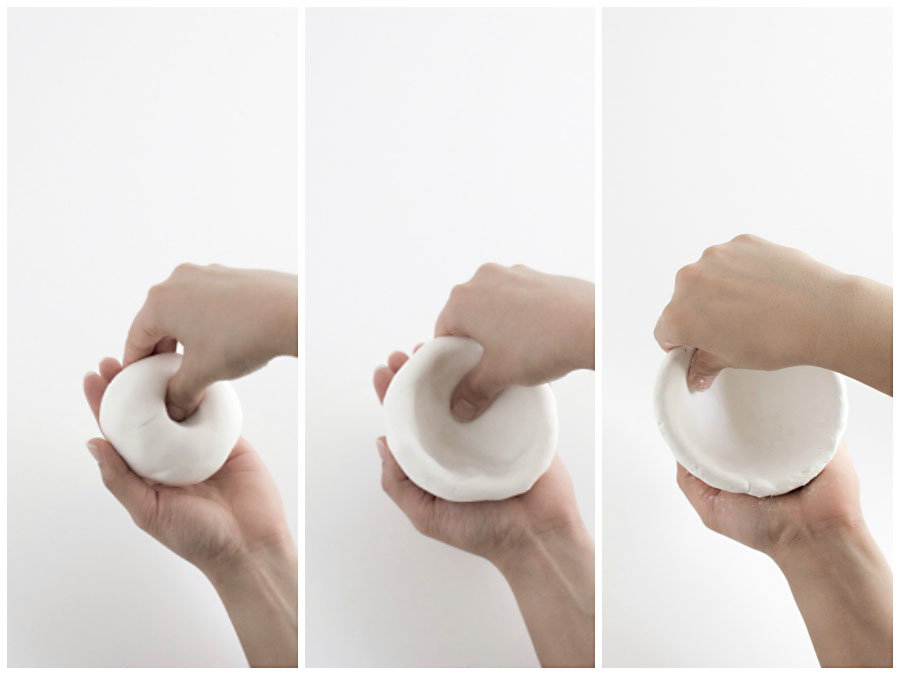
Press your thumb into the center of the ball and pinch the clay while rotating it with the other hand. Start near the bottom then work your way up with the pinching as you rotate. Pinch in a more upward pulling motion for added height to the bowl.
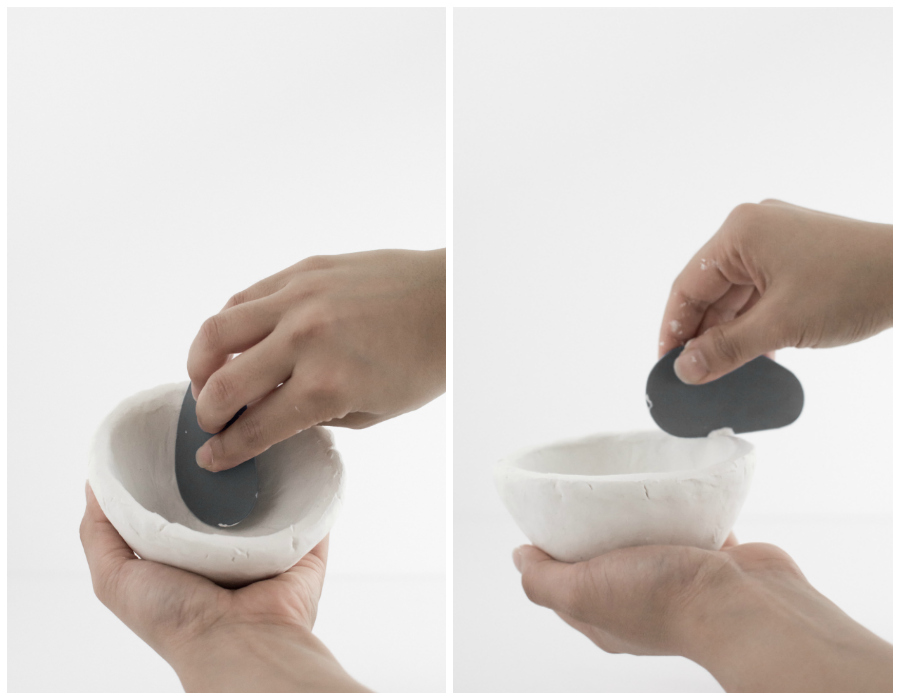
Use a clay rib to smooth out the inside and the edge of the bowl. You might also want to use it to remove excess clay in some parts that are thicker or come up higher than the rest of the bowl.
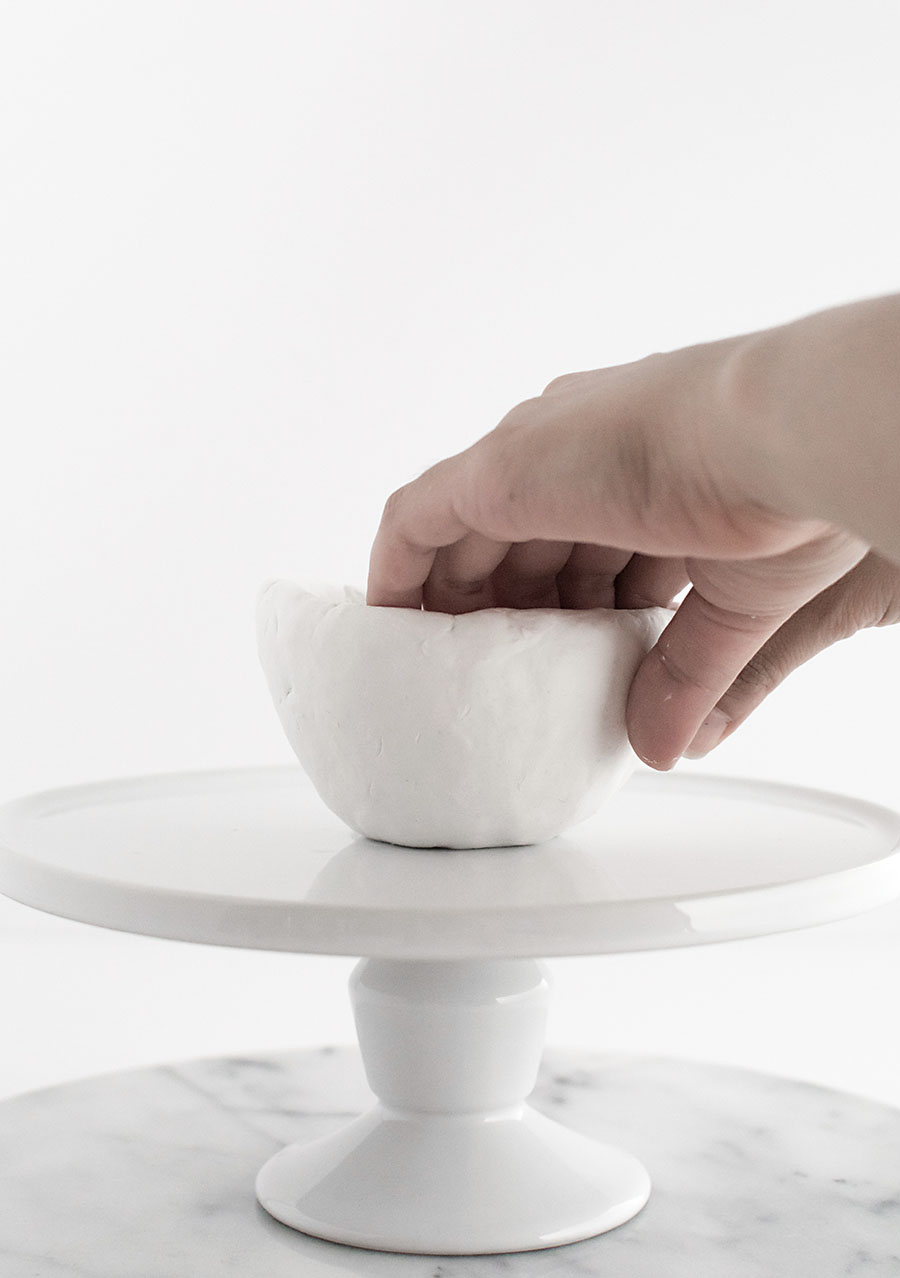
Set the bowl down on a flat surface to flatten the bottom. My set-up here is a cake stand on top of a lazy susan (resourceful!) Any surface that rotates will be the most helpful, though not entirely necessary if you can deal with manually rotating the surface when neeeded.
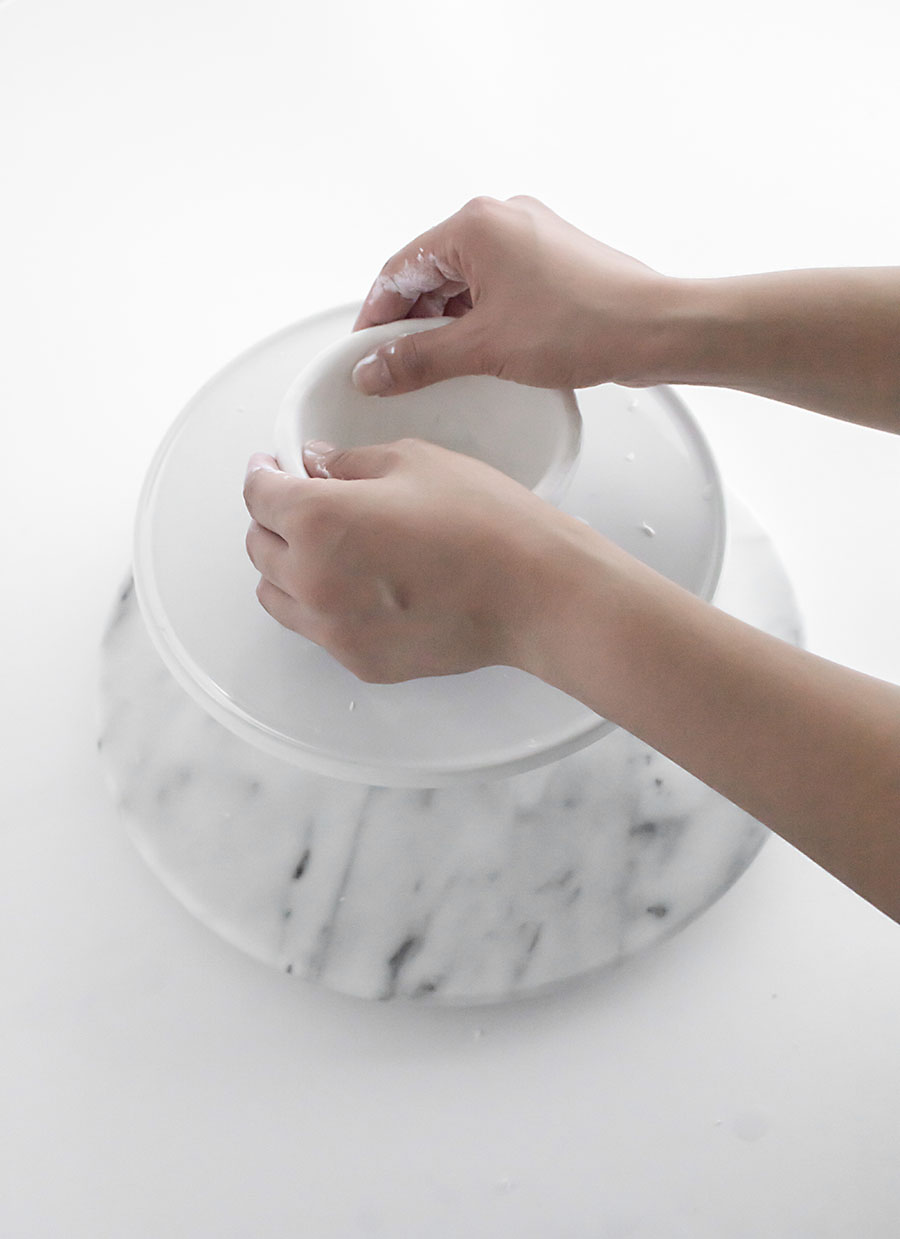
Continue smoothing out all the surfaces of the bowl with your fingers, making sure that your hands and the clay are especially wet for easier smoothing. Once smoothed, let the bowl dry completely for at least 24 hours.
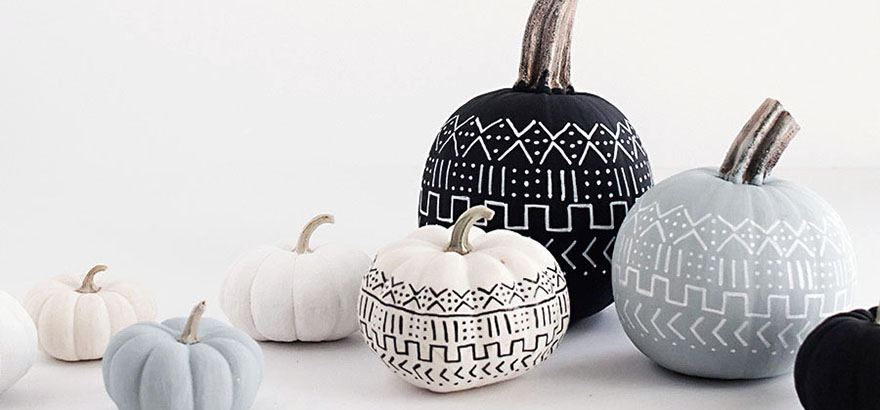
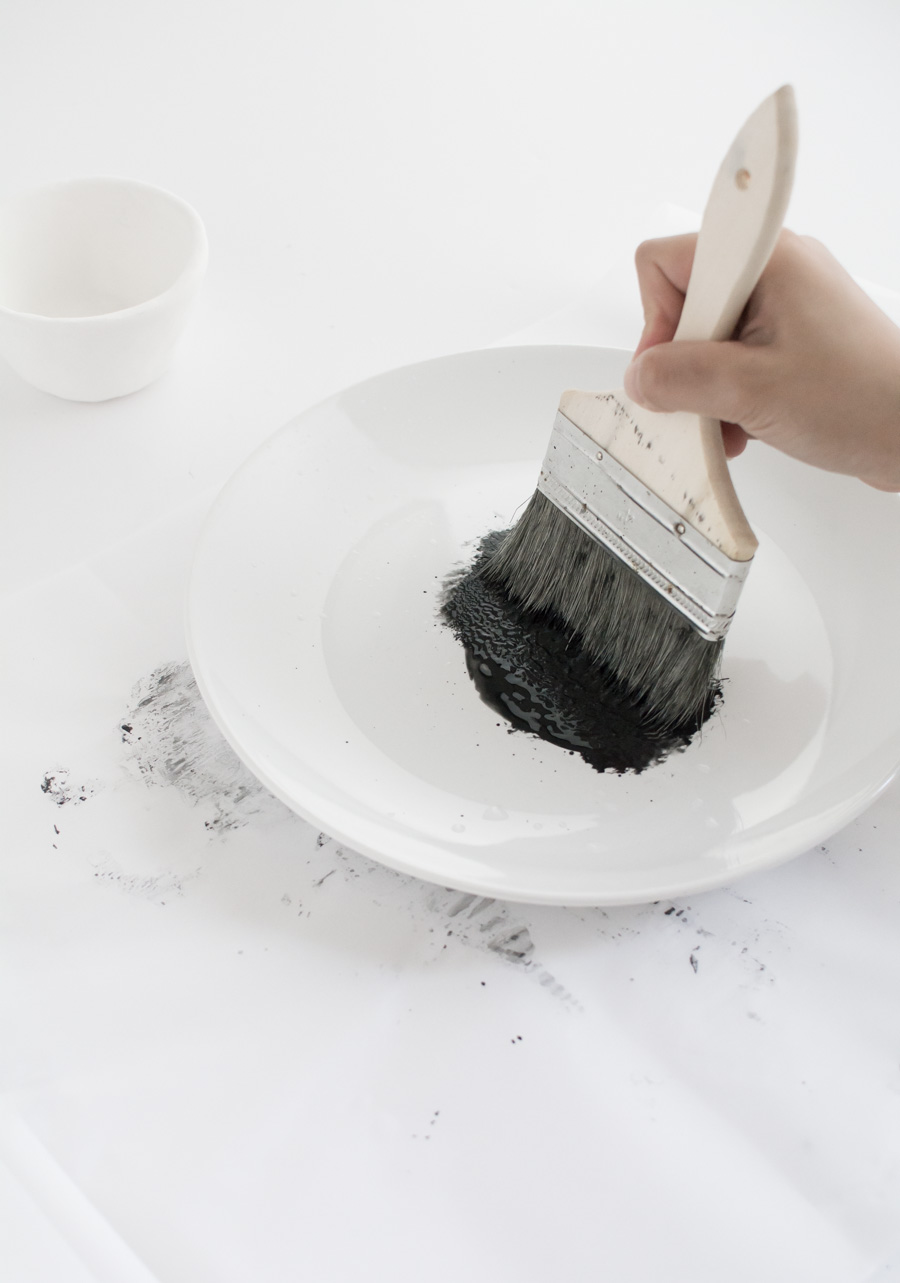
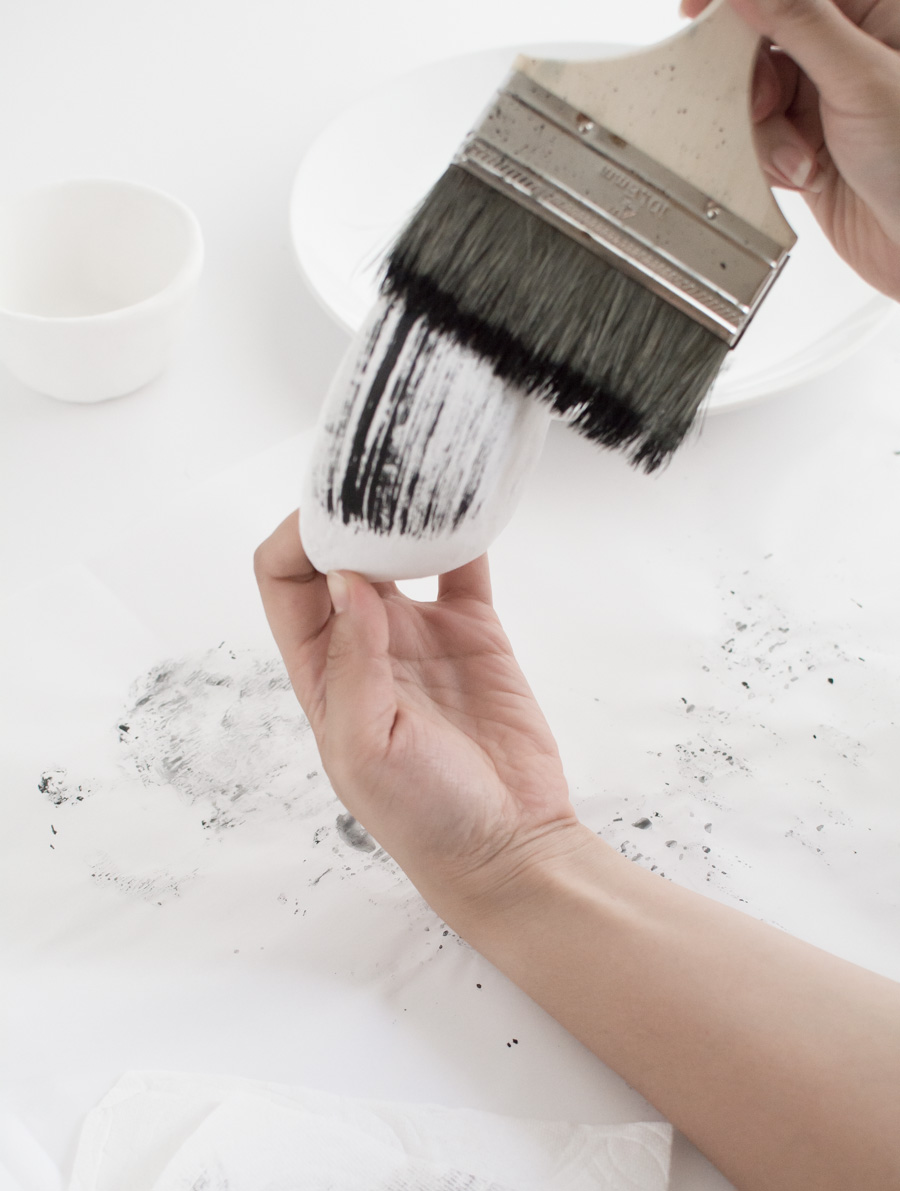
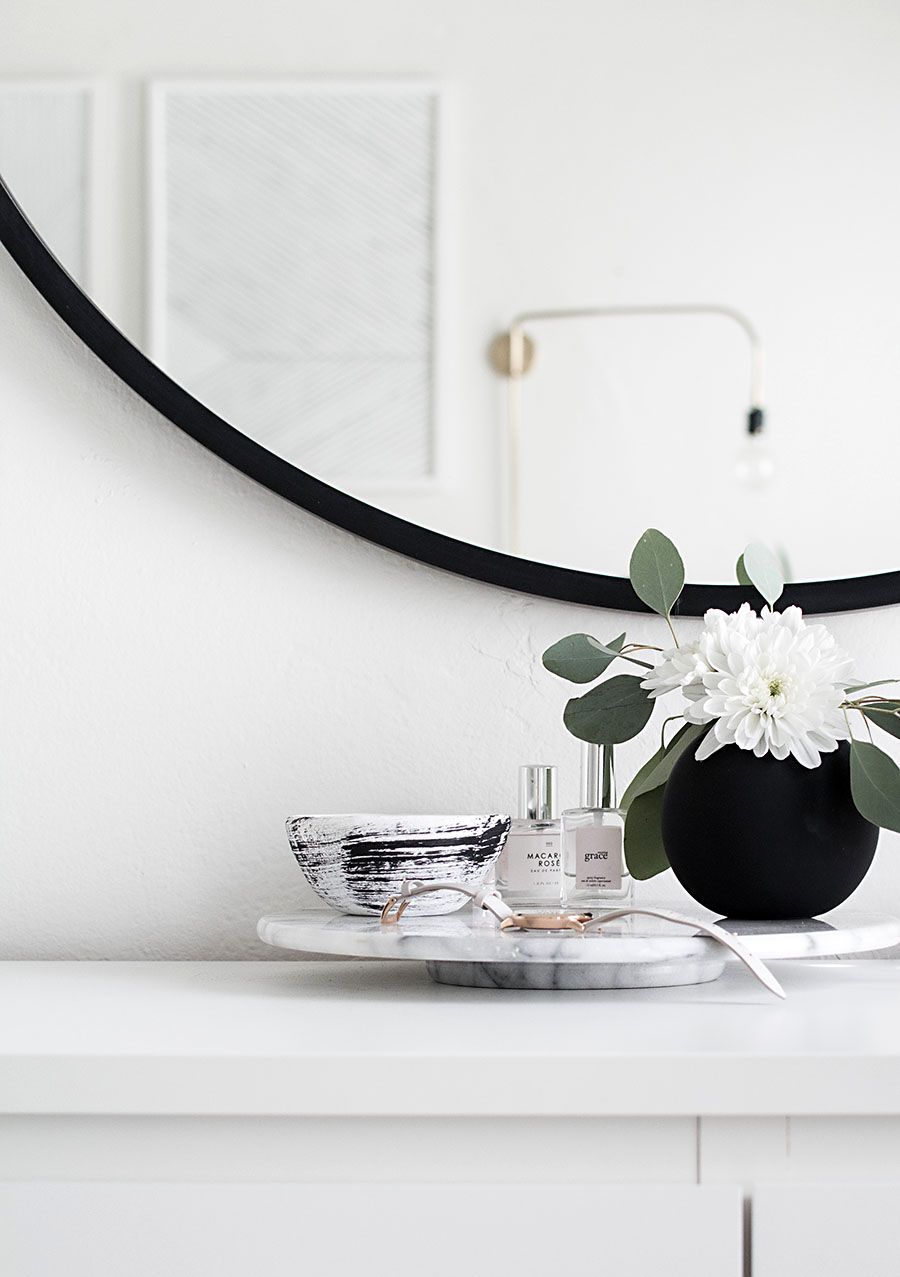
The fun part is always personalization, meaning paint that thing however you want. I used a dry-brush technique to make streaky brush strokes.
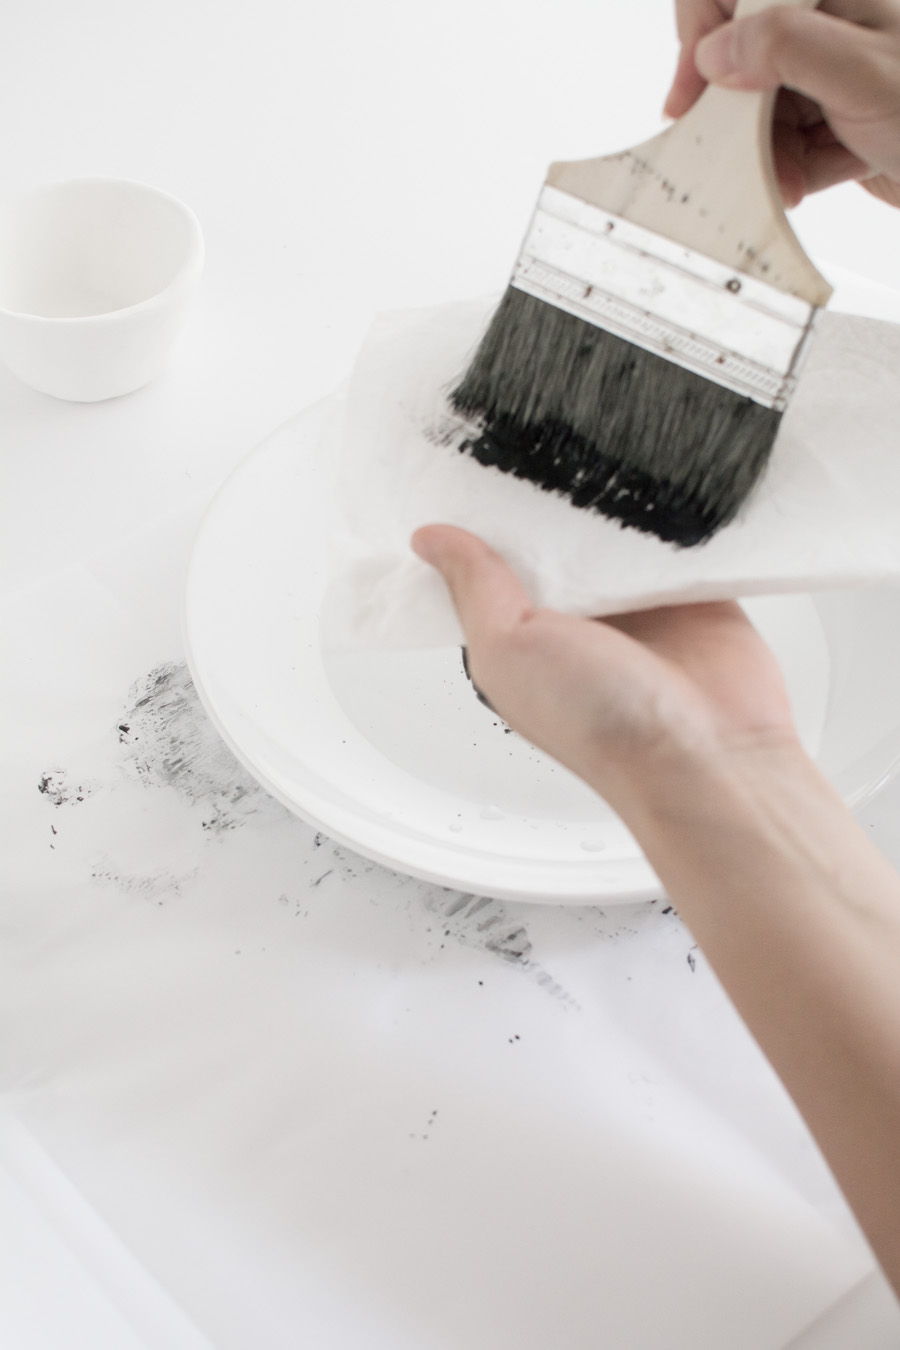
After dipping the brush into the paint, I wiped off the excess paint with a paper towel.
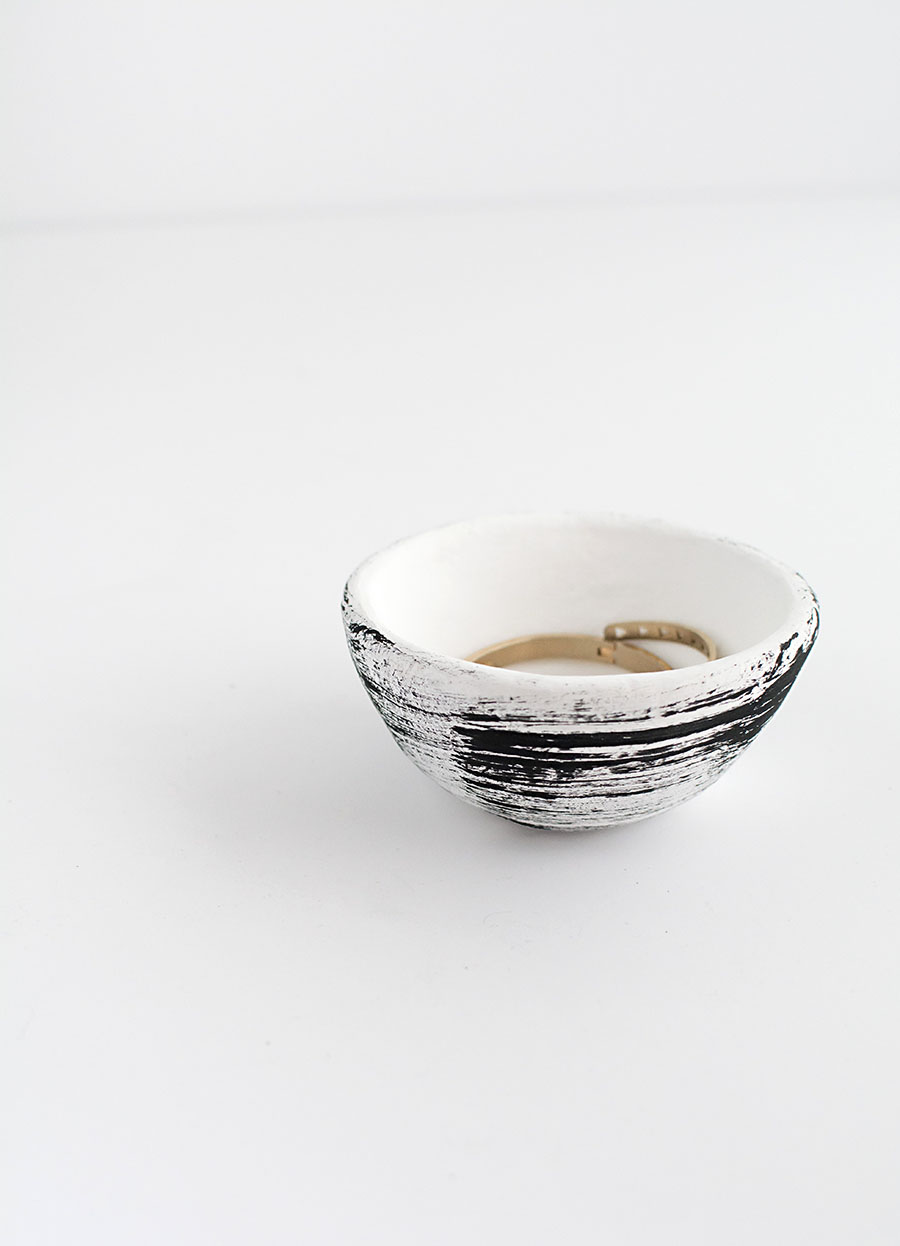
I brushed horizontal strokes onto the bowl all the way around without caring about being neat. I’m having a moment lately with that organic look and texture. It not only looks very cool but helps me get away with being messy on purpose, success!
Clay trinket dishes and bowls have and always will be my jam. It’s no wonder I have an immense love for pottery, and while this DIY couldn’t replace the thrill of throwing on a wheel, it’s cool to be able to do this at home. Naturally the dream is to get a wheel at home… That’s more likely for whenever we get more space, my favorite solution for getting more stuff, ha.
Have you made pinch pots before? Do anything with clay in general? I think I’d say clay is my favorite material to work with!
Hey! Quiet week here on the blog so it feels good to check in with ya- how’s it goin?? I spent Sunday to Wednesday in Carmel for the Michaels Makers Summit and somehow thought I’d have some time to work on the blog while there but you know how that goes… I opted for unplugging and hanging out with bloggy buddies, most of which I see once a year at best, and it was such an incredible time. I’ll share more about it in my upcoming September highlights post in case some of you weren’t already so sick of seeing that on Snapchat! Read More
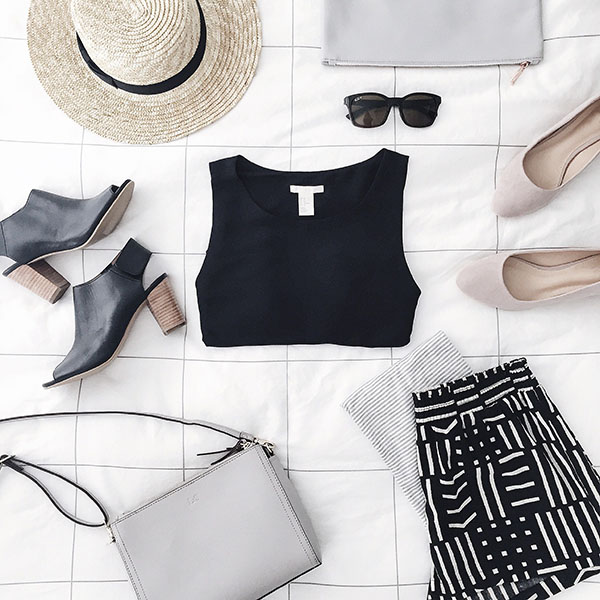
Hey! Quiet week here on the blog so it feels good to check in with ya- how’s it goin?? I spent Sunday to Wednesday in Carmel for the Michaels Makers Summit and somehow thought I’d have some time to work on the blog while there but you know how that goes… I opted for unplugging and hanging out with bloggy buddies, most of which I see once a year at best, and it was such an incredible time. I’ll share more about it in my upcoming September highlights post in case some of you weren’t already so sick of seeing that on Snapchat!
With Chicago and Carmel back to back, it’s very good to be back home and I’m here to stay. Regular blog stuff resumes on Monday! As ALWAYS, thanks for sticking around. Have a wonderful weekend <3.
In case you were wondering, most things in the photo above of some things I packed for Carmel aren’t even listed on sites anymore, but the hat is here and the bag is here!
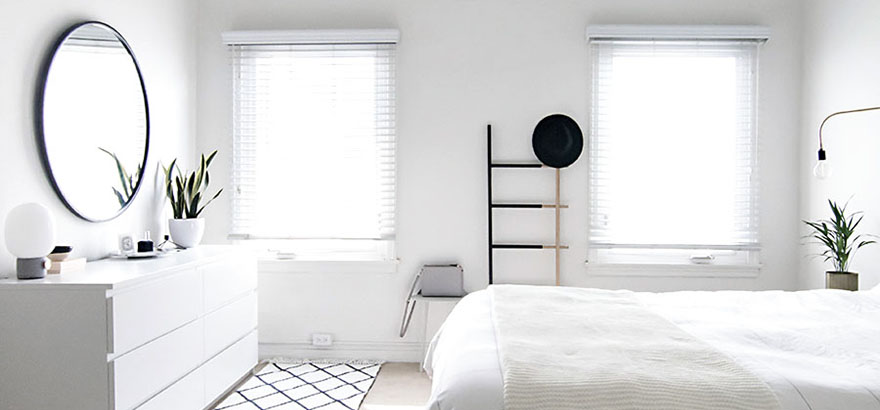
Being an apartment dweller I never think much about curb appeal, and while I’m pretty sure our future house is more likely to be white, I fantasize about having a black exterior. Most of the ones I’ve seen that have made me stop breathing are some sort of cottage cabin farmhouse and the boldness of the black makes them so alluring and modern. Many take after Danish summer houses, which are timely for this confused seasonal transition where we’re excited for fall but down to take an idyllic look back at summer. Let’s.
 Hey! Quiet week here on the blog so it feels good to check in with ya- how’s it goin?? I spent Sunday to Wednesday in Carmel for the Michaels Makers Summit and somehow thought I’d have some time to work on the blog while there but you know how that goes… I opted for unplugging and hanging out with bloggy buddies, most of which I see once a year at best, and it was such an incredible time. I’ll share more about it in my upcoming September highlights post in case some of you weren’t already so sick of seeing that on Snapchat!