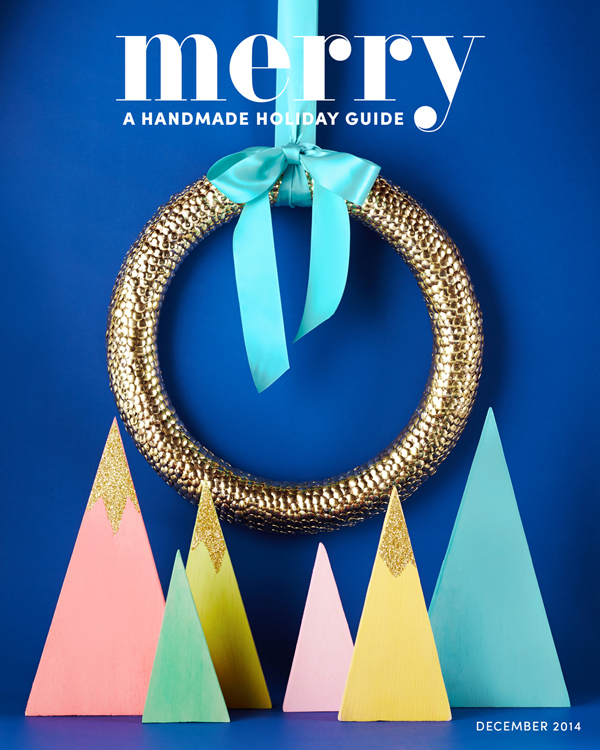
The merry decorating begins, but that’s not all… I had the HUGE honor of contributing this project to the very first issue of Merry Mag, an online holiday lifestyle magazine full of decor ideas, DIY’s, recipes, and style inspiration, all brought to you by some of my favorite bloggers and makers. It’s as amazing as it sounds, guys.
I’m crazy proud of this magazine, even with just my one little DIY in it, and I’m so grateful that Melissa from the Sweet Escape had me be a part of such an amazing production. As the mastermind and editor behind Merry Mag, Melissa curated the content and hand-picked contributors to create 98 pages of stunning, holiday splendor. Take a look and flip through the magazine (shameless shoutout- I’m on page 33!) at merrymag.com
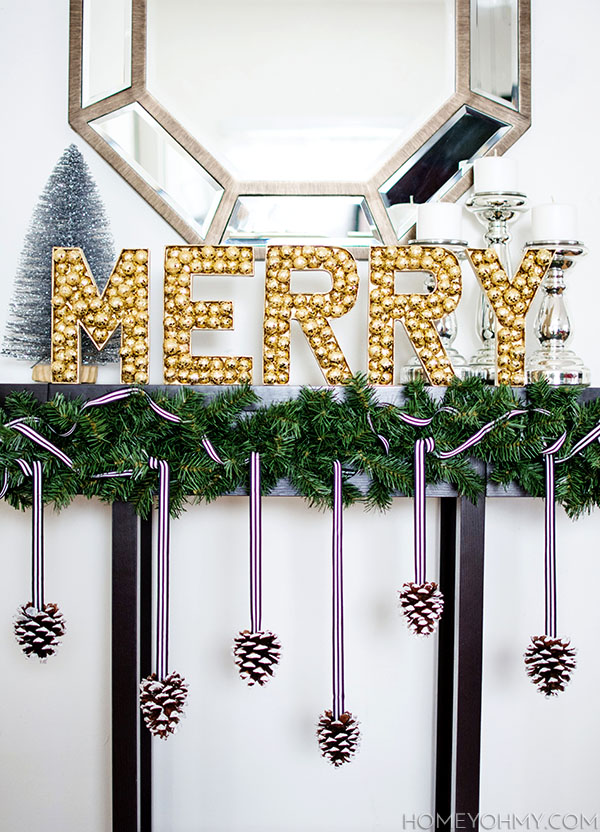
As usual, I pretended that my entryway table is a mantel, which was part of the inspiration for this project. These letters are perfect for a holiday mantel display, and though I’m not much into the glittery sparkly things for the everyday, I’m not shy about bringing it on for the holidays, so I went for it with this one while keeping it, as always, simple.
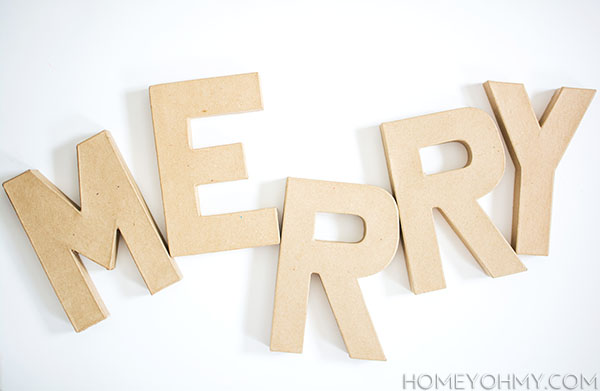
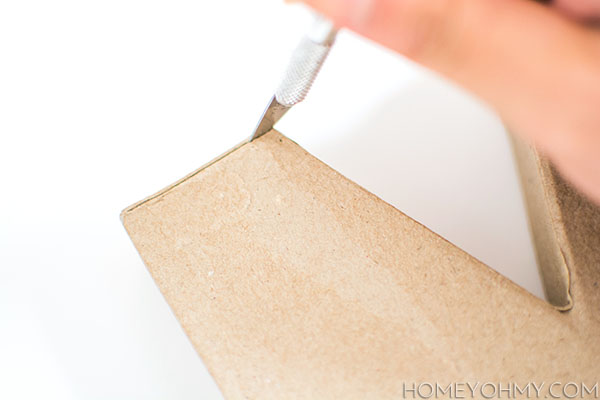
I got these cardboard letters from JoAnn and cut out the front side of each of them with an X-ACTO knife.

Once cut, I spray painted the inside and outside edges of each letter with this gold spray paint. This didn’t have to be neat on the insides since I’d be covering them up anyway, but I did take a little more care with painting the outside edges since they’d be more visible.
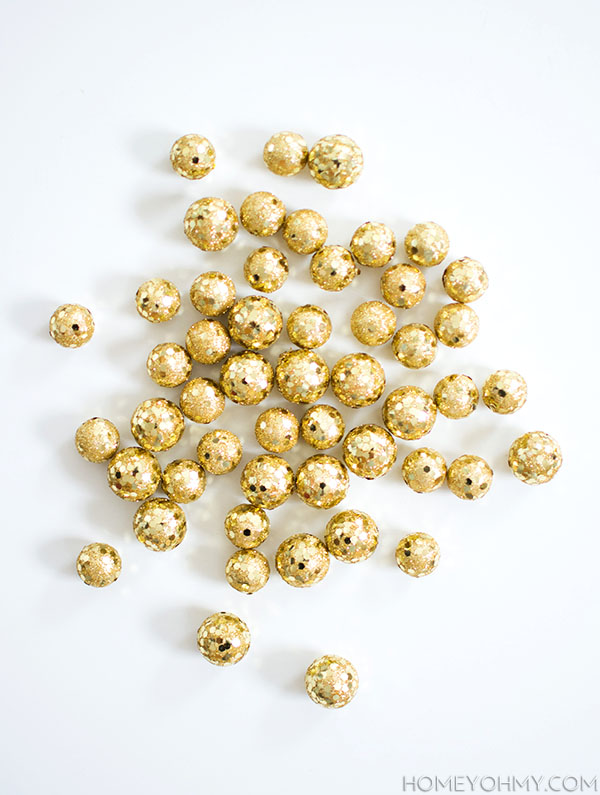 The magic of this project is this decorative gold filler, which I found at Michaels. The way they sparkle and catch the light is gorgeous, and a bit reminiscent of the way marquee signs glow and shine.
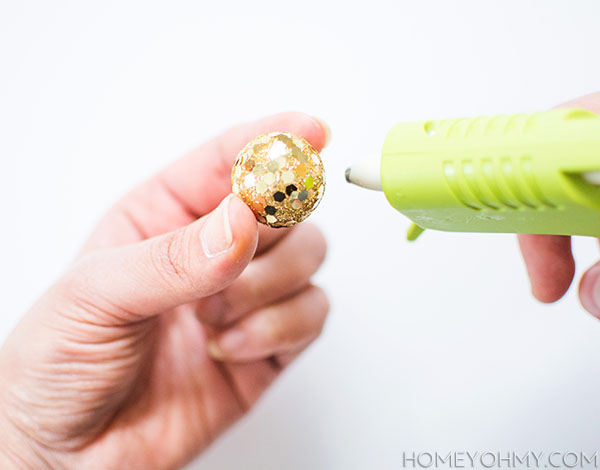 I applied a small dab of hot glue to each ball and stuck them inside the letters.
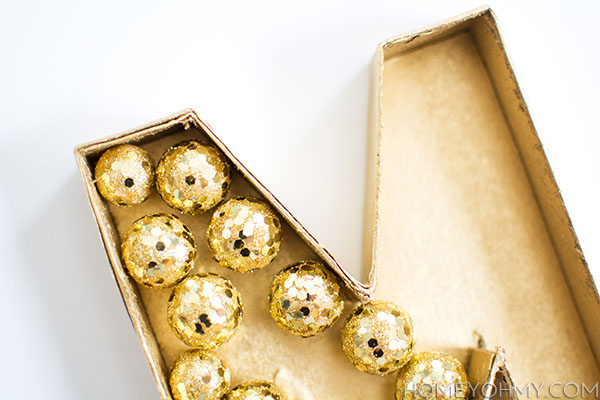 I first glued a bottom layer of the filler before adding some on top.
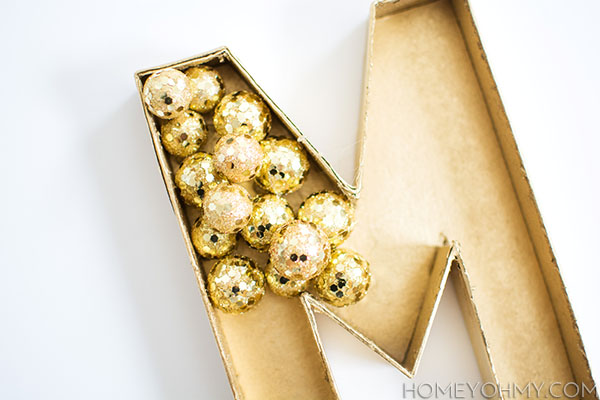 Pretty simple process, right? Especially when considering the huge impact a little cutting, painting, and gluing can make.
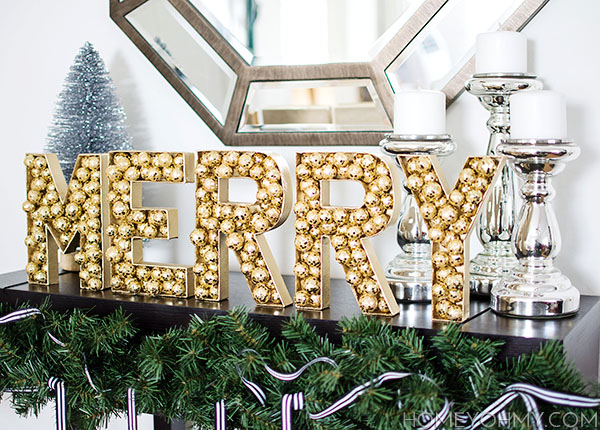
BONUS STEPS for anyone wondering about the pinecones hanging underneath- it was a last second idea I came up with while styling this display that was SO easy to do that I decided I’d throw in here.
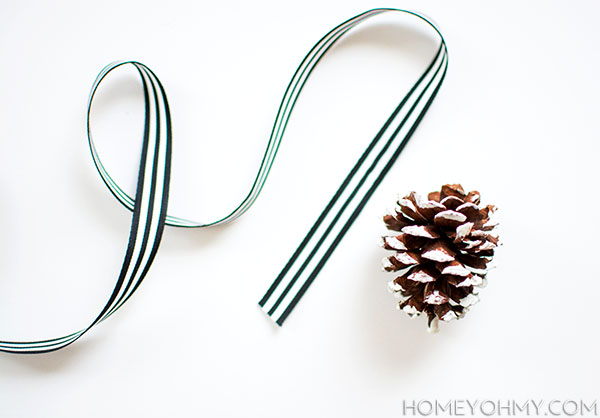
It’s just ribbon and pine cones, y’all.
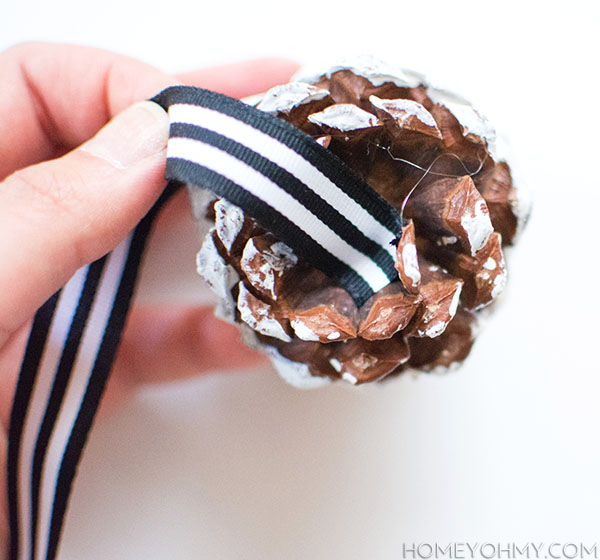 Using a glue gun, I glued the end of each piece of ribbon to the bottom of a pine cone.
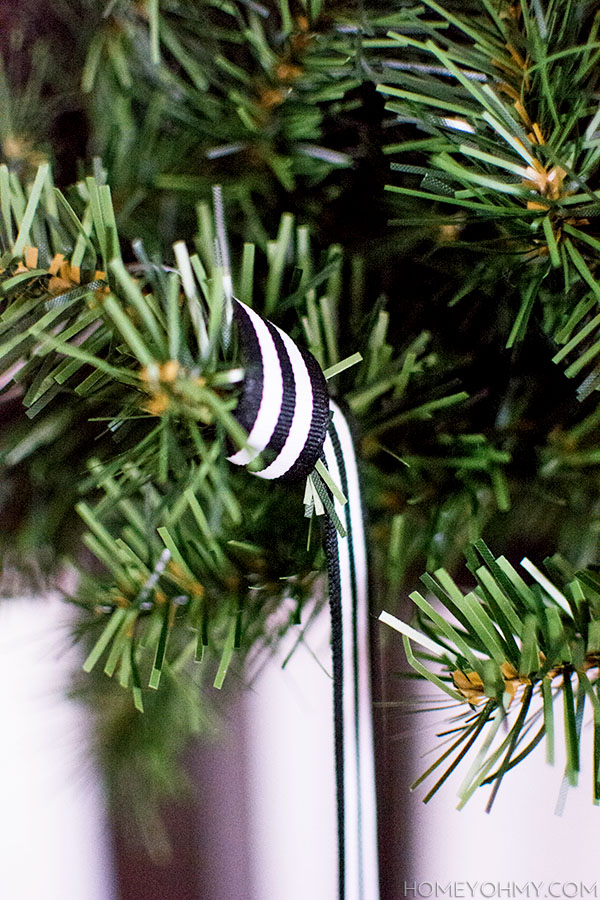 I wrapped the ribbon around the branches of the faux evergreen garland I hung up around the edges of the table, making each pine cone hang at a different length. I also cut the ribbon in fairly long pieces so that I could weave the excess through the rest of the evergreen garland.

 Tis the season of mantel envy as they say (or maybe I just say that?), and this is how I’m coping with not having one, and it ain’t bad! It makes me so happy and warm to look at it, which is all I wanted other than to add even more gold to my home this season. I’ve been a little quiet on the gold lately, but it will be making it’s way back with my holiday decorating this time. Last year was silver- isn’t that weird of me?
If you haven’t made your way over to see Merry Mag, do it now. Please. It’s so good and guaranteed to inspire your holiday celebrations and style. Let me know what you think of it, too! I’d love to hear if you guys are enjoying it as much as I am.
Ahh, how do you do that every time, you just made my jaw drop again with all that pretty! UHmazing idea. Also, congrats on being in the first edition of Merry Mag!
Too nice, Steph! Didn’t think I’d give you that reaction haha. Thanks so much, girl!
so cute Amy! Love this idea
Thanks so much, Kristin!
Eeek! That is beautiful!! The magazine is full of wonderful ideas as well! Definitely going to use my lunch break to check out the mag a little more. Congratulations!
Yay I hope you enjoyed it! Means a lot that you checked it out, thank you!
Such a simple idea that has maximum effect! So great x
Thanks, Kate! That’s exactly the way I like to craft :)
SOOOOO pretty! LOVE, LOVE, LOVE the textures in this!!!
Thanks Kristi! Was totally paying attention to textures on this one. Good to know you appreciate that <3.
Very cute! Love the 3D element of those sparkly balls inside the letters!
Yea! It turned out better than I thought, actually. Thanks, Jessica!
So pretty! Congrats on being featured in Merry Mag!
Thanks so much, Caitlin!
This is fantastic! Those little gold balls are amazing and I love how they don’t fit perfectly in the letters. :) And congrats on the magazine, I can’t wait to check it out!
I did panic a little at first that they weren’t fitting in perfect rows as I initially wanted, but now I agree that the imperfect fit looks really nice as well ;) Thanks, Bre! Hope you enjoy the magazine!
Can’t explain how much I love this! And can’t wait to see the rest of the mag *.*
Aw, thank you Irene! I promise you’ll love the mag <3
This is an absolutely beautiful christmas display. Probably one of the best DIYed ones I’ve ever seen. Stunning. Great job. :)
I’m honored that you think so! Thanks for the amazing compliment, Heidi <3
That is so pretty. Where did you purchase your console table?
Thanks, Amy! I got it from Urban Home over a year ago, so no idea if they still have it.
Love this project (marquee letters are a fav!) and the whole magazine!
Also, wondering where you got your mirror above the fireplace?
Thank you Meredith, and so glad you’re enjoying the magazine! The mirror is from Kenroy Home, which you can find here. I also recently talked about it in this post.
I love it!!! Good work, it’s the perfect blend of crafty/cute and elegant.
Thank youuuu! I love the way you described it <3
Saw this and loved it! Disco all the way, baby!
Adorable! I’ve got to try this. And those pinecones are so great.
You are awesome. The magazine is amazing. Love it all
UHHHH-mazing!!!! I’m totally going to do this and show you my end product!! Super cute and creative!! Love love love this!!! Just found your site on IG, and I love every post!
Hi Courtney!!! That’s SO amazing to hear. I can’t wait to see how yours turns out! Really appreciate you coming by <3