11/04 DIY Projects

DIY Monogrammed Cup

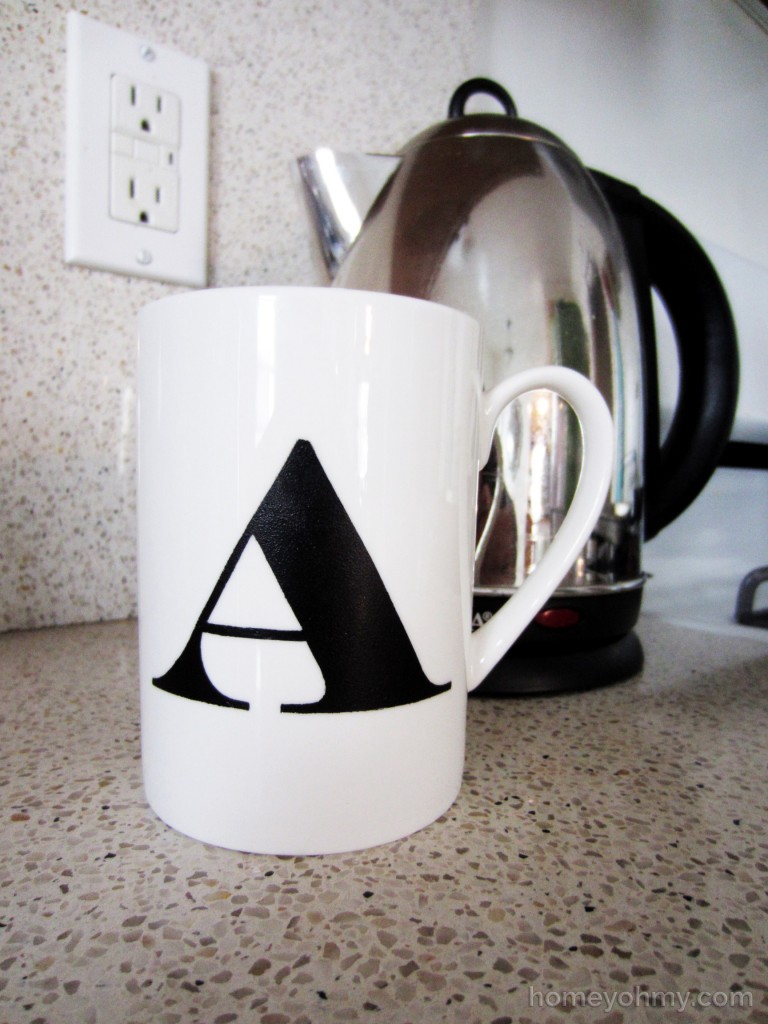
 Monogrammed cup

November is here!  This month is all about Thanksgiving frenzy but it’s also the time to start thinking about that other big holiday…  I’m talking about planning for Christmas gifts.  If you’re like me and want to avoid the mall at all costs during the month of December, now is the time to start figuring out those gifts.  This is especially important if you’re going the DIY route, because let’s be real- these projects don’t always turn out as planned, and if you have a lot gifts to make, it’s always better to start sooner to give yourself more wiggle room.

This monogrammed cup can be a really easy project if you use a pre-made adhesive stencil, but I’m going to show you how you can make your own stencil in case you want to go with a unique font or a design (or if you don’t feel like buying a pack of alphabet stencils).

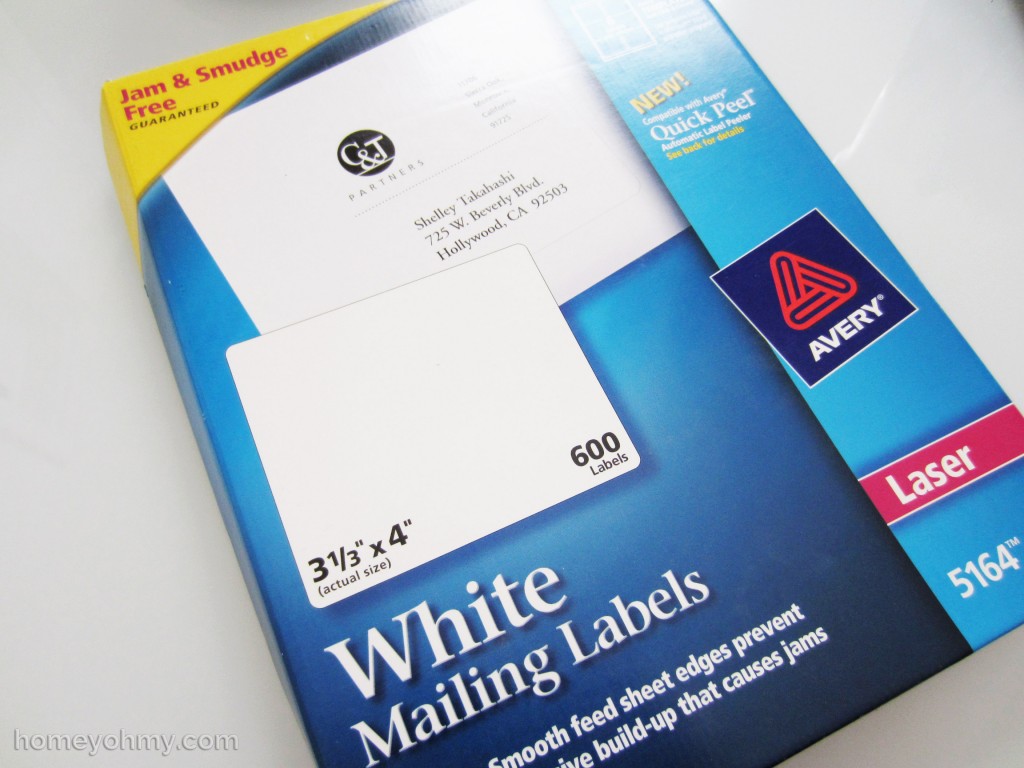
I made my stencil from one of these mailing label stickers.

Mailing labels

The decision to use these was a spontaneous one.  I didn’t even know I had them when I came across them in my desk drawer, and the light shined down and I heard a voice say, “Use it to make a stencil.”

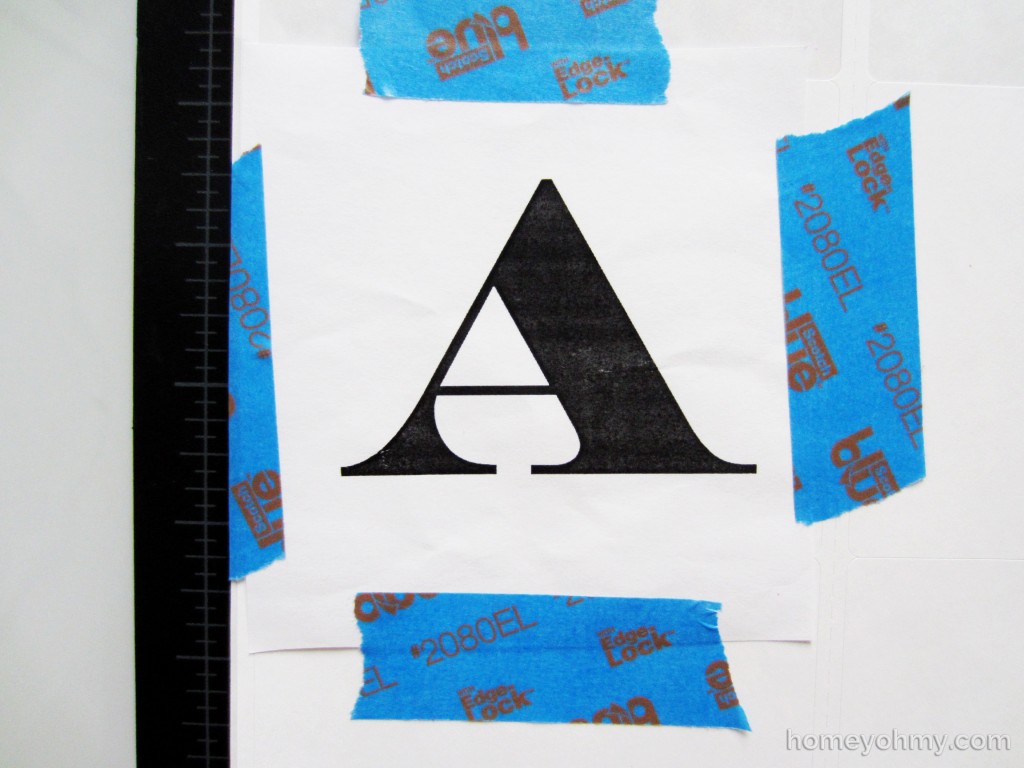
Print the monogram on a piece of paper in a font you like to your desired size and tape it with painters tape to one of the mailing labels.

Monogram taped

Working on top of a cutting mat, cut out the letter with an X-acto knife.  If your letter has a hole in it like the letter “A”, cut that piece out first and save it since you will need to apply it later.

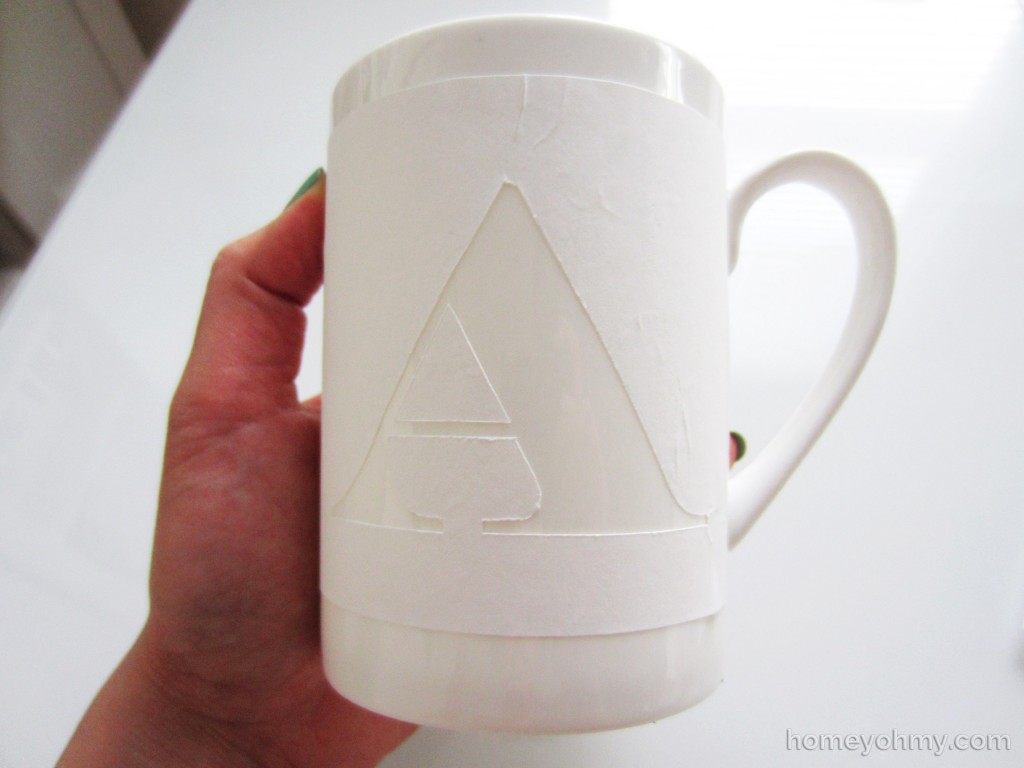
Remove the paper and you should be left with the mailing label stencil with the letter cut out of it. Peel it off and apply it to your cup.

 Monogram stencil applied

As I mentioned earlier, if your letter has a hole in it, that piece you initially cut out will need to be applied free-handed since it’s a floating piece.  It took me several tries to apply it just right.

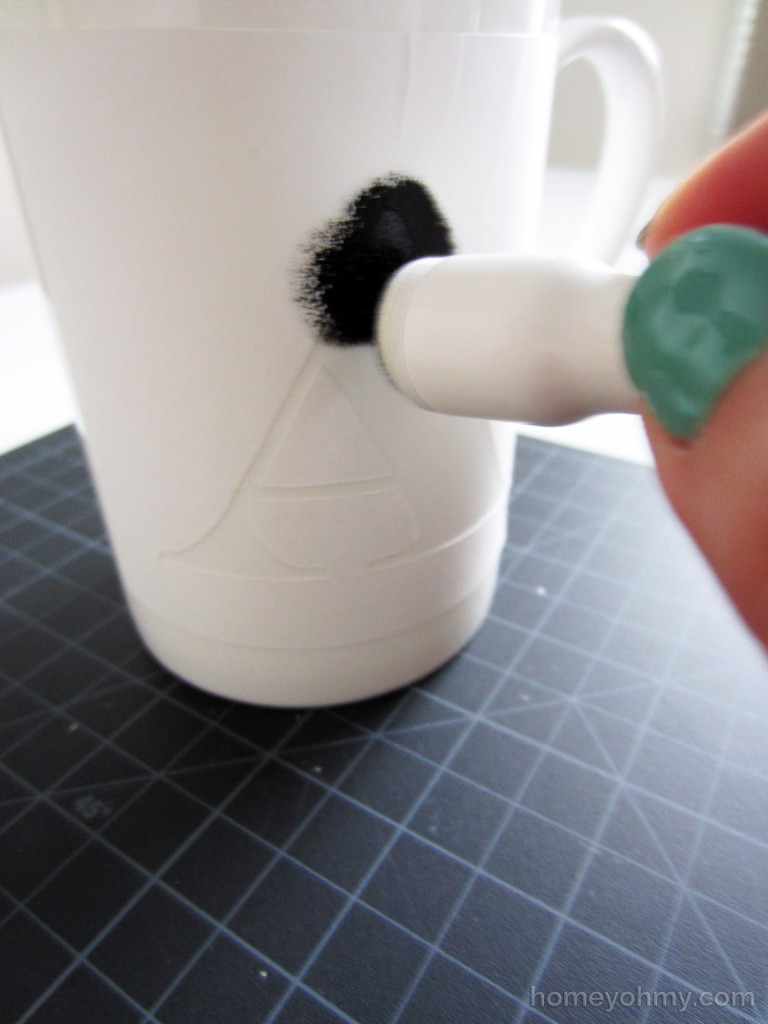
This next step is the most important part.  Use a dauber or any foam material that allows you to dab on the acrylic paint.  I used Martha Stewart Satin Acrylic Paint in Beetle Black , which has a slight sheen to its finish.

Paint dauber

There are two reasons for why daubing is important.  First, it helps minimize the paint from otherwise being brushed under the stencil edges, thus will help you achieve cleaner lines.  Secondly, paint slips and slides on a surface like this ceramic cup and if you use a bristle brush, you’ll find that the paint applies unevenly and will require multiple coats in order to get opaque coverage with even texture.  Not with a dauber.  I only needed to apply one coat to get the color opaque.

Remove the stencil while the paint is still wet.  The first time I tried this project, I applied two layers of paint and had to wait for it to dry in between layers, so when I removed the stencil, it stripped off some of the paint with it  .  So, it is super important that you apply one good coat of paint and remove the stencil immediately.  Lesson learned.

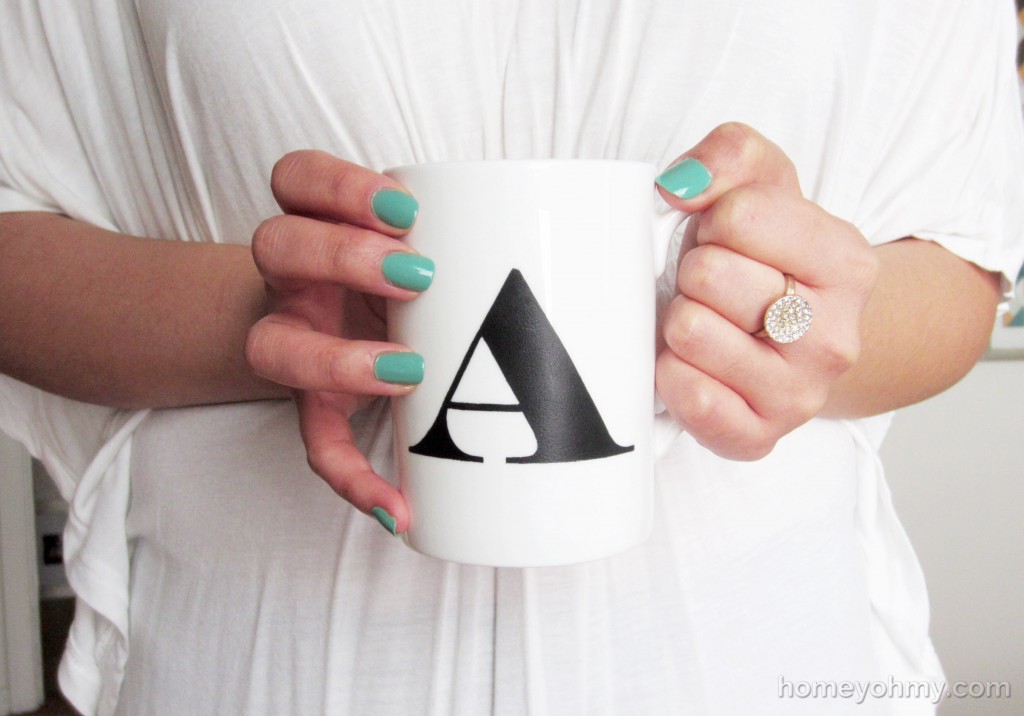
Finally, you can either cure the paint by air-drying for 21 days or by baking it.  The directions are to place the cup in the oven before turning it on to 350 degrees.  Once the oven reaches 350, bake the cup for 30 minutes before turning the oven off.  Leave the cup in the oven until it is completely cooled down before removing (This takes hours.  Go run errands or do this before you go to bed.)  Your monogrammed cup should now be dishwasher safe!

Monogrammed cup held

I’ll be honest- this cup is a gift to myself  .  If I were to gift it to someone else however, I think it would be cute to put in a small bag of baked goodies tied with a bow (yay bows!) or you could keep to the theme of the cup and put in packets of hot cocoa or coffee with cute stirrers. This could even be re-purposed as a pencil cup to place on your desk, which is how I might use mine.

Get working on those gifts!  And of course, don’t forget to get yourself a little something as a reward for all that hard work  .  Treat yo’self.


Like what you see? Stay connected with me:

FacebookInstagramPinterestRSSTwitter

10/31 Seasonal/Holiday

Fall Decorating with Liquidambar

Every fall, there comes a point where I unwillingly accept that I can’t wear just t-shirts anymore and need to start wearing a jacket.  I drag on this realization for days, freezing at work because I refused to wear layers or running errands without the use of my arms because they’re crossed together so tightly in the attempt to contain my warmth.  I’ve been spoiled by Cali weather.  It truly is the best, where “cold” is considered anything under 70 degrees.

This is the complete opposite of where I grew up.  Chicago, where I spent the first 18 years of my life, has the most unpredictable weather that goes to the extremes.  I don’t miss the snow storms or the intense humidity in the summers, but there is one thing I miss about the weather- how it shows the changing seasons.  In particular, I think about the leaves changing color in the fall.

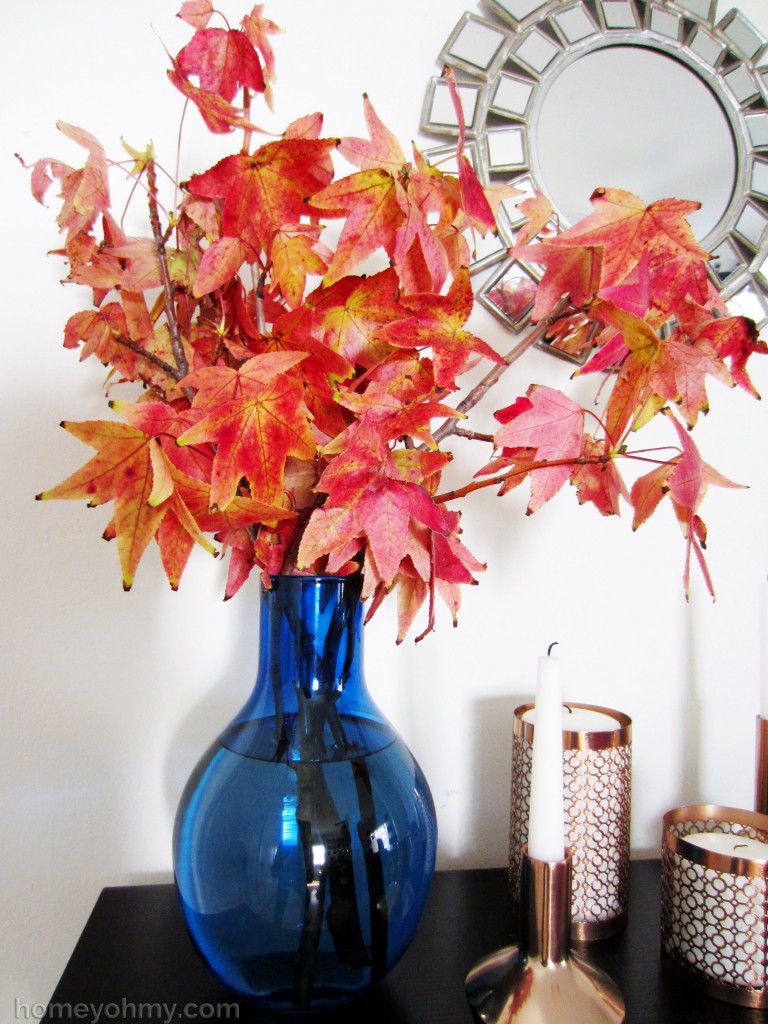
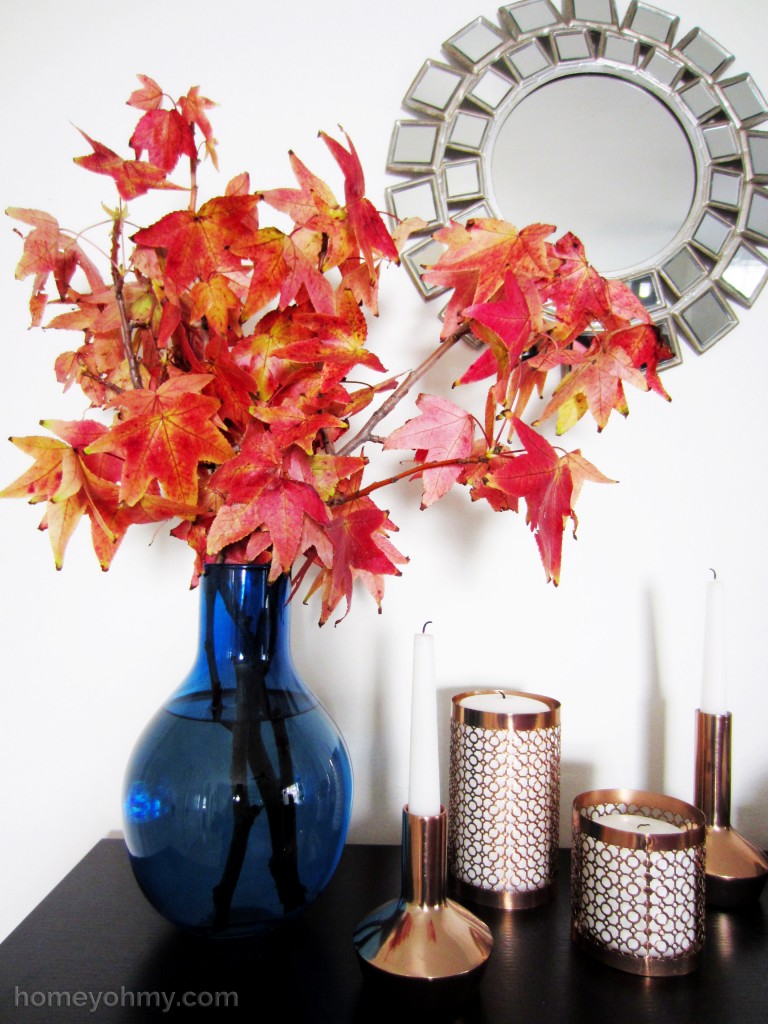
Liquidambar arrangement

I saw these liquidambar branches at Trader Joe’s and an instant memory of the street I grew up on came to mind.  The neighborhood would be swimming in red and orange leaves every fall (leaves I would have to begrudgingly rake but it’s all good).  It was a beautiful sight, and it’s something I haven’t seen here on the west coast.  I just had to have these tree branches and bring a piece of traditional fall into my home.

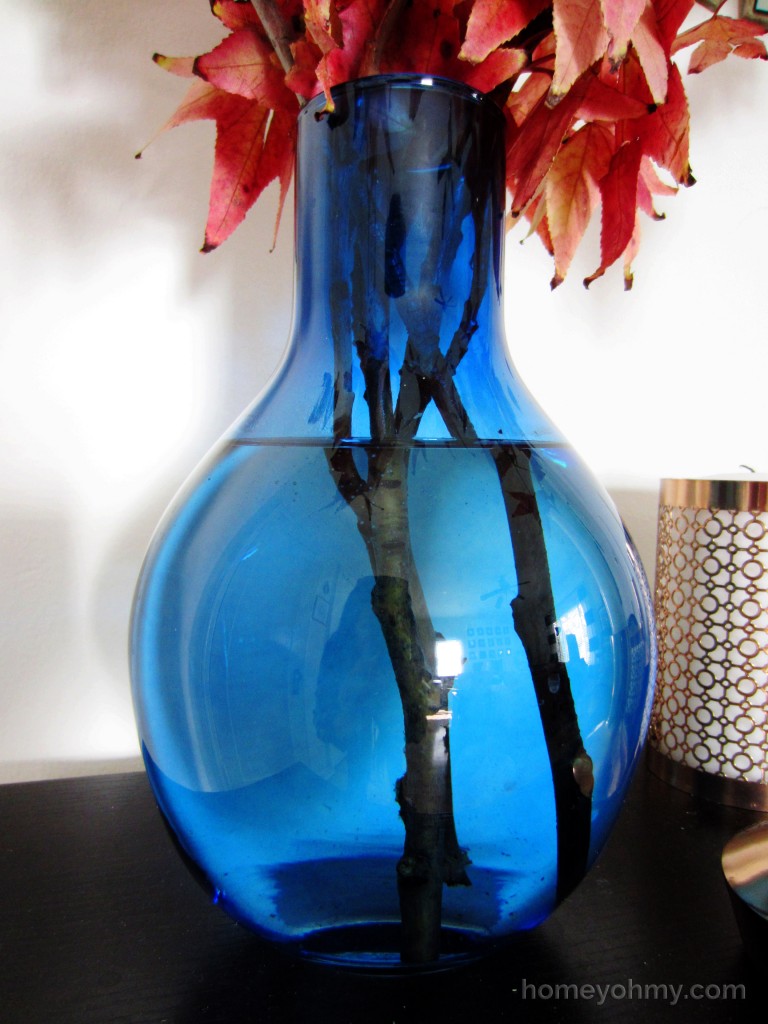
Blue vase

I arranged the branches in this beautiful blue vase because I adore the way oranges and reds look with blue.  The vase was also on clearance at Michaels and I can’t say no to a gorgeous find on clearance.  *high-five*

Liquidambar styling

The arrangement is sitting pretty on my console table next to my H&M Candle Holders and it brings me warmth and joy at the sight of it.  It’s a much needed infusion of fall color in my home and makes the fall season feel more official to me in a nostalgic way  .

Have a spectacular Halloween and a merry fall.  Thank you so much for visiting me today!


Like what you see? Stay connected with me:
FacebookInstagramPinterestRSSTwitter

10/28 DIY Projects

DIY Mercury Glass Votive Candle Holders

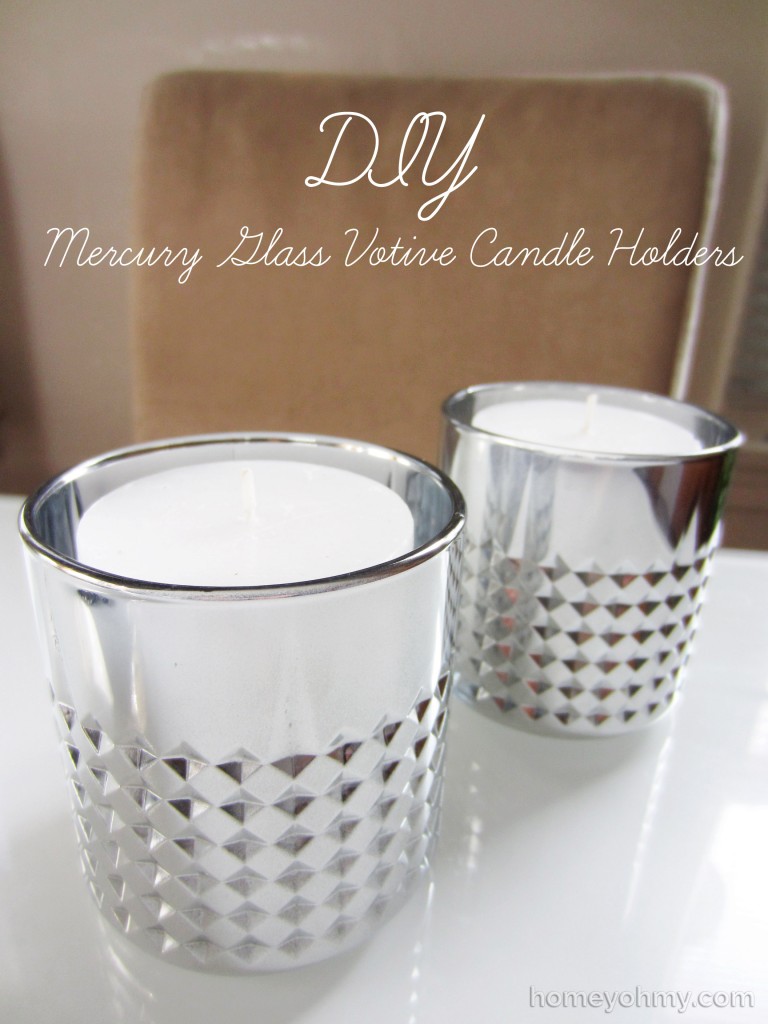
DIY mercury votive candle holders

You know I love gold, but really I have love for all metallic colors (gold is extra special, though).

I’ve been wanting to try a DIY mercury glass project for a while and though I’ve heard it can be tricky, I had an easier time than I thought I would.  It turned out different from my expectations, but in a good way.  I’ll get to that in a bit, but for now let me talk about the spray paint.

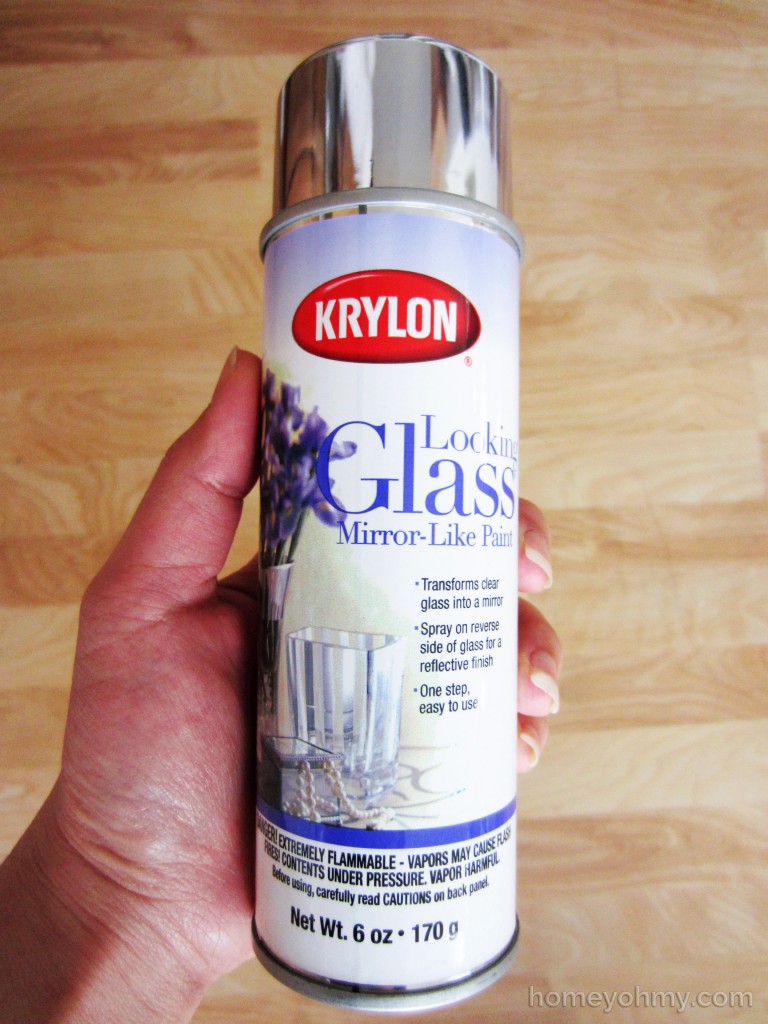
Krylon looking glass spray paint

Krylon Looking Glass Spray Paint, which you can get here (affiliate link), creates a mirror-like effect on glass.  The key to using this is to spray it on the side of the glass that is opposite of where you want the reflective surface to be.  In this case, I wanted the reflective surface to be on the inside of the votive holder, so that meant I’d have to spray the paint on the outside.

The candle holders I used aren’t originally sold for that purpose, and that’s probably my favorite part about this project.

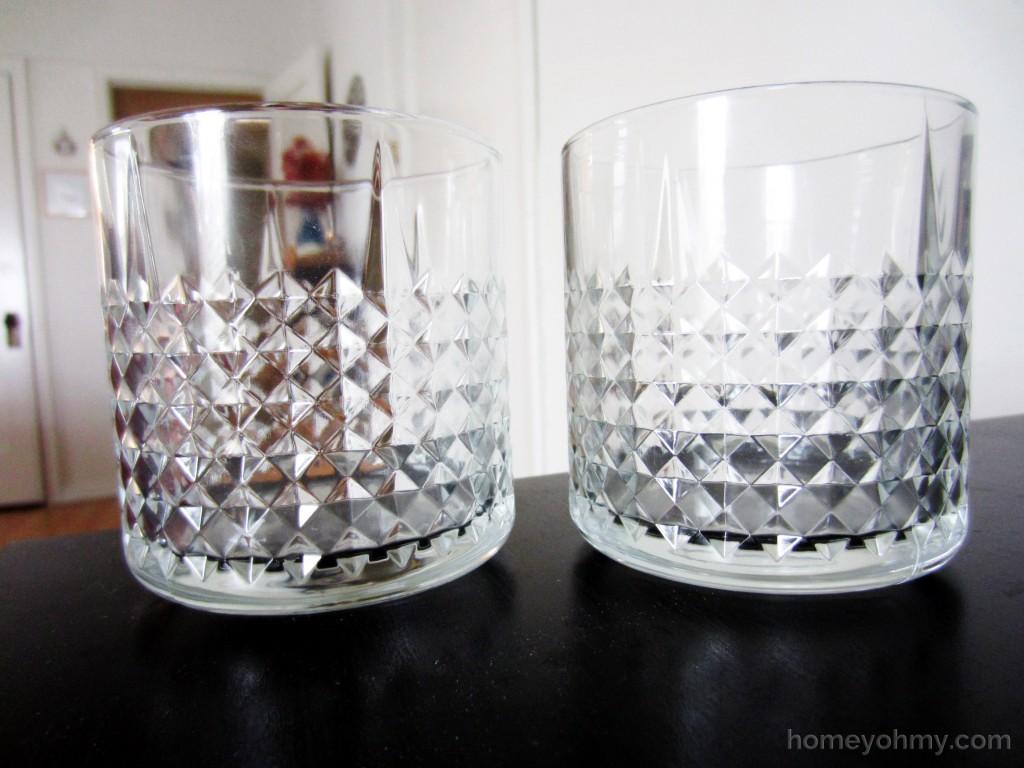
 Ikea whiskey glasses

I used these whiskey glasses from Ikea.  The second I saw them, I immediately thought that they would make beautiful candle holders because of the faceted pattern of the glass.  It’s always so exciting to me when items get re-purposed!  Huzzah!

I placed the glasses upside down and spray painted the outside surface in 6 light layers, waiting about 1 minute in between coats.  The instructions on the spray paint can say that it dries in 5-10 minutes and can be handled after an hour.  I’ve read from various sources that once the paint dries, it turns dull except for when seen through the opposite side, so I had a plan to cover the paint on the outside of the glass with gold spray paint (surprised by my color choice?).  After the paint dried however, I was pleased by what I saw.

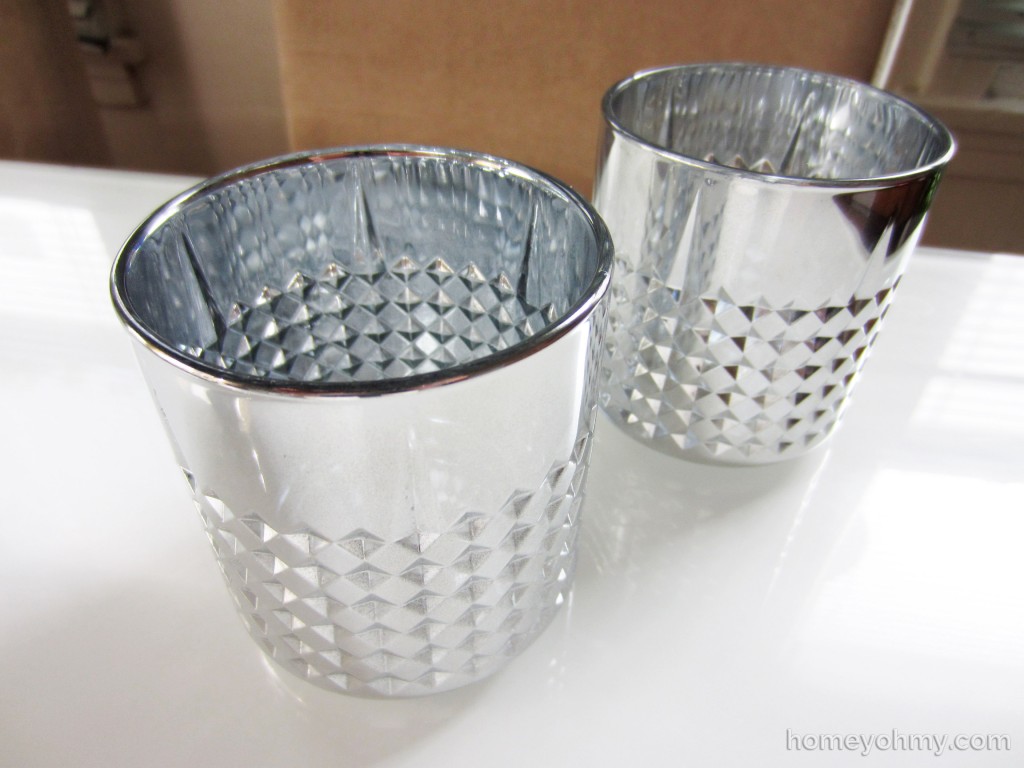
Mercury glass votive candle holders

Yes, the inside of the glass has a beautiful mirrored look as expected, but the outside of the glass wasn’t as dull as I had thought it would be.  Were my results unusual??  Or maybe my expectations were set too low.  There are some cloudy parts and it’s not as shiny as it looks when seen from the inside of the glass, but overall the mirror-like effect was achieved on the outside surface as well.  I thought it looked good just as is, so I left it like that.

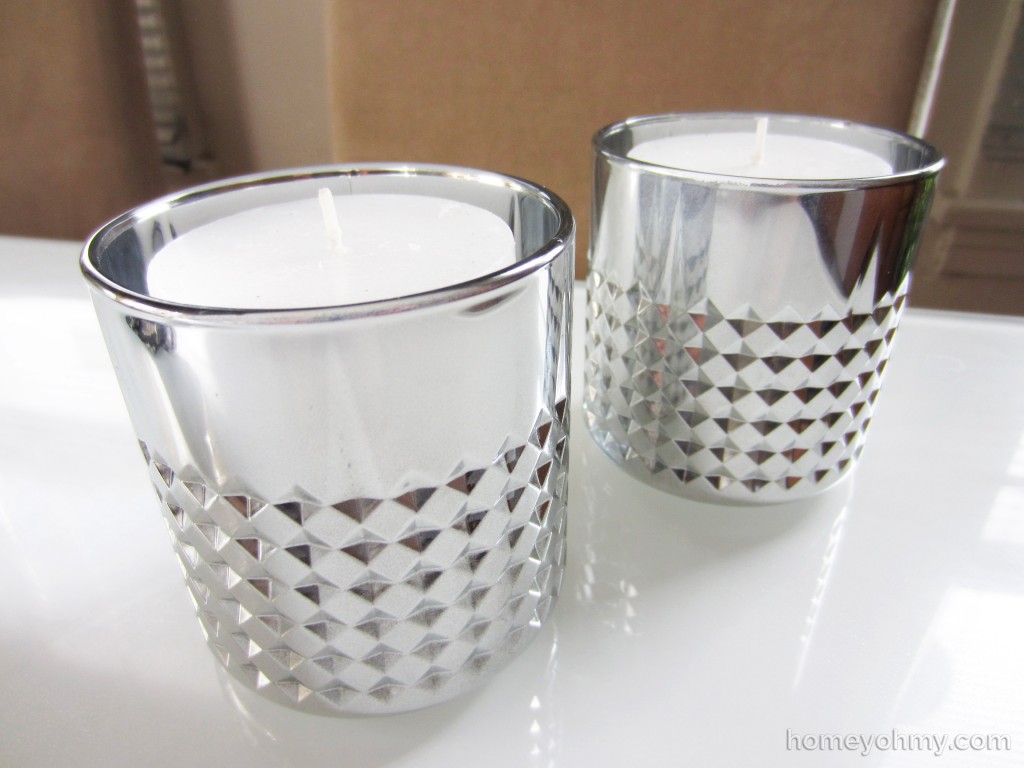
DIY mercury glass votive candle holders with candles

Simple and easy, right?  Especially when I thought I’d need to cover the Looking Glass Paint , having one less step to do makes it all the more successful in my eyes.  :)

And for anyone who likes to think ahead…

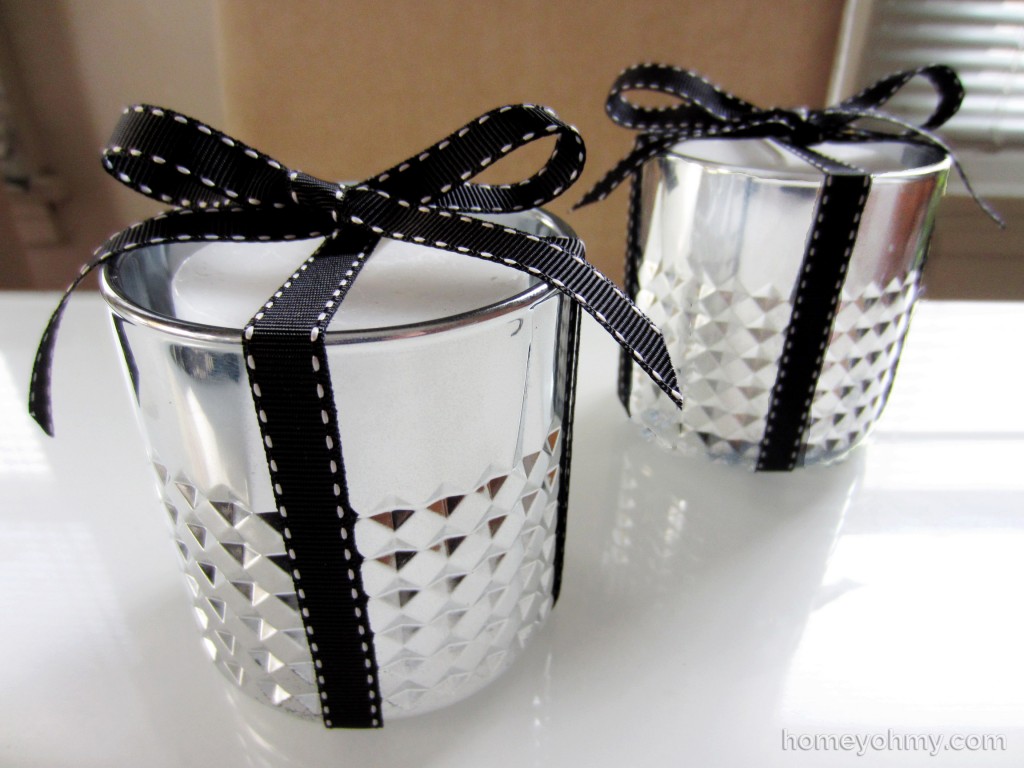
DIY mercury votive candle holders with ribbon

I know it’s not even Halloween yet, but I think these would make a great gift for the holidays, or for any occasion at that.  I decorated the candle holders with some ribbon and tied it into a bow to show how you’d be able to give this to someone as a gift.  Bows just make everything cuter, don’t they?

On that note, I have more holiday gift ideas coming up and would love if you subscribed to get email notifications so that you don’t miss a single one  .  Subscribe here!

Thank you so much for coming by!

Like what you see? Stay connected with me:

FacebookInstagramPinterestRSSTwitter

10/24 DIY Roundups / Seasonal/Holiday

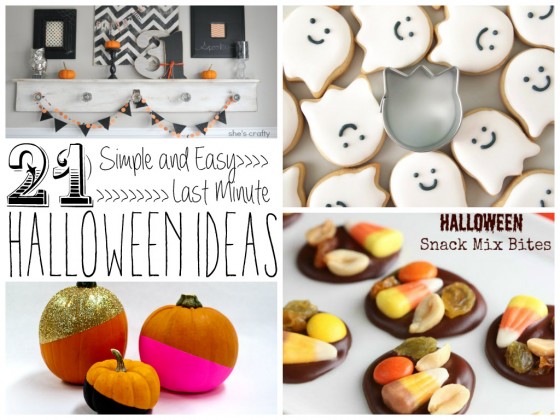
21 Simple and Easy Last Minute Halloween Ideas

21 Last Minute Halloween Ideas

Today’s post is an exciting one!  There are so many Halloween ideas from other bloggers that I absolutely love and I just had to share them with you all.  I’ve gathered up 21 simple and easy last minute Halloween projects that will inspire you for that party you’re about to throw, the treat you’d like to make, or the decor to make your home more festive for the holiday.

Read More

10/21 DIY Projects

DIY Gold Leaf Bowl

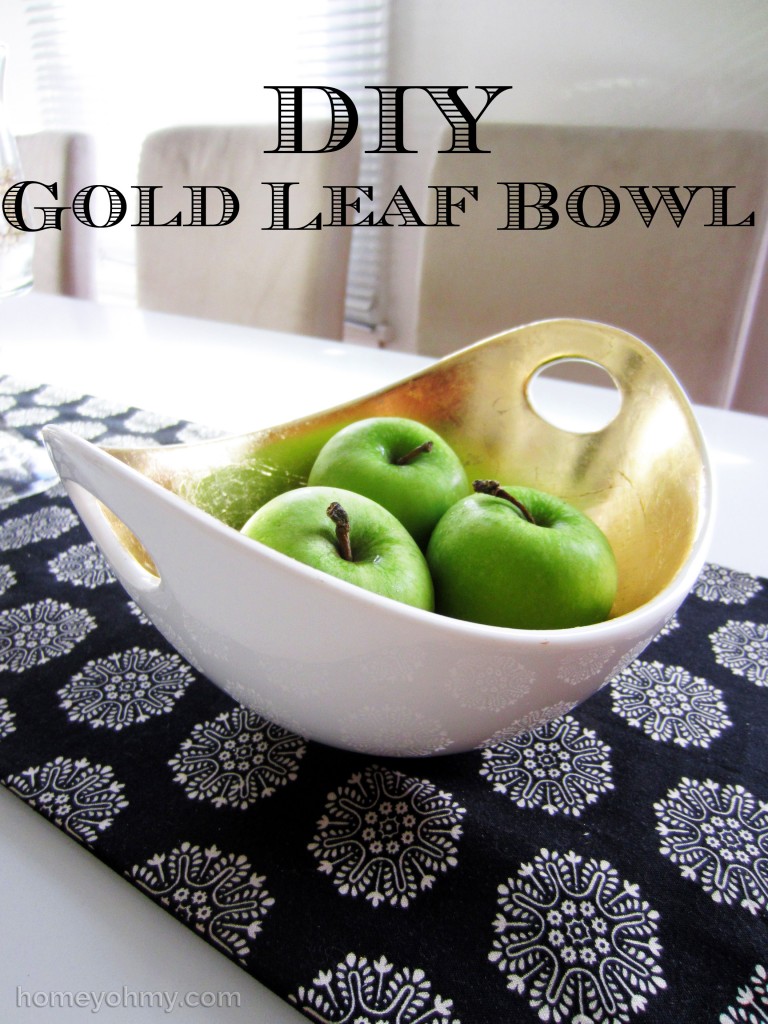
DIY Gold Leaf Bowl

My obsession with gold is something I openly share, and I’m shocked that it has taken me so long to finally try out gilding.  And let me tell you guys… I’m HOOKED.  I want to gild everything now.  While it’s more time consuming and labor intensive than something like spray painting, the results are absolutely worth it.

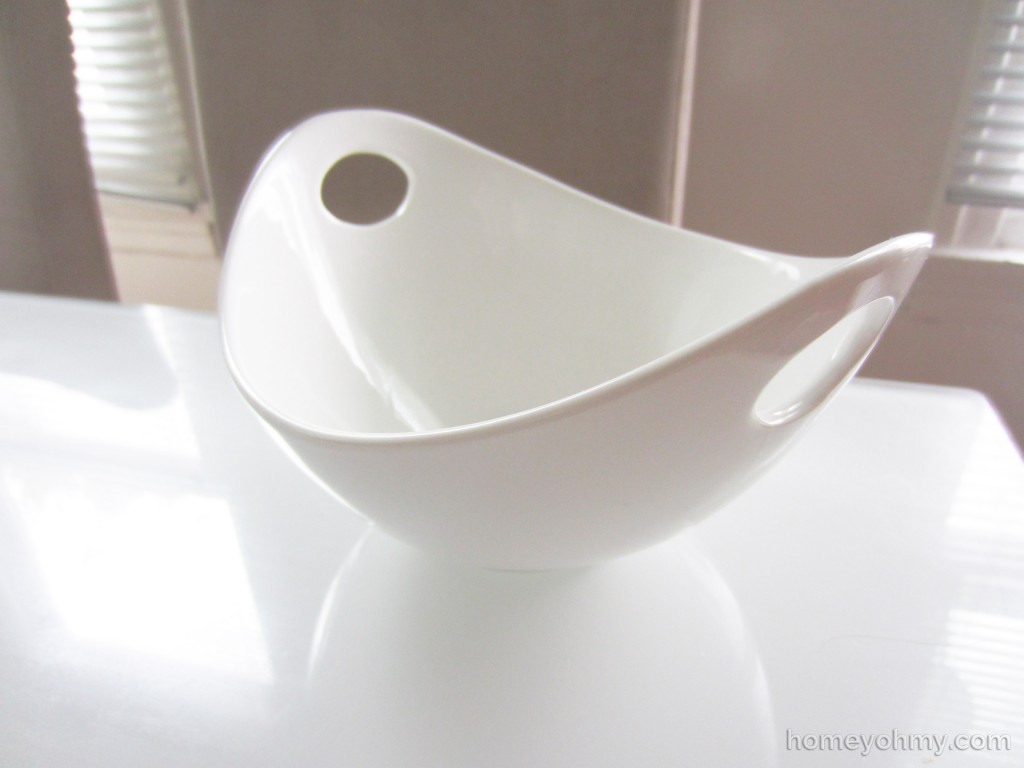
I found this white ceramic serving bowl at Marshall’s (I share these finds and treasure hunts on Instagram.  I’d love for you to follow me if you aren’t already!).

White Ceramic Serving Bowl

The interesting shape and handles caught my eye.  At the time I didn’t know I’d be gilding it, but it hit me later that this would look awesome with gold leaf on the inside.

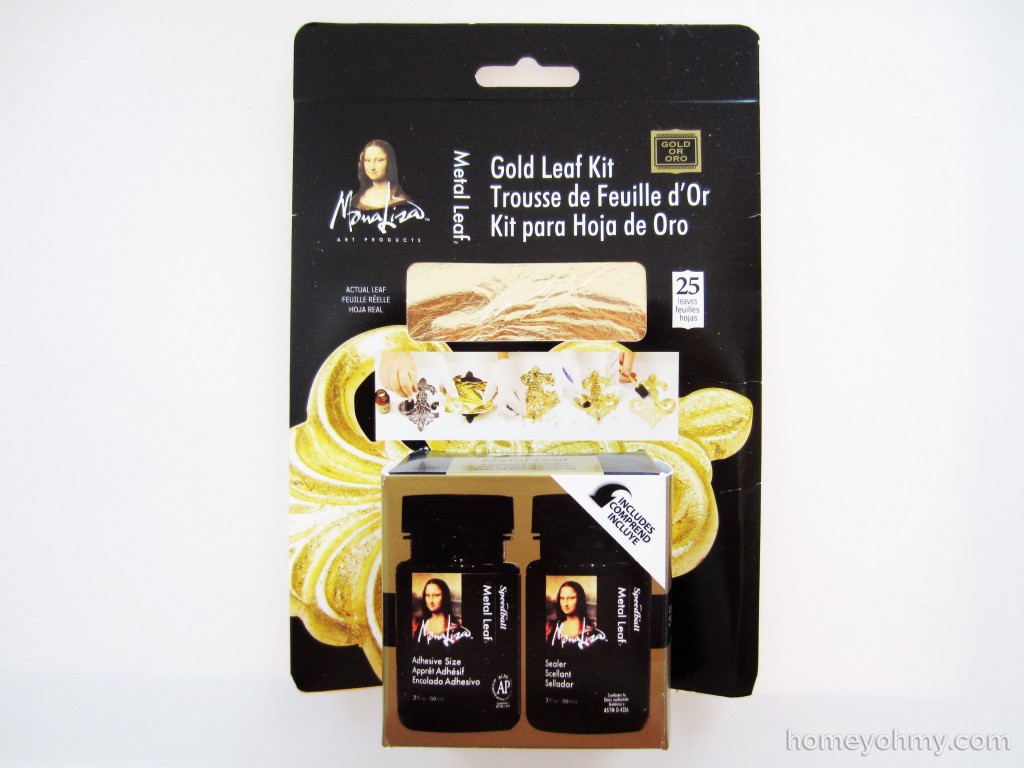
What you’ll need is gold leaf, adhesive, and sealer.

Speedball Mona Lisa Gold Leaf Kit

I got my gold leaf kit here (affiliate link).  This comes with all three items, including a good amount of gold leaf sheets.  There are instructions to help guide you through the gilding process, which I followed exactly.

First, apply a thin layer of adhesive with a paint brush to your surface, making sure the adhesive doesn’t pool up anywhere.  I waited 30 minutes for the adhesive to set before applying the gold leaf.  Because the gold leaf sheets are very thin and my surface was oddly shaped, I had a lot of trouble with the gold leaf ripping and bunching up, so take your time and be gentle!

Brushing away gold leaf

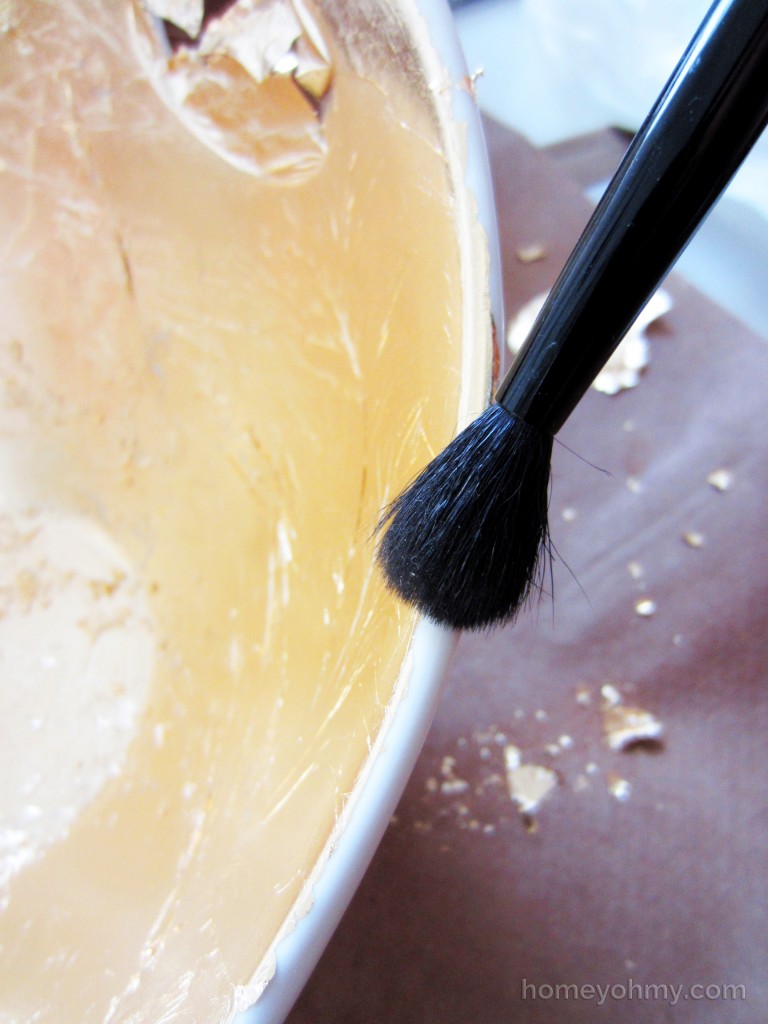
Once you’ve applied and smoothed out the gold leaf, use a soft bristle brush to brush away the excess.  I used an old eye shadow brush I had and brushed along the edges of the bowl and anywhere the gold leaf sheets overlapped.

The sealer is optional, but I applied it since I anticipate this bowl will be handled a lot and I wanted the extra protection.  If you’re gilding a surface that won’t be touched, then you can skip the sealer if you’d like.

That’s all there is to it!

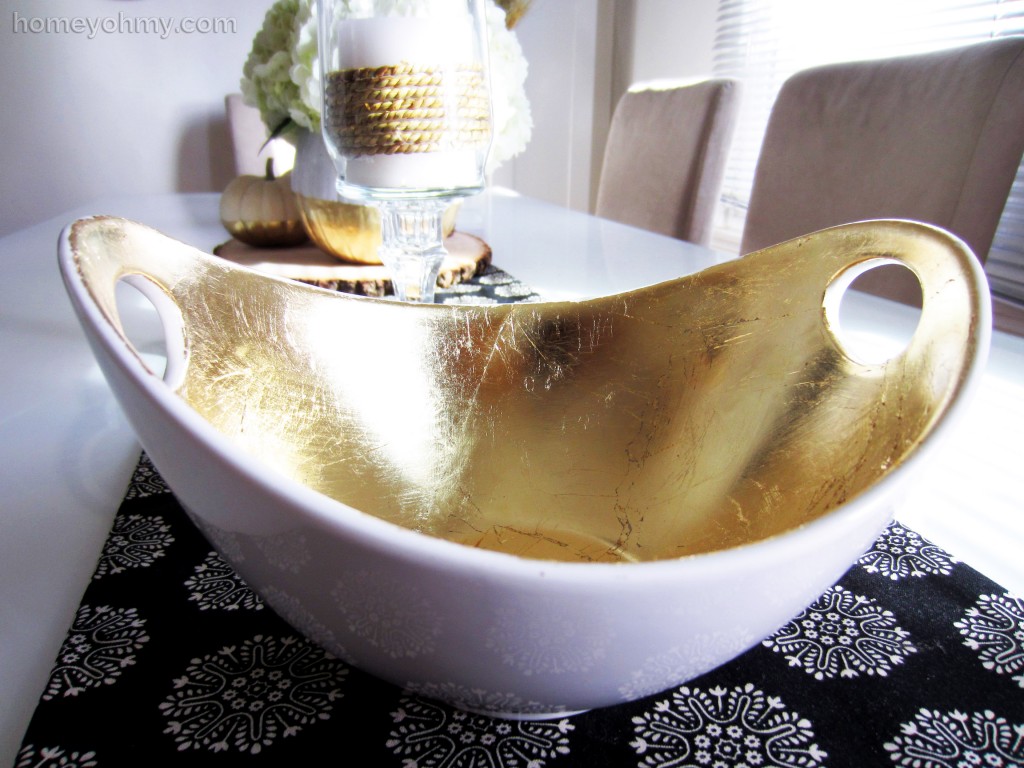
Gold leaf serving bowl

The gold leaf edges are a bit jagged, and the leaf wasn’t applied as smoothly as I had expected, but I actually really like that about it.  It’s more of an antiqued look while still having the beautiful shine of gold chrome.  I’m in love!

DIY Gold Leaf Serving Bowl

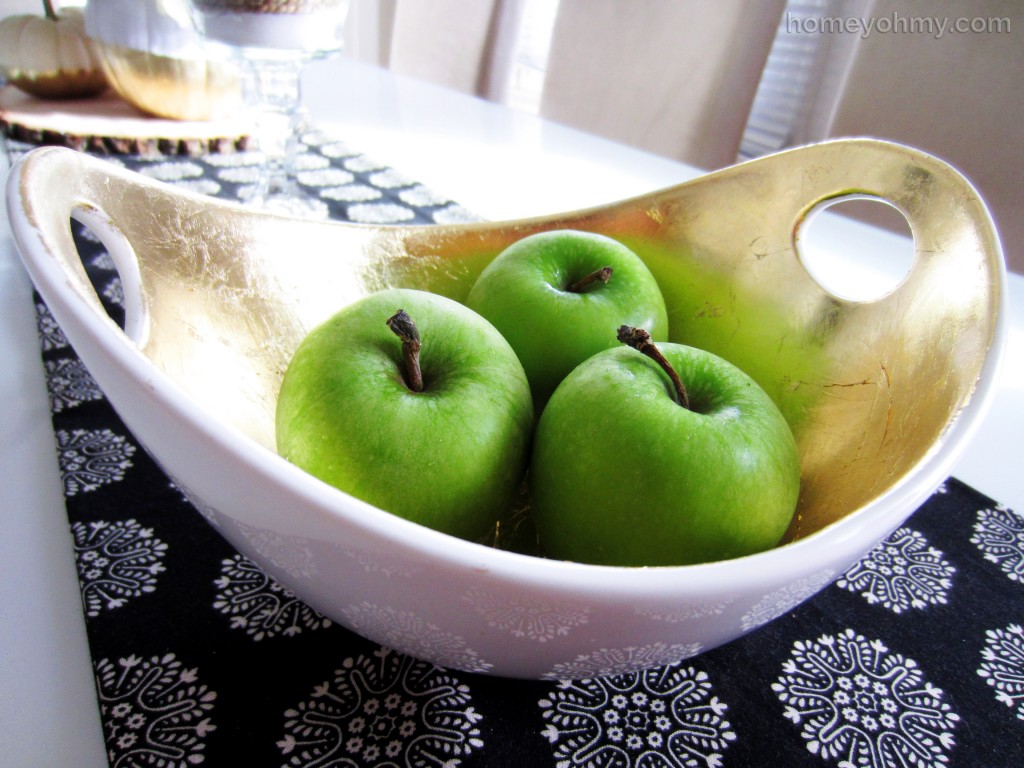
I stored some granny smith apples in the bowl and think this could make a beautiful display for Thanksgiving or just fall in general.  It should be noted that the gold leaf surface is not food safe and shouldn’t be used for serving food, but would be more ideal for holding more decorative items like gourds, pine cones, or other types of fillers.

What do you think of my gilded bowl?  What would you place inside of it?  Leave a comment to let me know!

Like what you see?  Stay connected with me:
FacebookInstagramPinterestRSSTwitter