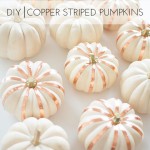
Ok, just one more pumpkin DIY, because it’s so easy and there isn’t even much to tutorialize (??) on other than a few important tips. Aside from that it’s seriously just painting and doodling on pumpkins aka fun.
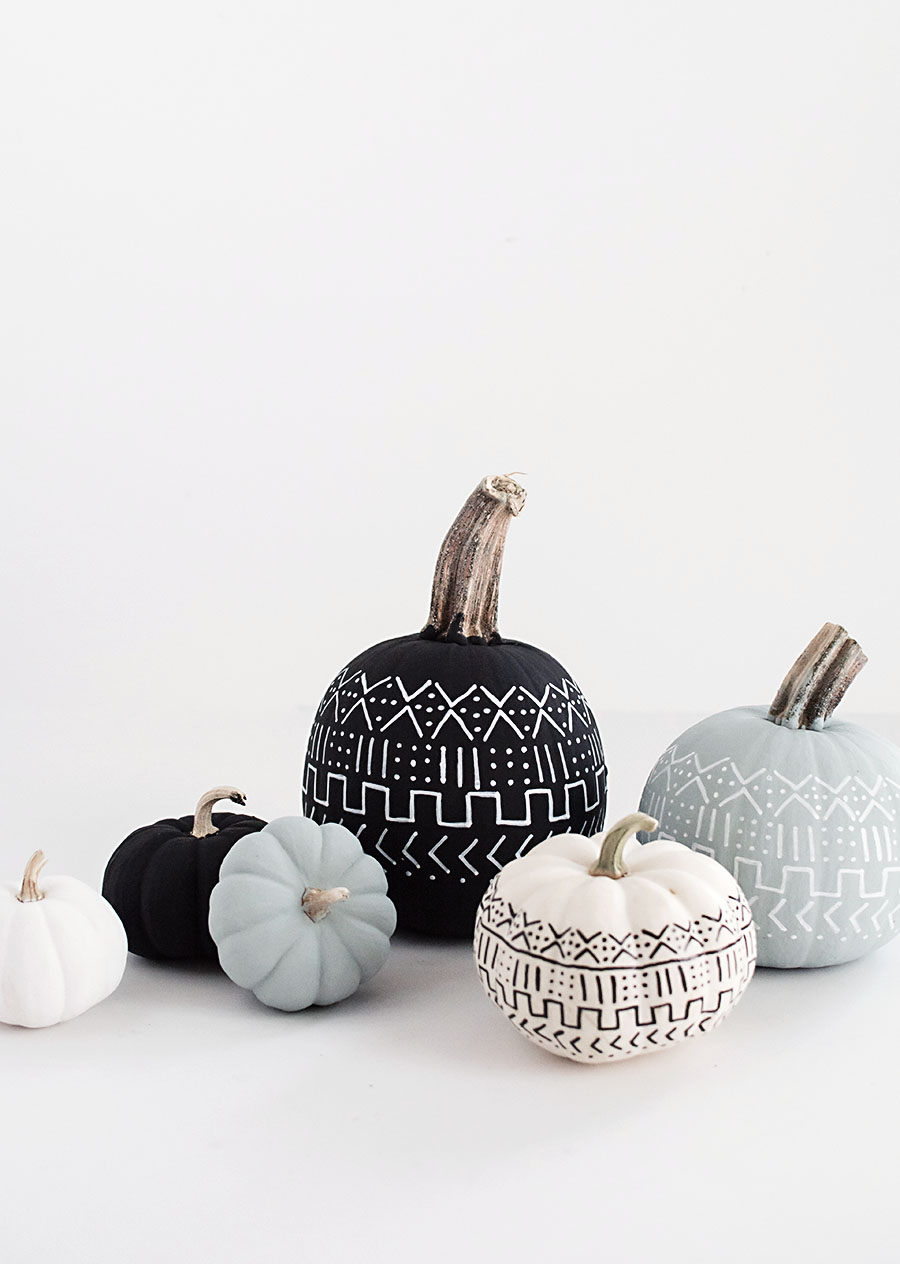
I’ve also for a long time been meaning to do something inspired by mud cloth patterns and realized… pumpkins are a great low commitment way to try out trends or designs. Really. Ombre, donut, gold foil, marble, cactus, this, that- put it on a pumpkin, enjoy it, then toss it when it dies. Easy. Just try it.
Materials:
-pumpkins, washed
-chalk paint (I used black, white, and “vintage” and got 2oz bottles from the craft store)
–foam brush
-oil-based paint pen (I used white and black)
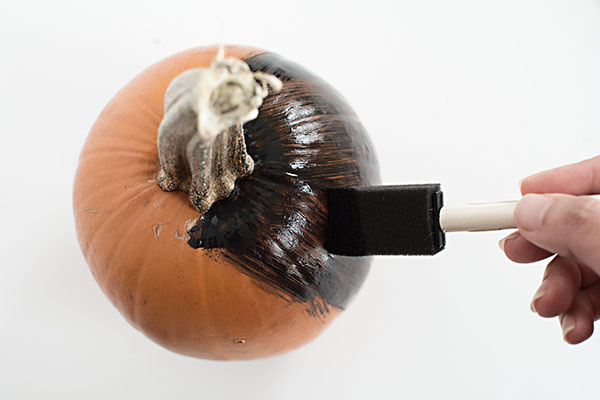 So this was my first time painting pumpkins by hand, and already we’re at tip #1: Use a dabbing motion to apply the paint to the pumpkin. The way I’m showing it above streaks the paint around and will require way more coats to get opaque coverage, so save yourself time and dab (I did this later, it’s much much better). The paint needs to dry completely after a few coats before moving on.
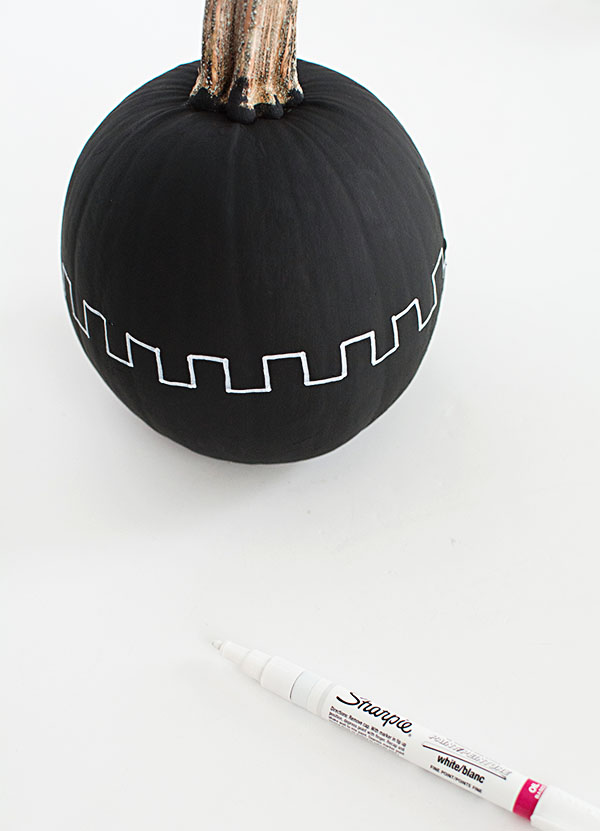 Referring to mud cloth patterns as inspiration (search “mud cloth” on Pinterest), I planned out my design on paper first, then started with the center pattern of the design to draw around the pumpkin.
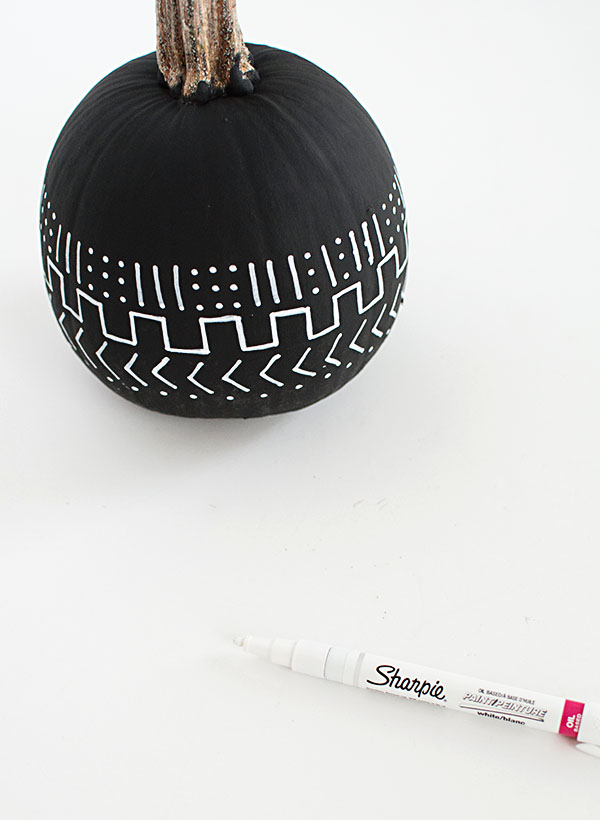
Tip #2: Don’t press too hard with the pen or it will scrape off the chalk paint on the pumpkin.
Tip #3: Keep the paint pens wet and loaded. These pens have those tips that depress to release paint, and regularly depressing (on a scrap piece of paper) and keeping the tip loaded with paint will reduce any drag on the pumpkin surface, therefore reducing chances of scraping off the chalk paint.
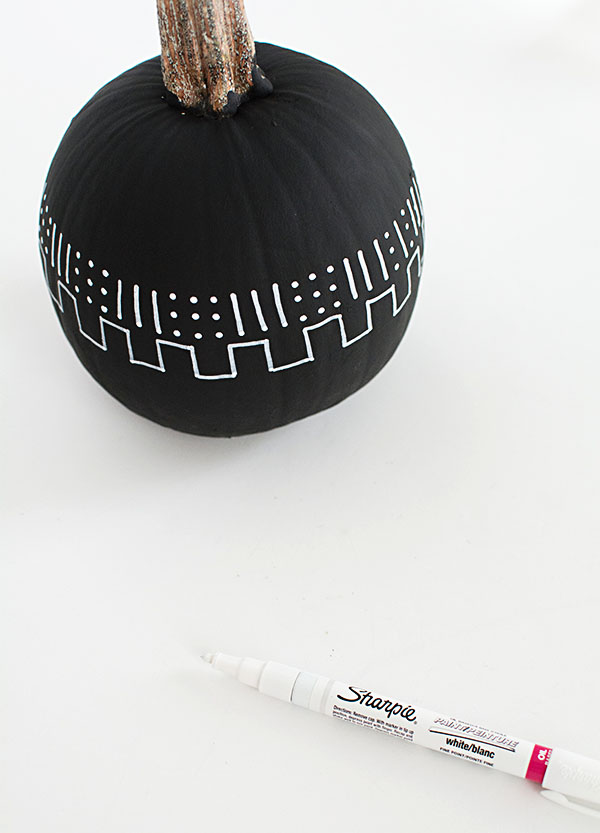 Next, I drew on the row above the center pattern…
 …then the row below…
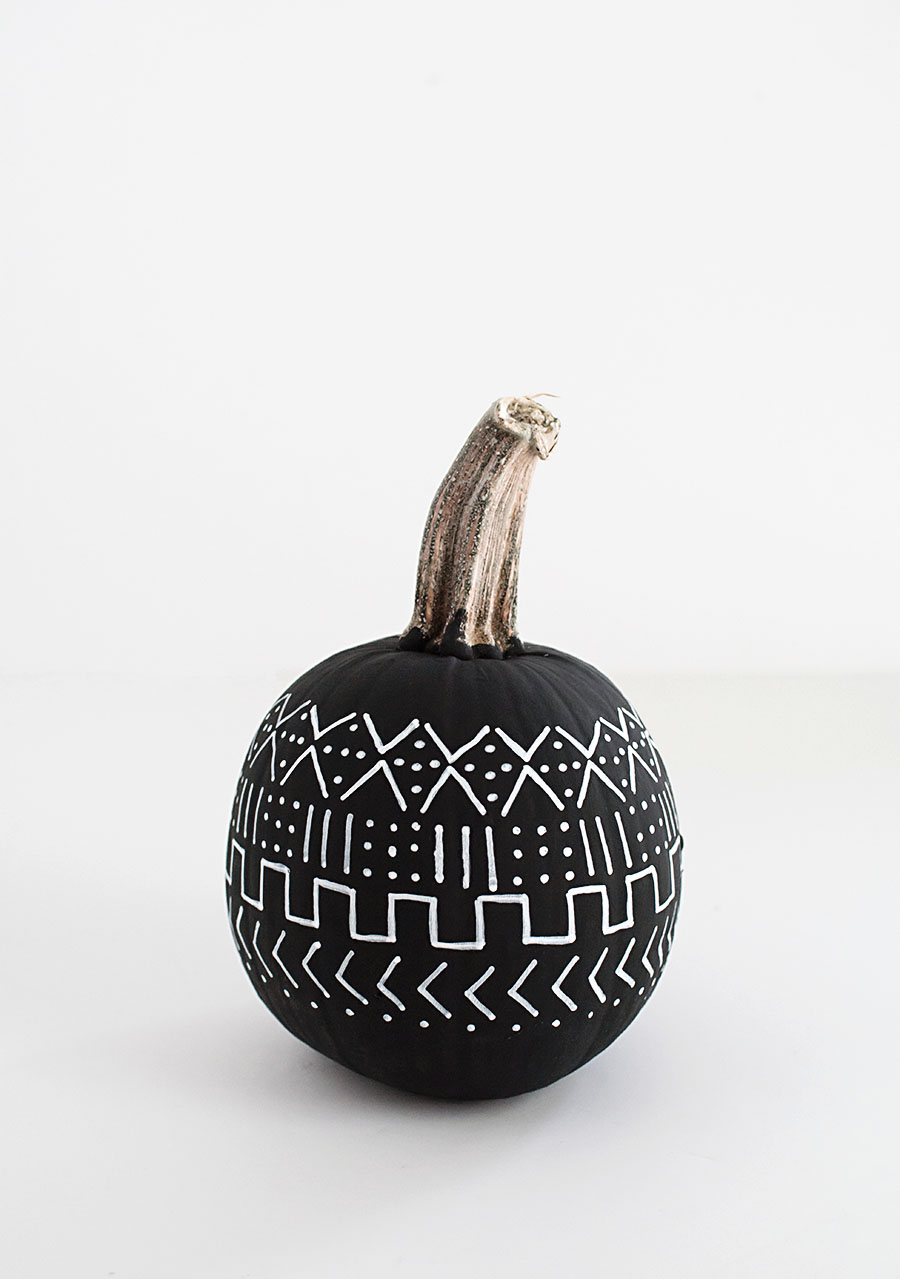
…then one more row on top.
Tip #4: Wait for each row of paint pen to dry before moving on to the next row. This will reduce the chances of smearing a still wet row with your hand as you draw the next row (yup, this happened to me).
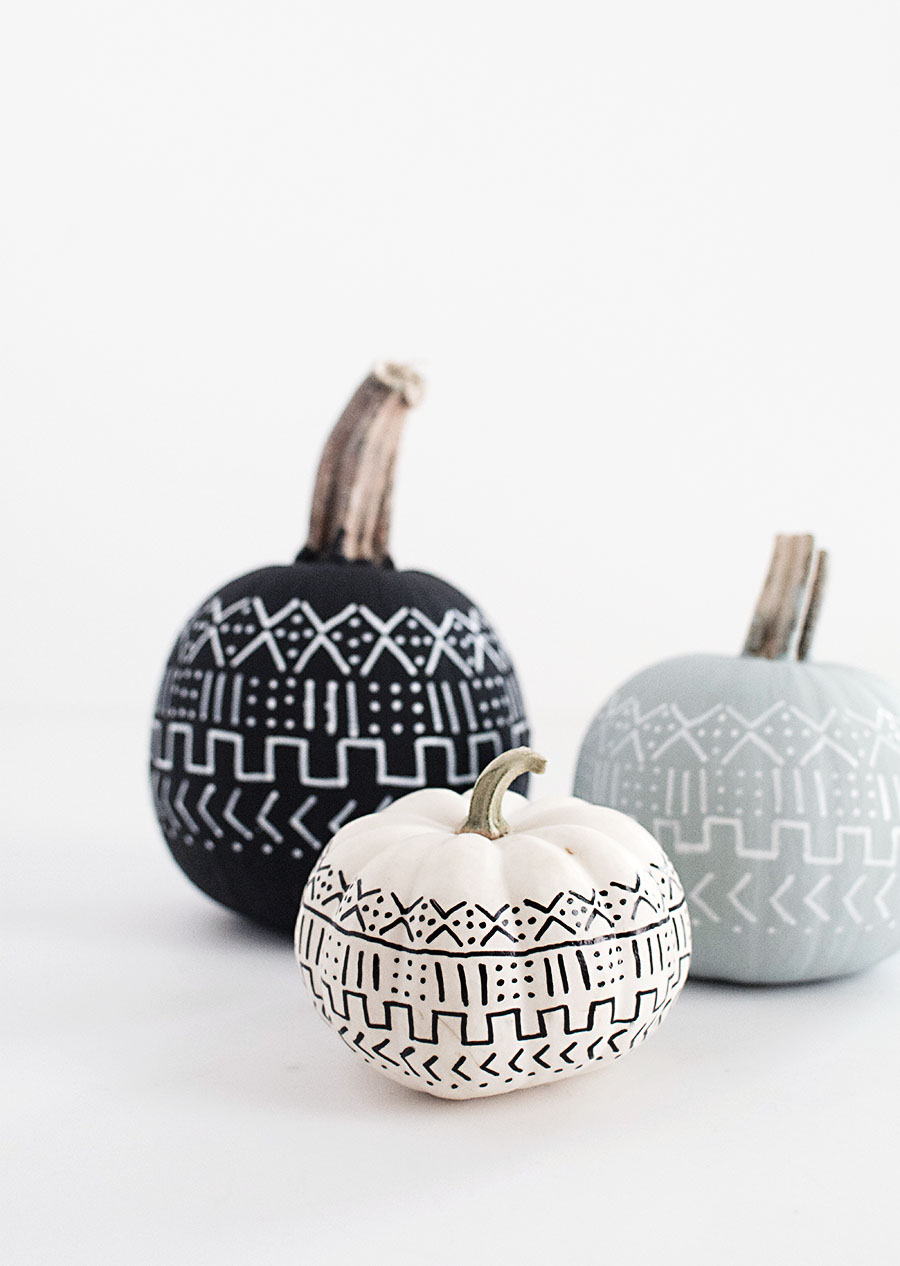
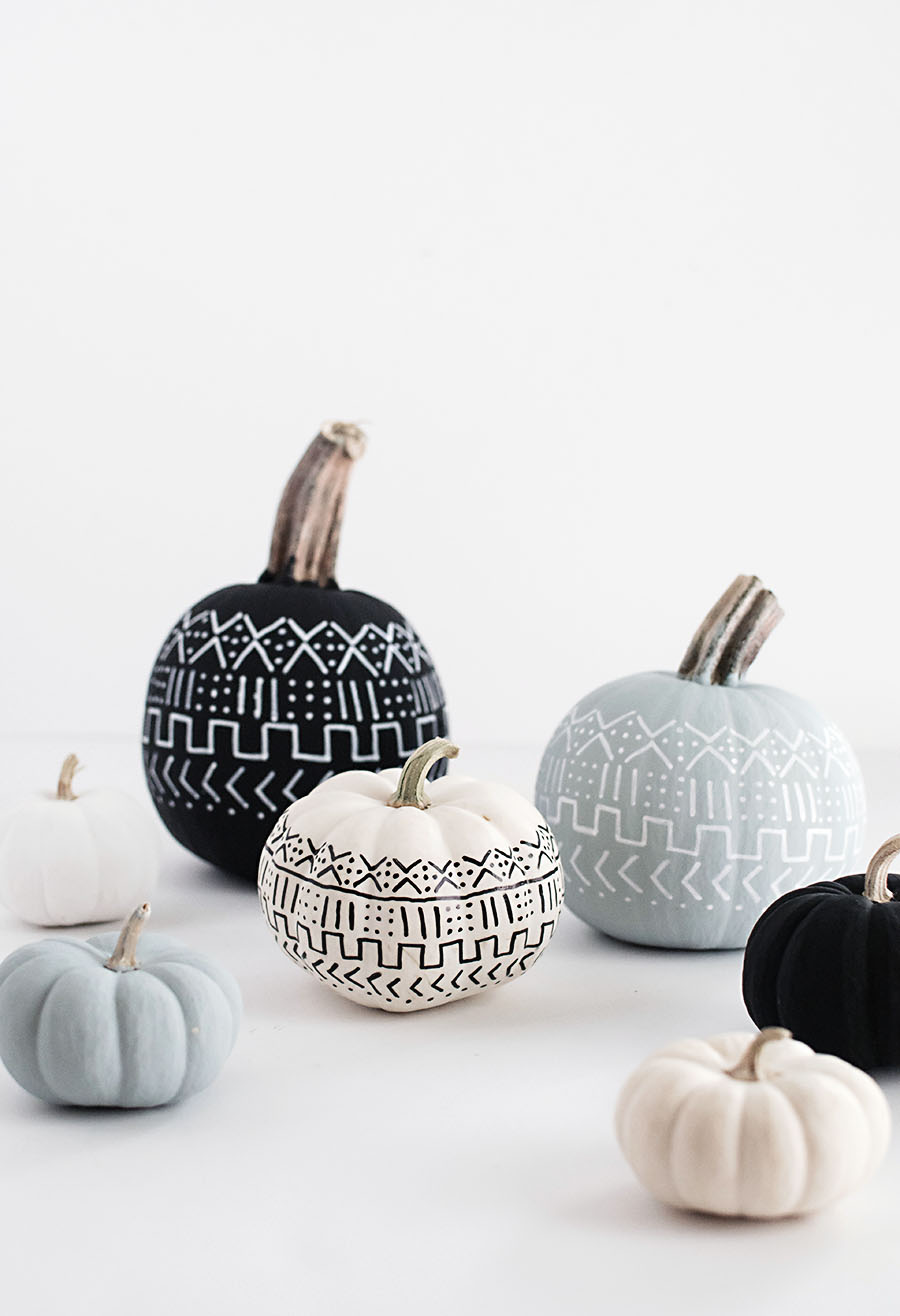
How about that gray/periwinkle/jade/mint color?? So dang pretty. We’ll call it my “it” color for fall.
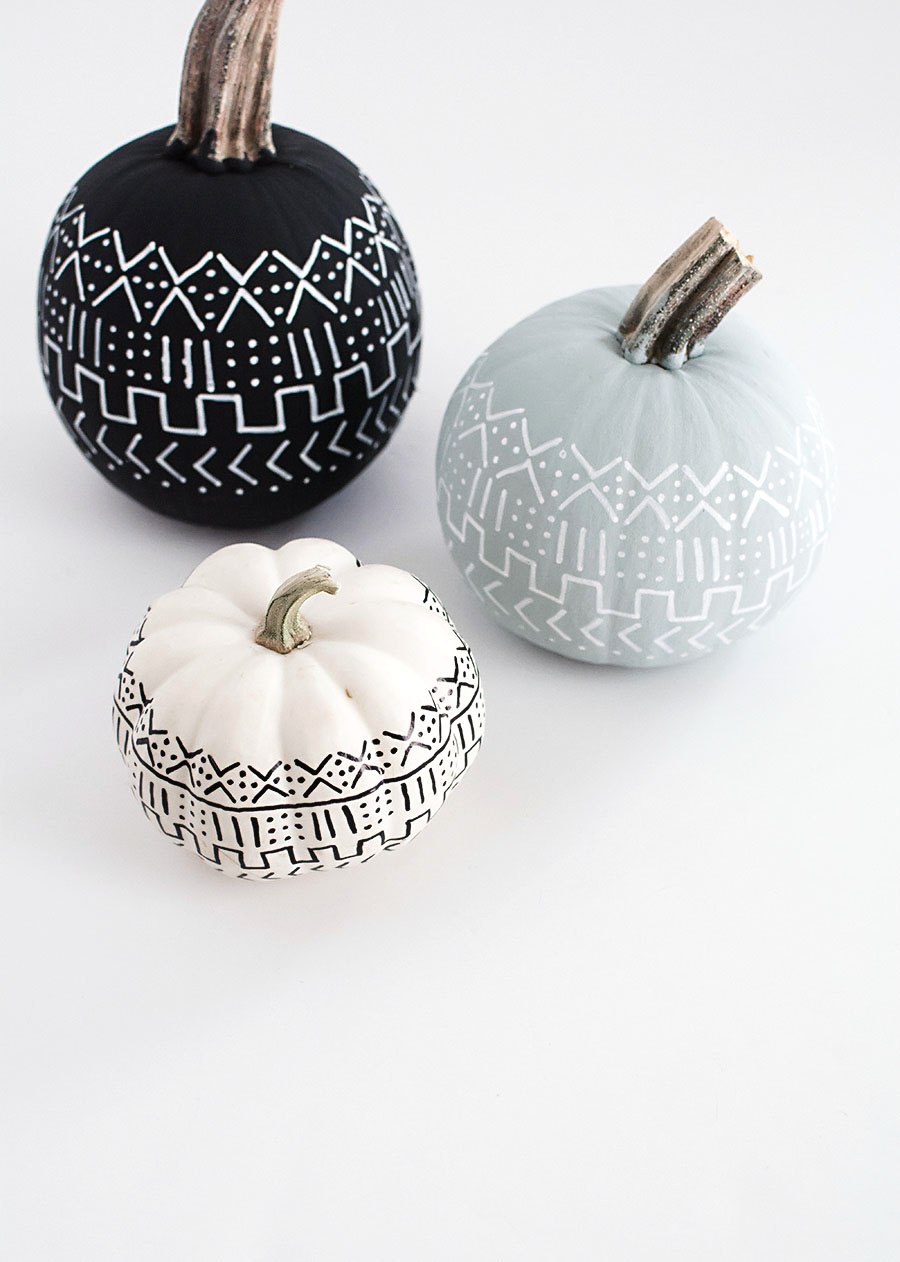
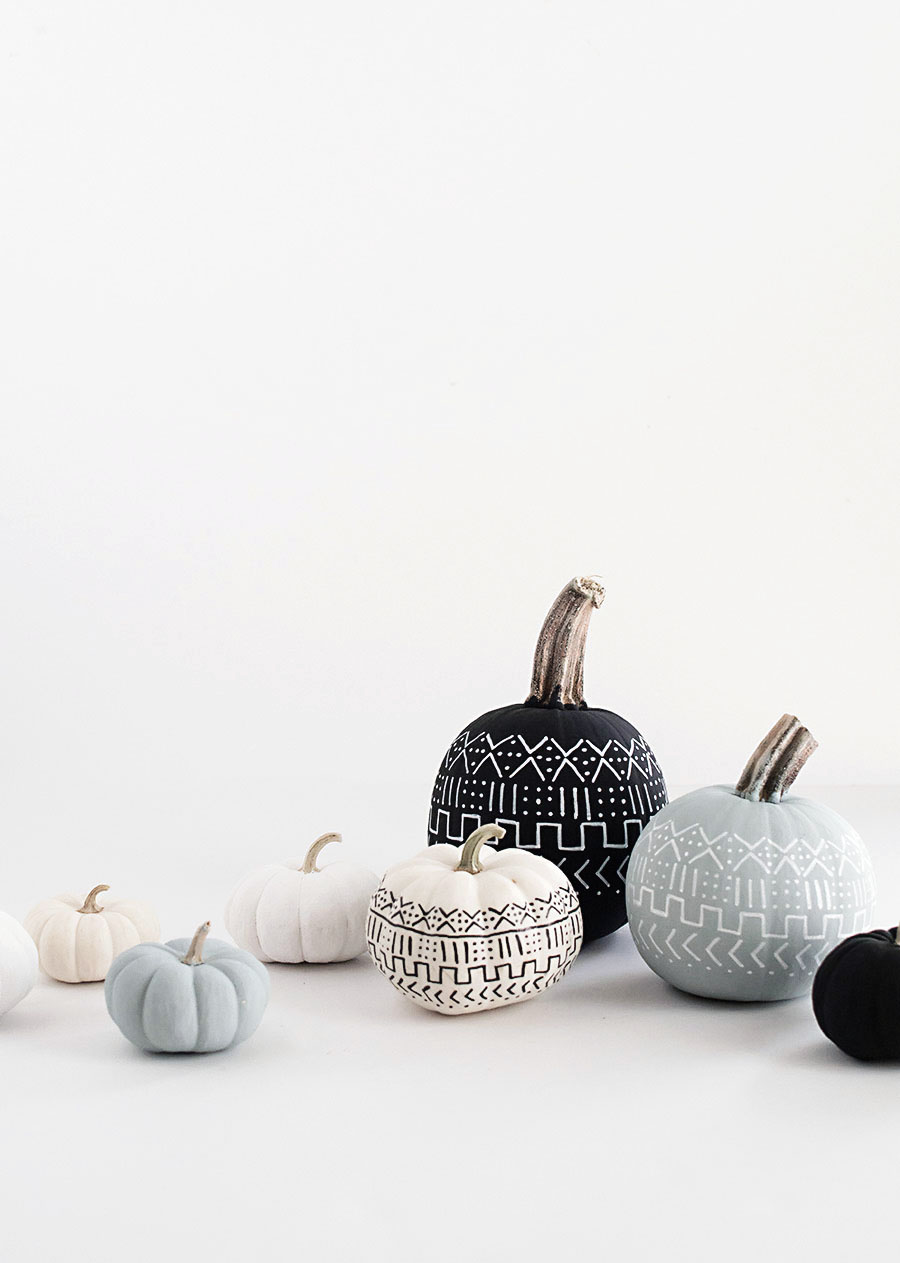 I would’ve loved these pumpkins even without the mud cloth patterns because the chalk paint looks so good. The matte finish keeps it looking more organic and just generally more awesome. White chalk paint is also really good to use with those white pumpkins that look too yellow, which I already did with some of mine, which kinda feels like what’s the point of getting white pumpkins if you’re just going to paint them white, but I regret nothing.
Have you been decorating pumpkins or nah? What designs have you tried, or are wanting to try?
I’m surprised by how much I like that pale blue color! I’d figure it’d look odd on a pumpkin, but I’m liking it.
– Laura // GirlWhoWrites.com
Happy to have convinced you :) Thanks, Laura!
These are so cute. I would love to know the brand of paint you used. I couldn’t get the link to work. Thanks so much!
Hi Crissy! I checked the links and they seem to be working fine. Sorry to hear you had trouble with them! The brand is Americana and I found it at Michaels.
Super good idea, looks fabulous
Thank you, Leni!
Awesome DIY Mud Pumpkins! I think that if you add some colour they will look really good. Of course it depends on the rest of the accessories/items that would be combined with.
Yes! It’s always encouraged to do DIYs in colors that fit your style. Thanks, Abby!
They are so beautiful, Amy! I love the chalk paint finish too. Perfection! I’m pretty sure I have some of the “vintage” paint sitting on my shelf and I’ve never used it. Guess I better go get myself some pumpkins!
Thanks, Alexis! I imagine you having every paint color in the world just sitting pretty in your craft room.
Thank you for sharing this DIY! I love pumpkins and am always looking for clever new decorating ideas. Your pumpkins look amazing and I like that you can do this technique with different colors.
http://www.livinginsteil.com
Totally can do it different colors, exactly. Thank you so much, Vanessa!
¡Que divertido! Tendré que hacer algo parecido en casa :)
Loved this diy so much that you inspired me to create my own mud cloth project for Christmas:
http://www.thebeautydojo.com/mud-cloth-ornaments/