The one decor item I’ve wanted for the longest time is a lacquered box. They’re simple, chic, and useful for decorative storage. So why haven’t I gotten one yet? Simply because every lacquered box I’ve run into was priced in a manner I could not justify. You have to bust out the big bucks for one of those babies. This is one of the biggest motivating factors for my DIY’s, and this project is no exception.
Here’s what you’ll need.
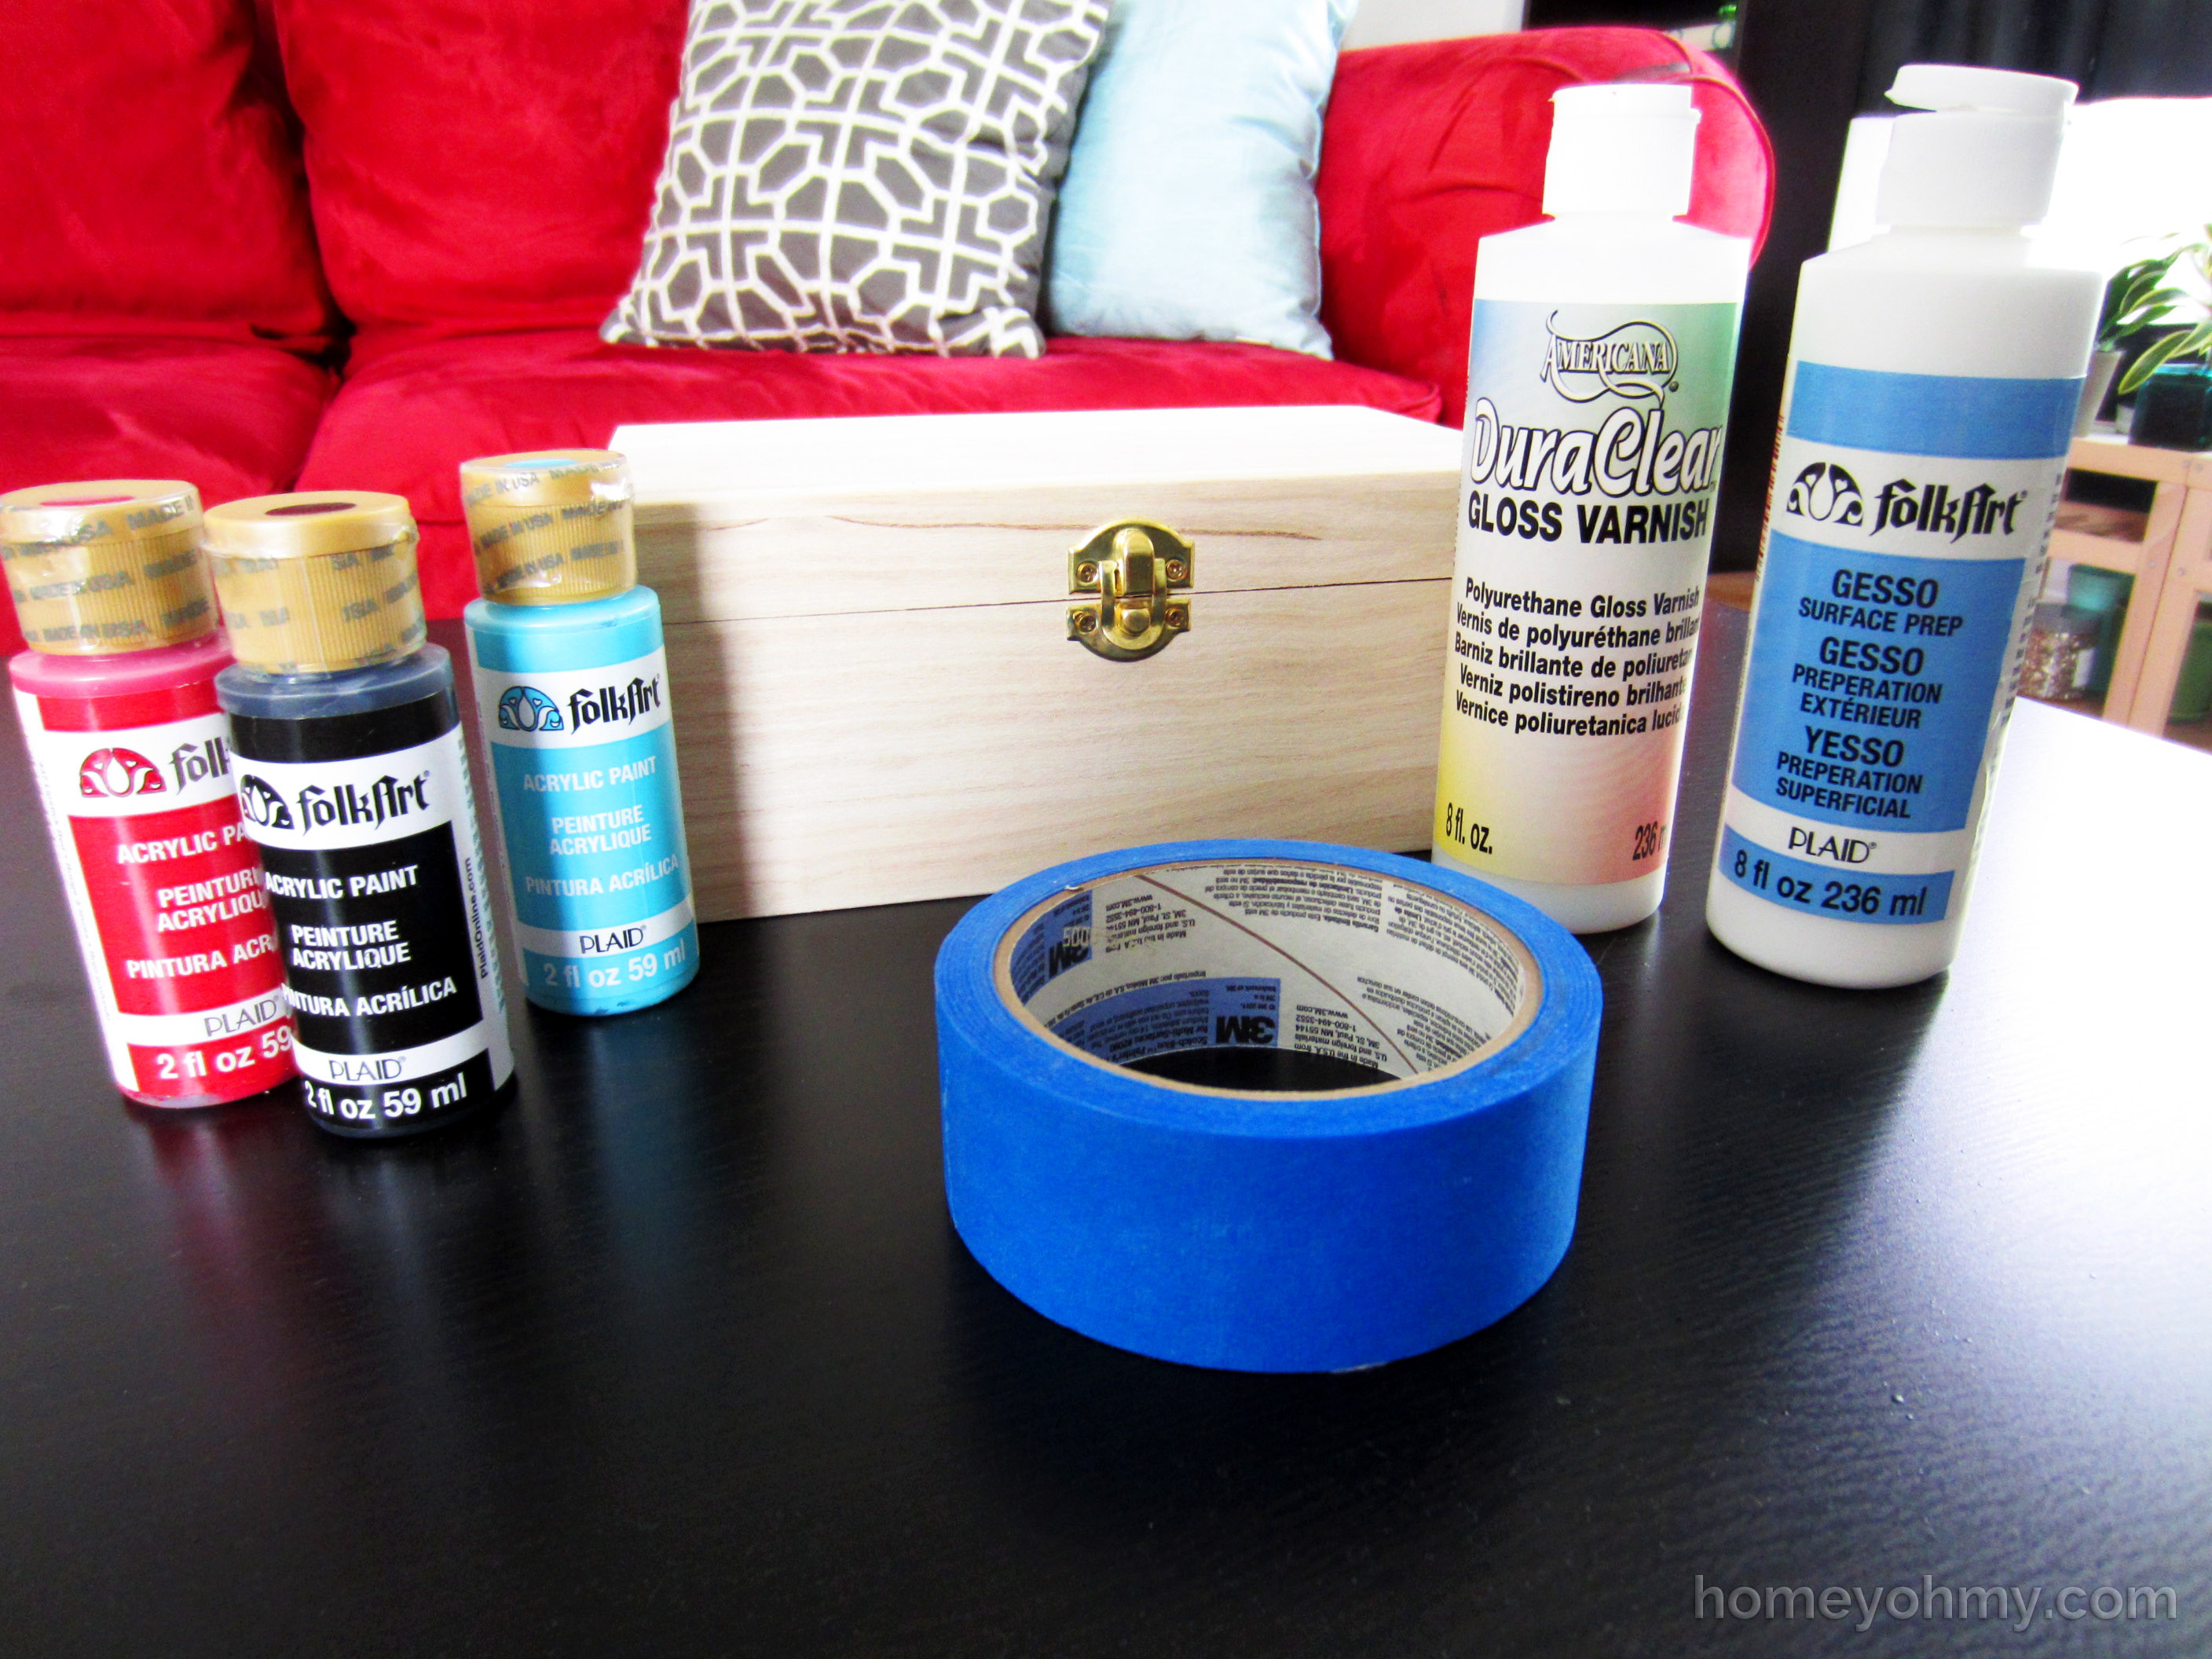
Materials:
- unfinished wood box (I got mine at Michael’s)
- acrylic paint- I used Folk Art in Lipstick Red, Pure Black, and Calypso Sky
- gesso primer
- gloss varnish
- painters tape
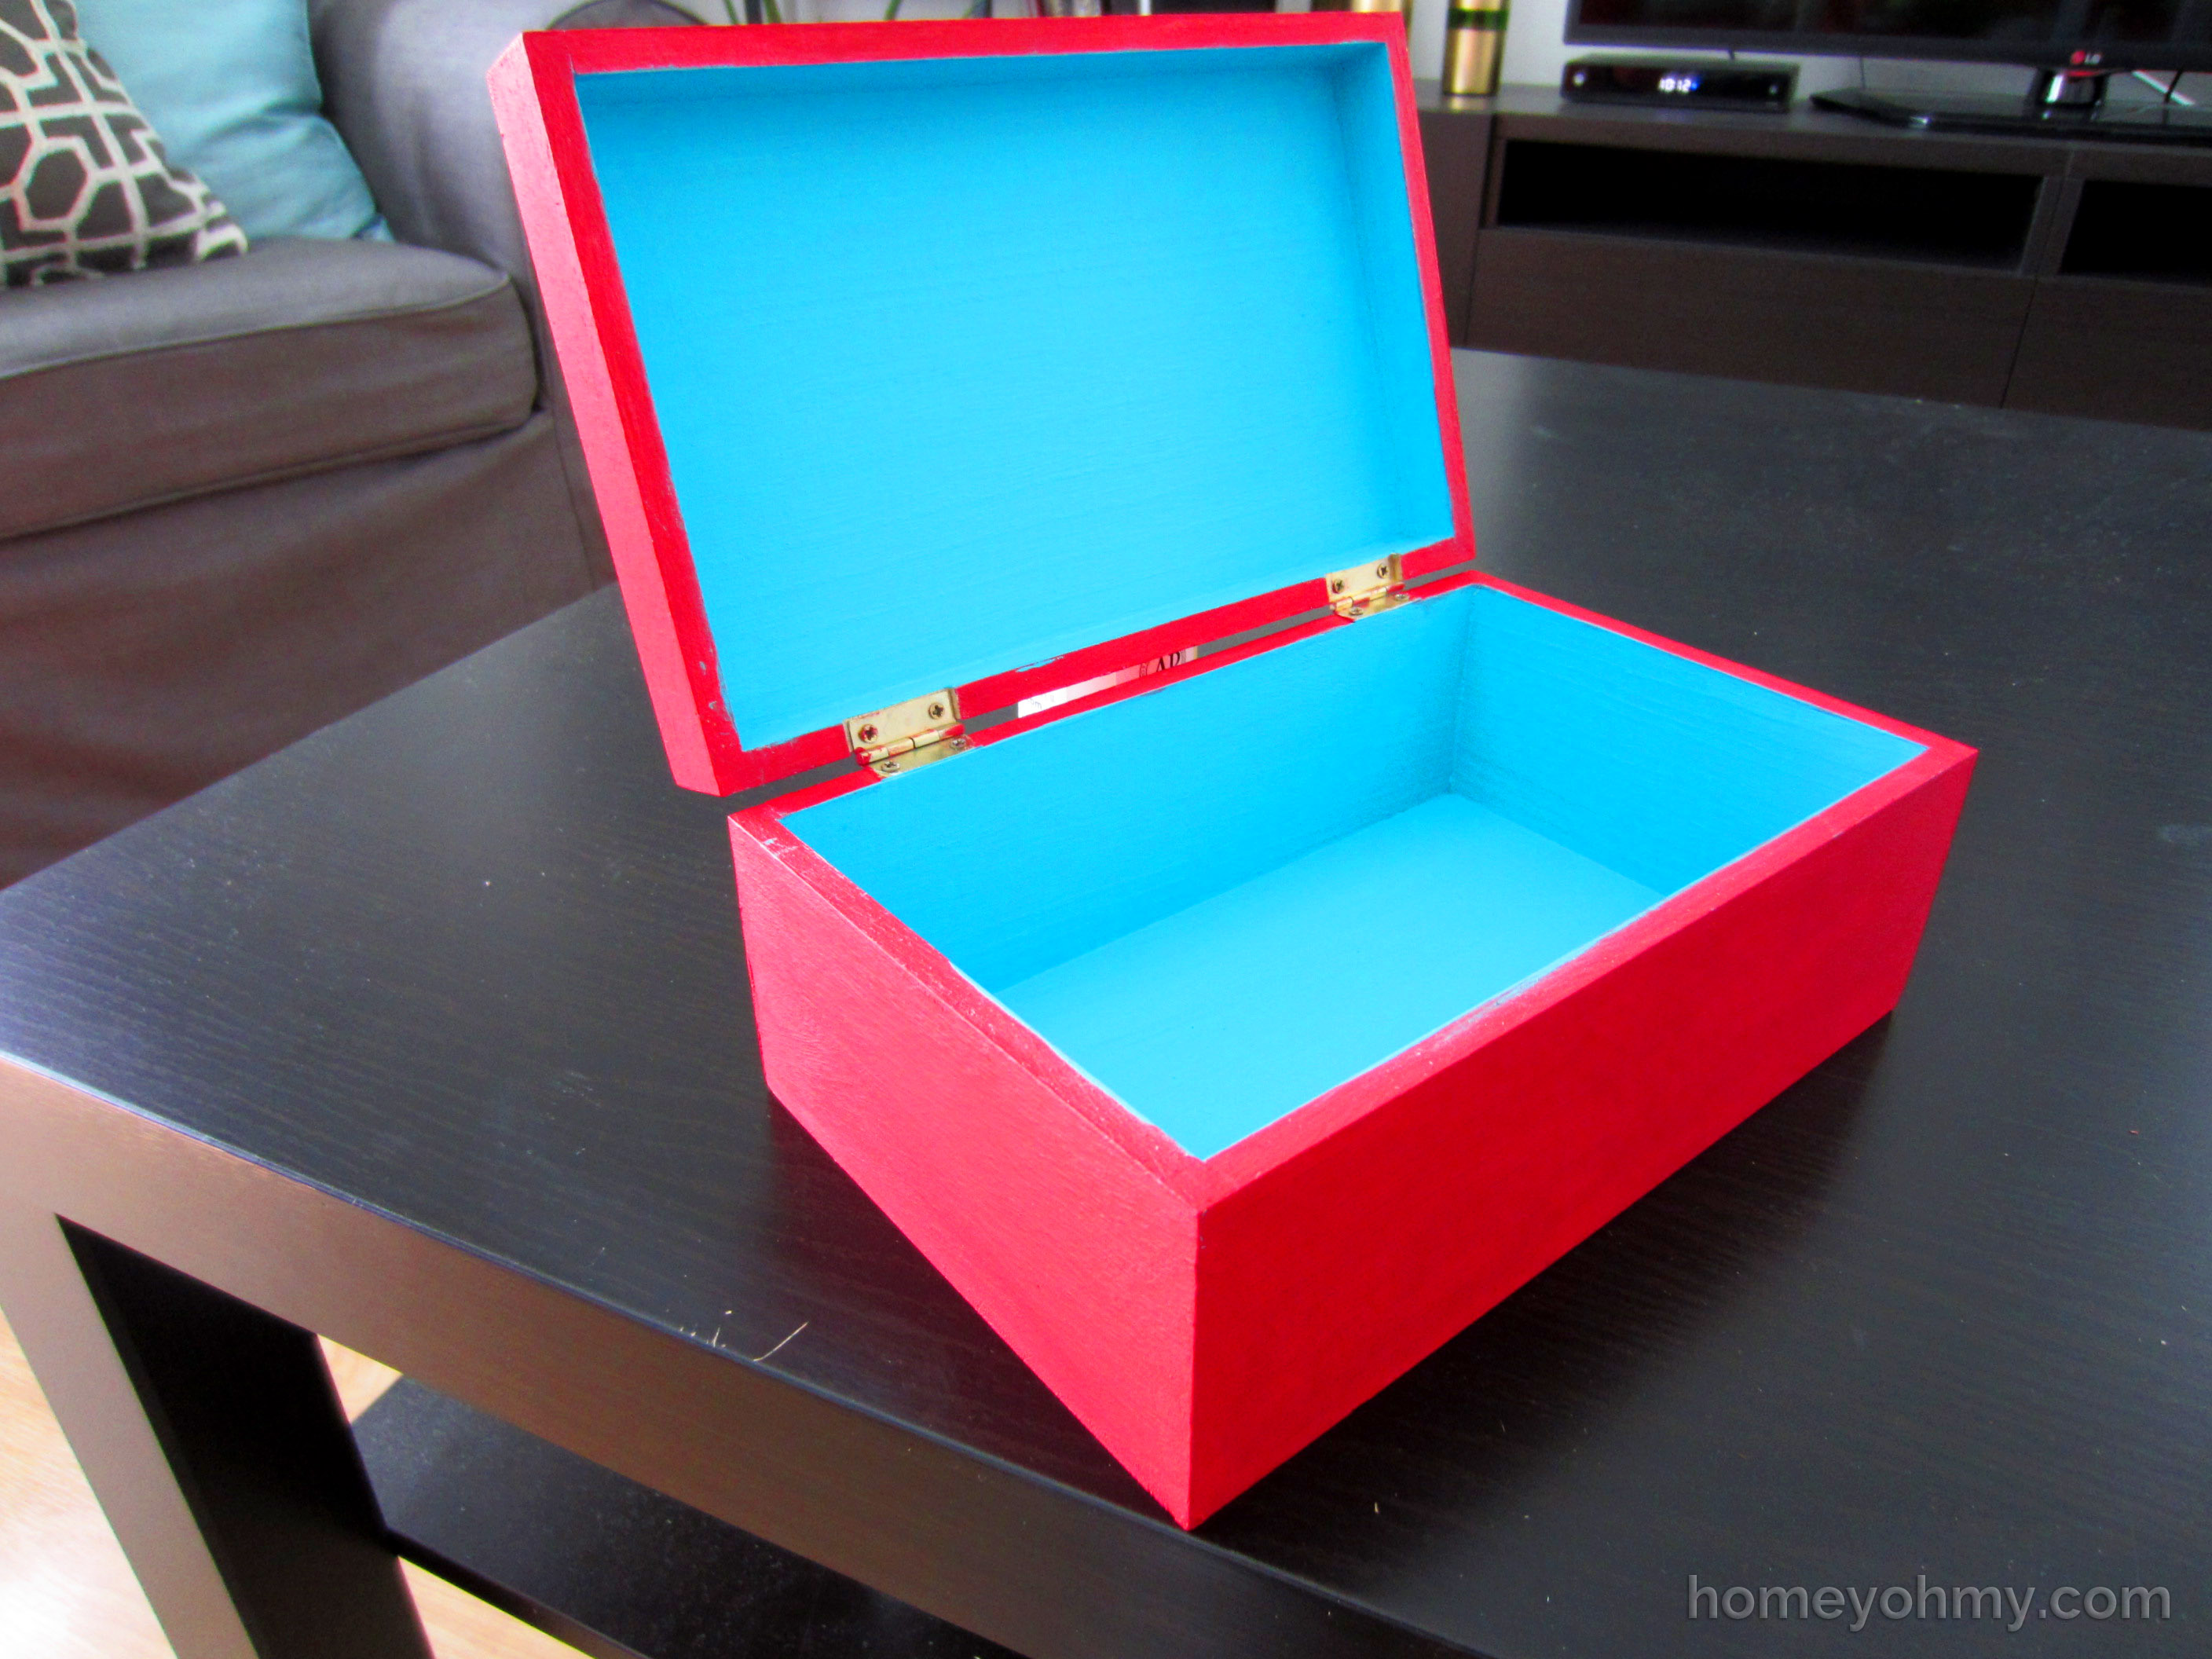
First, I removed the gold hardware and filled the screw holes with some Sculpey clay I had. This is probably not the best material to use and you’re better off using a wood filler. I didn’t have wood filler, so I did with what I had- Sculpey clay. The painting process is pretty much exactly the same as what I did for my DIY Succulent Box except that project didn’t use any painters tape. Check that out after this if you’re on a box painting escapade :) Paint all surfaces with the gesso primer. Once dry, paint the box in your desired colors. The empowerment of DIY is making things exactly the way you want it to be, so do just that! I’ve never seen a lacquered box painted a different color on the inside, so that’s what I did with mine.
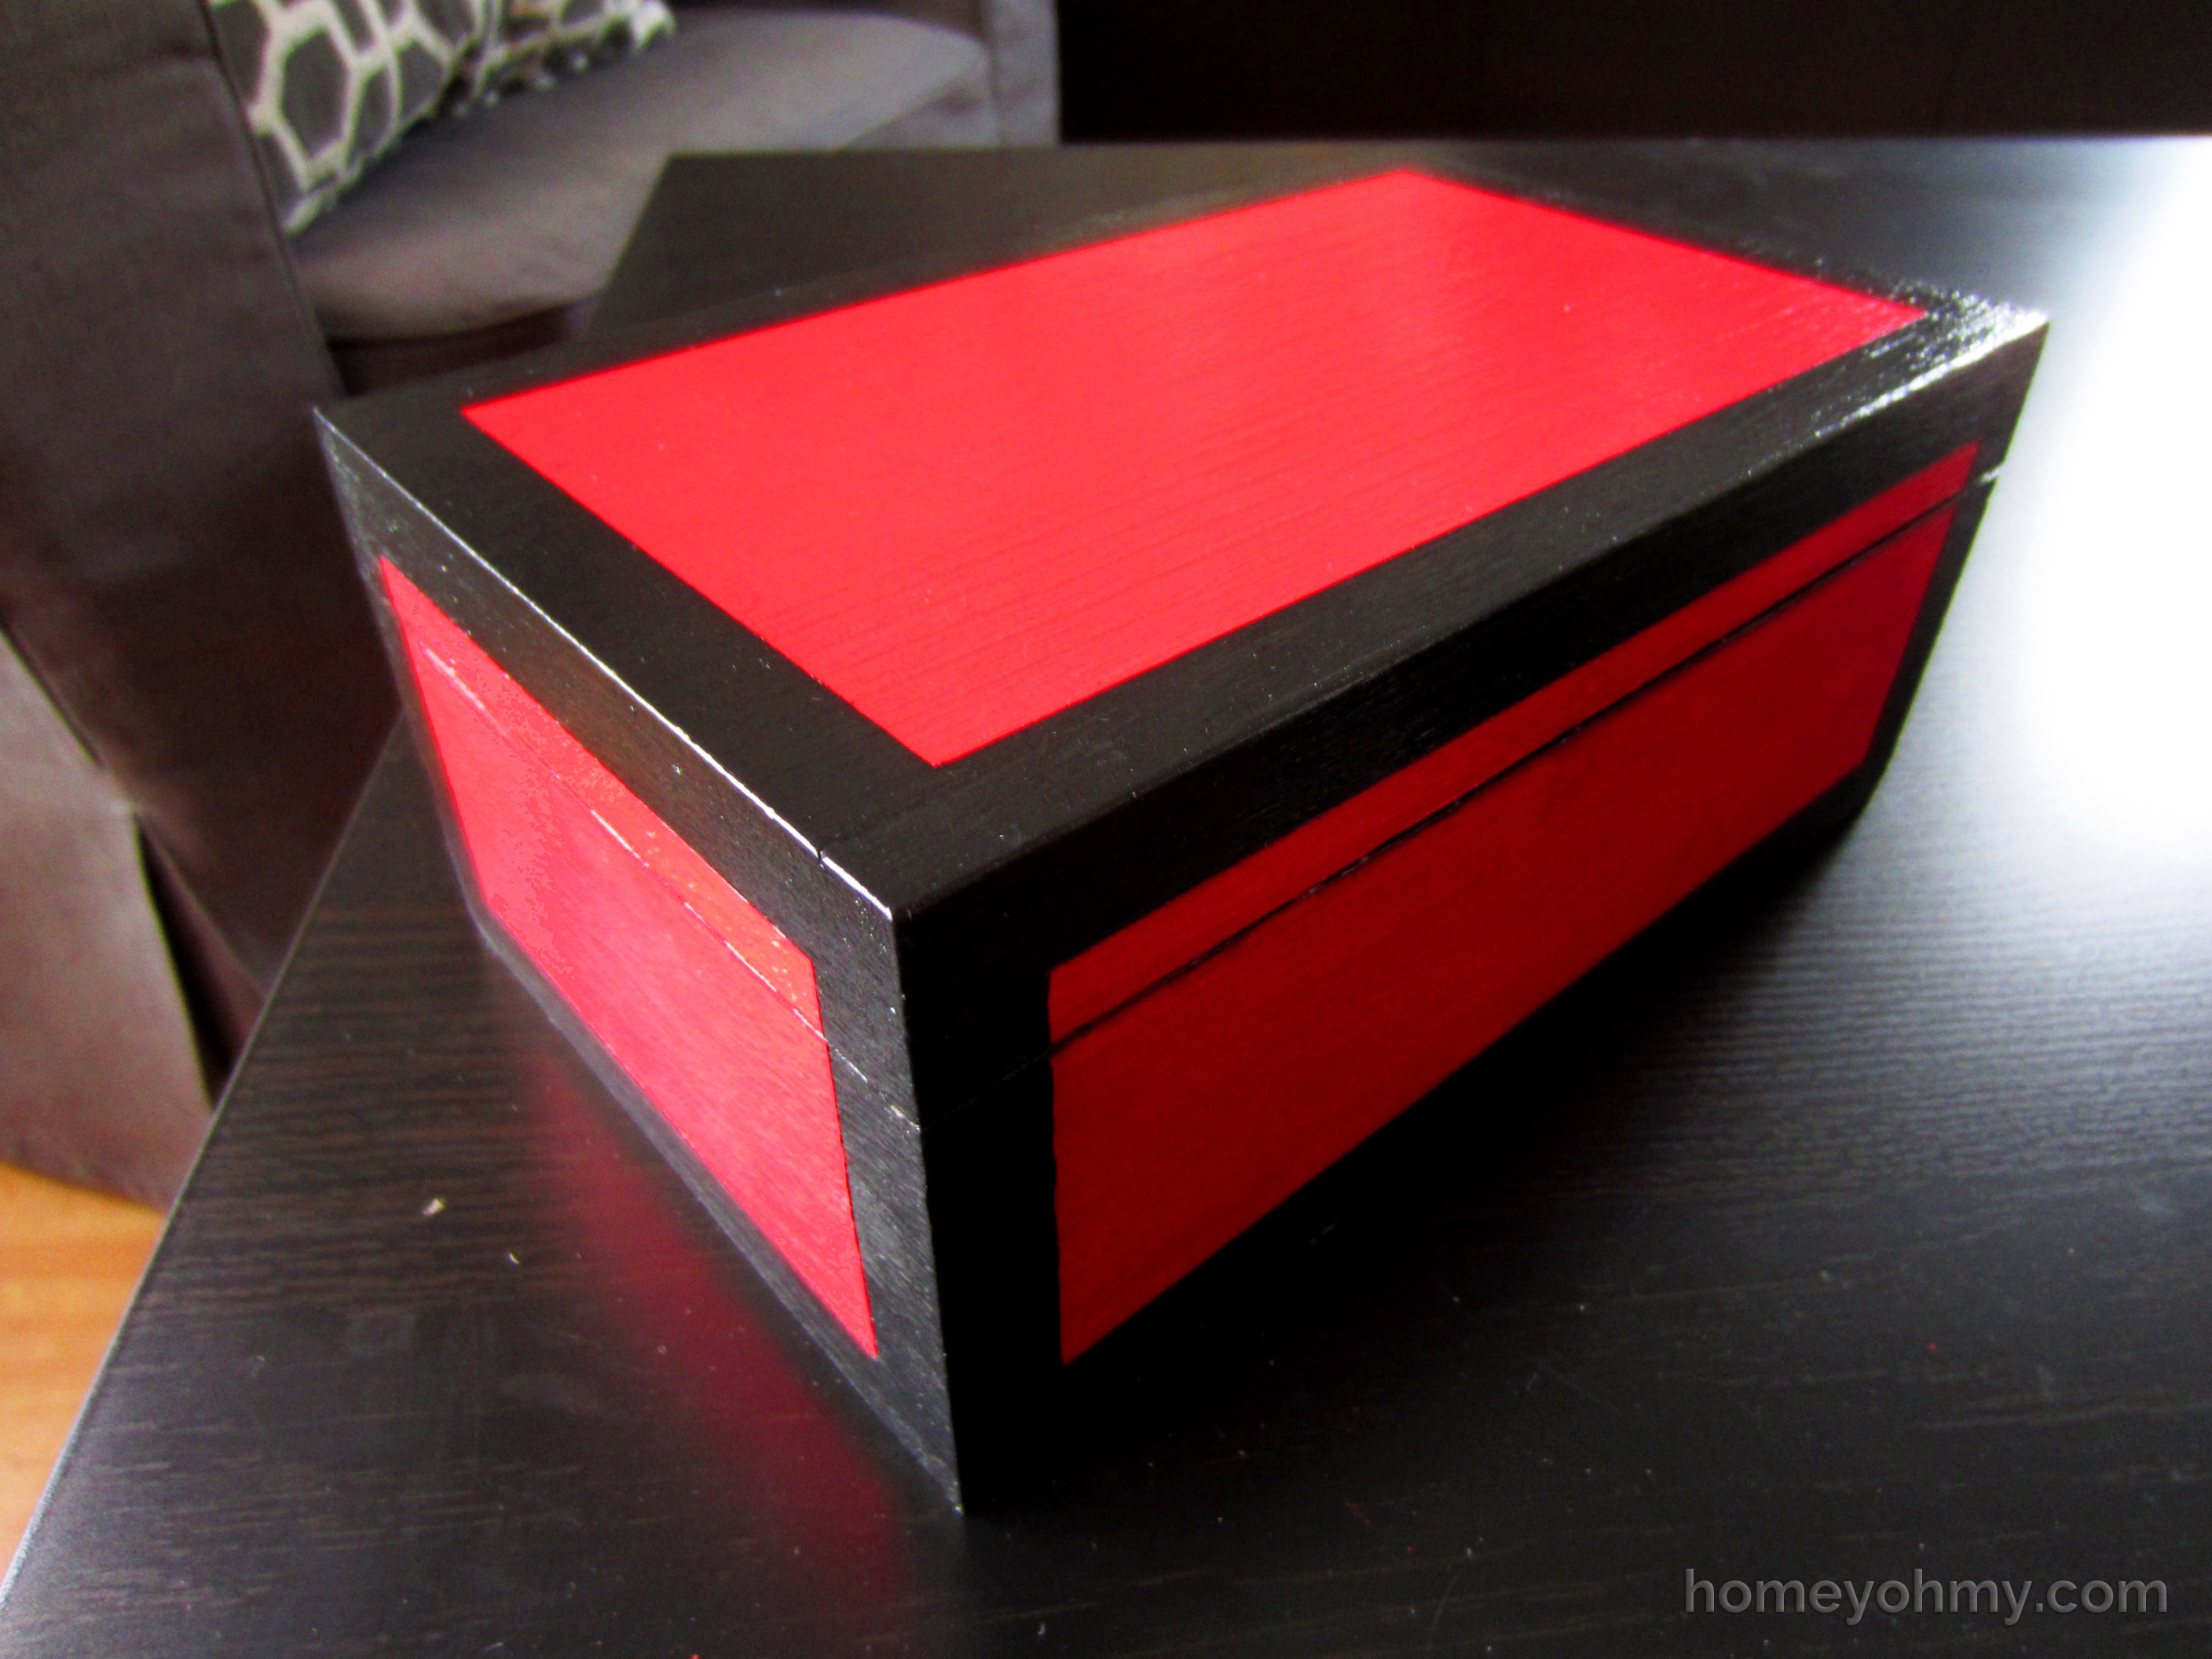
After your paint is dry, apply the painters tape so only the borders that will be painted black are showing. I made each border a half inch wide. Even though in my photo I kept a rectangular area exposed on top, I knew not to paint there so didn’t think it necessary to cover it with tape. You can do that though if it helps you.
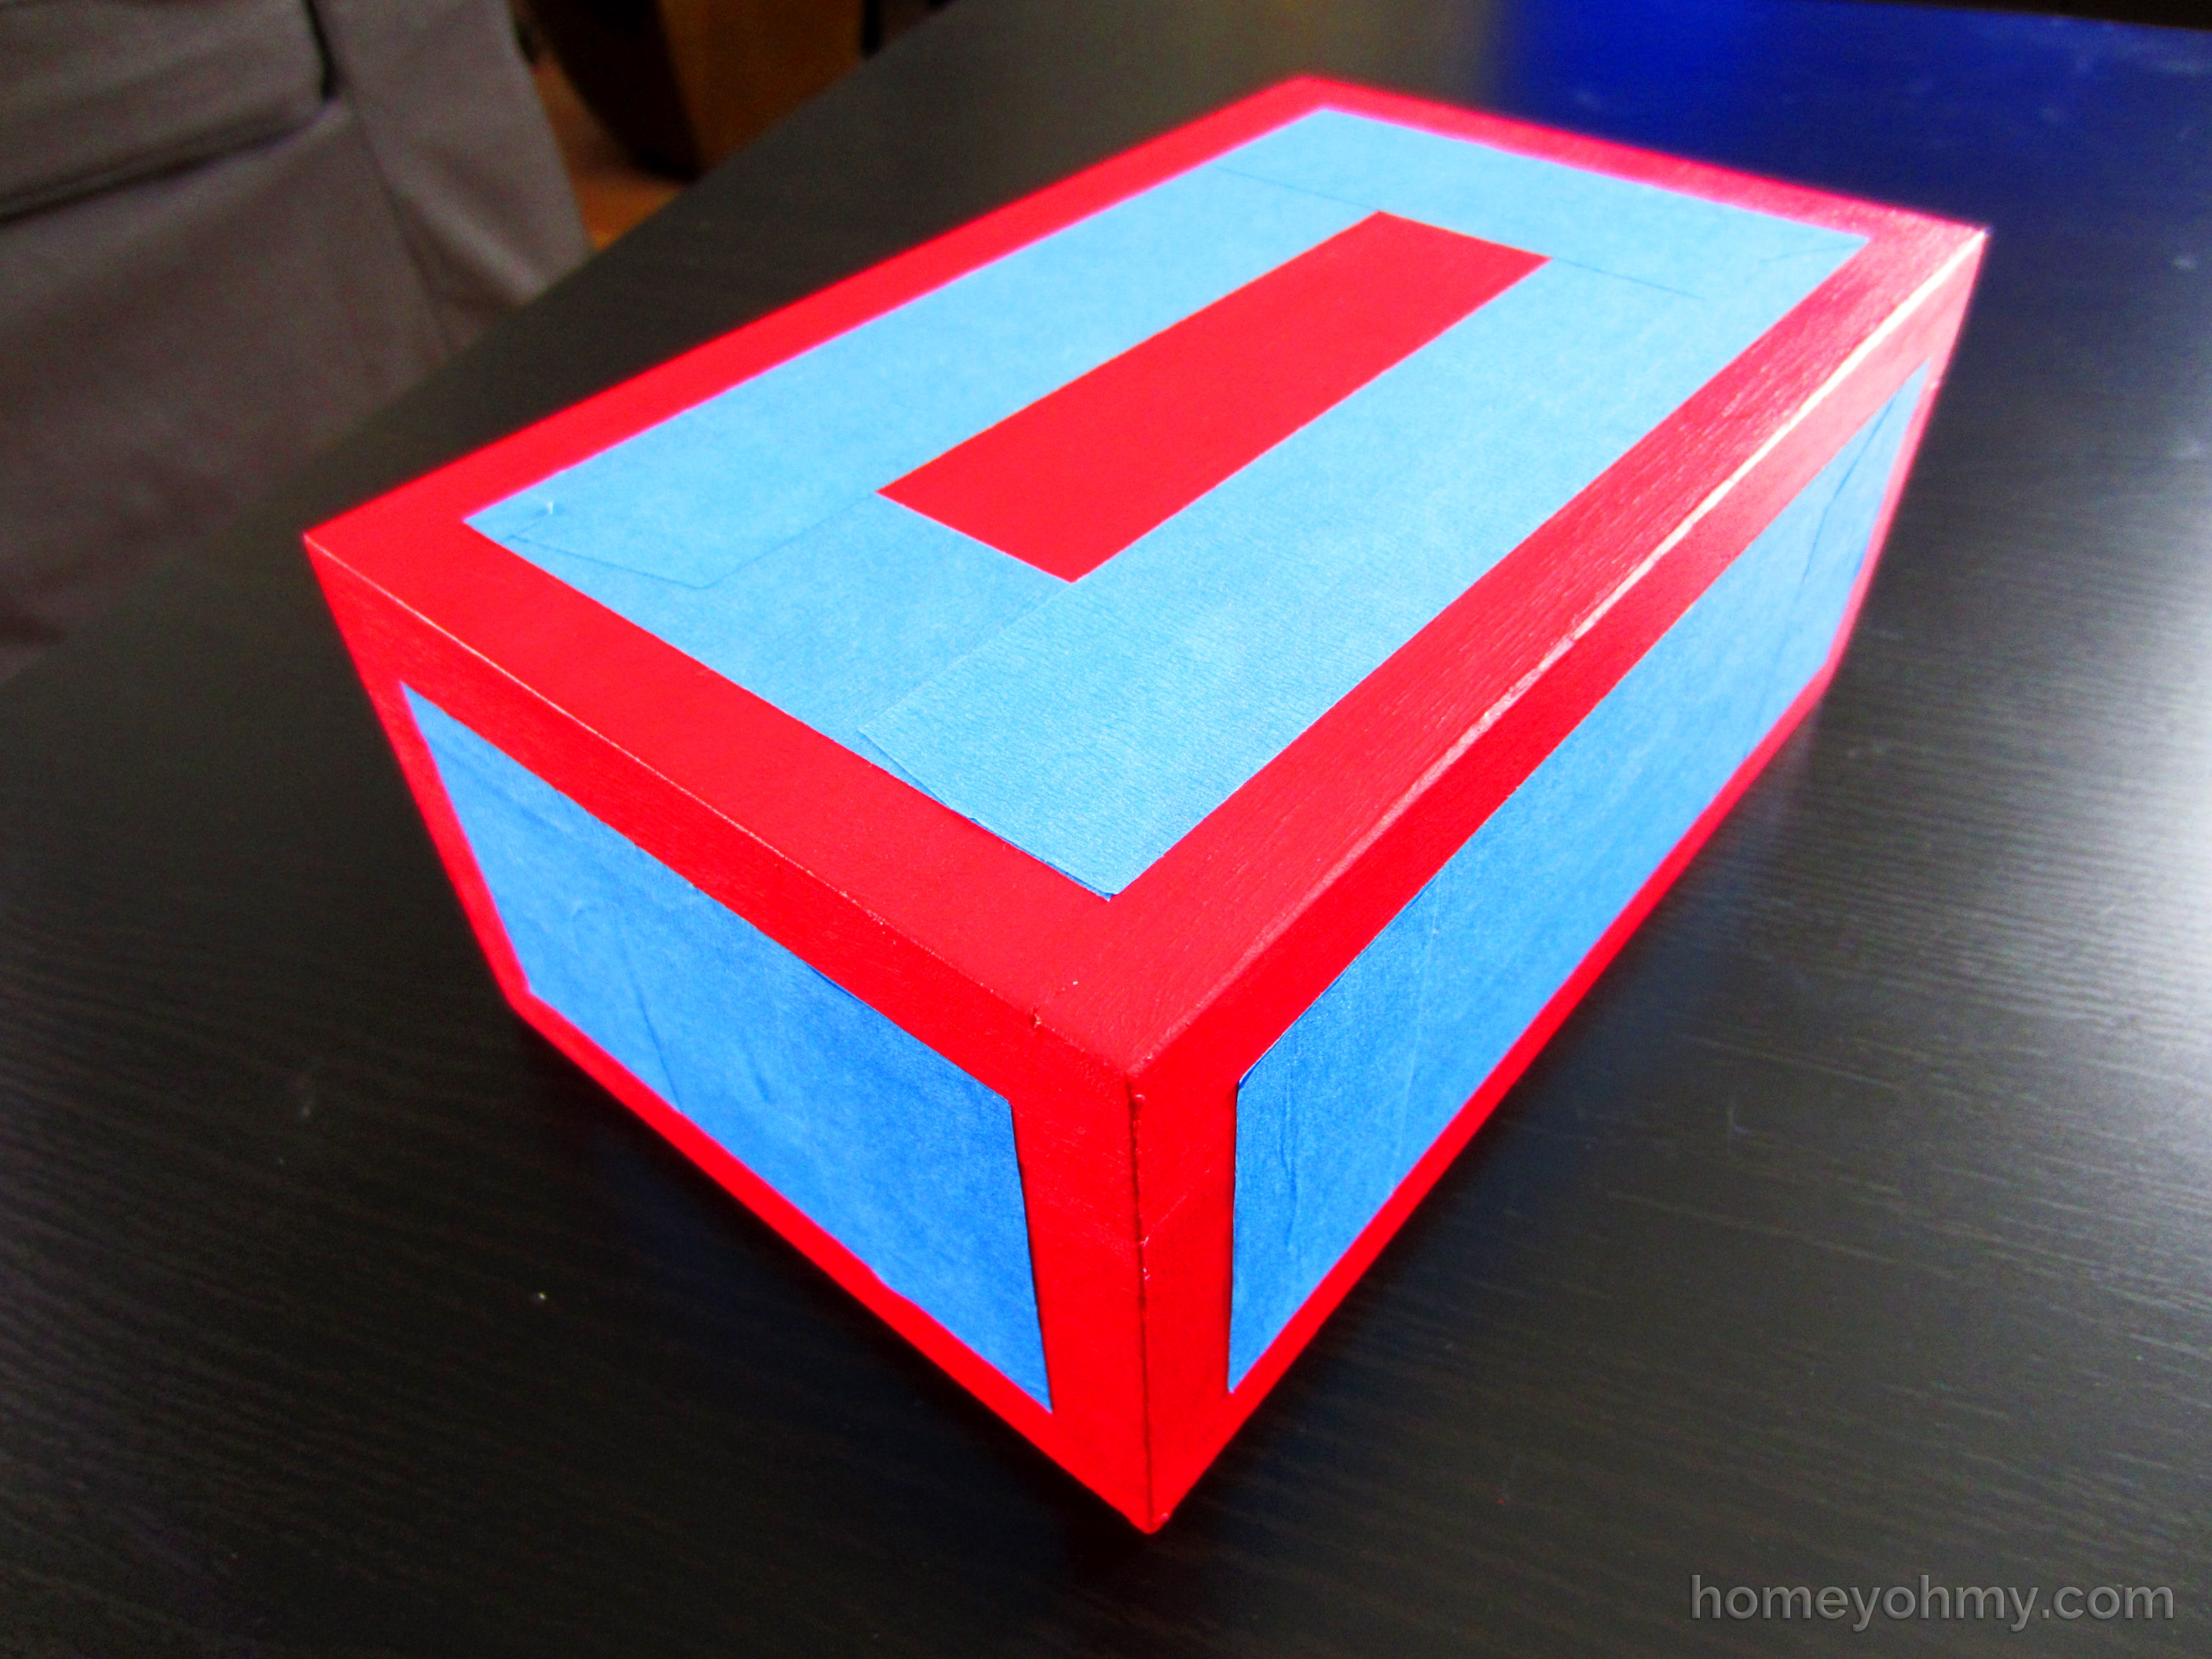
As always, with any painting projects using painters tape, be thorough about reinforcing the tape and making sure all edges are smooth and bubble-free. The better the adhesion on the edges of the tape, the cleaner your lines will be. Now you can paint the borders black.
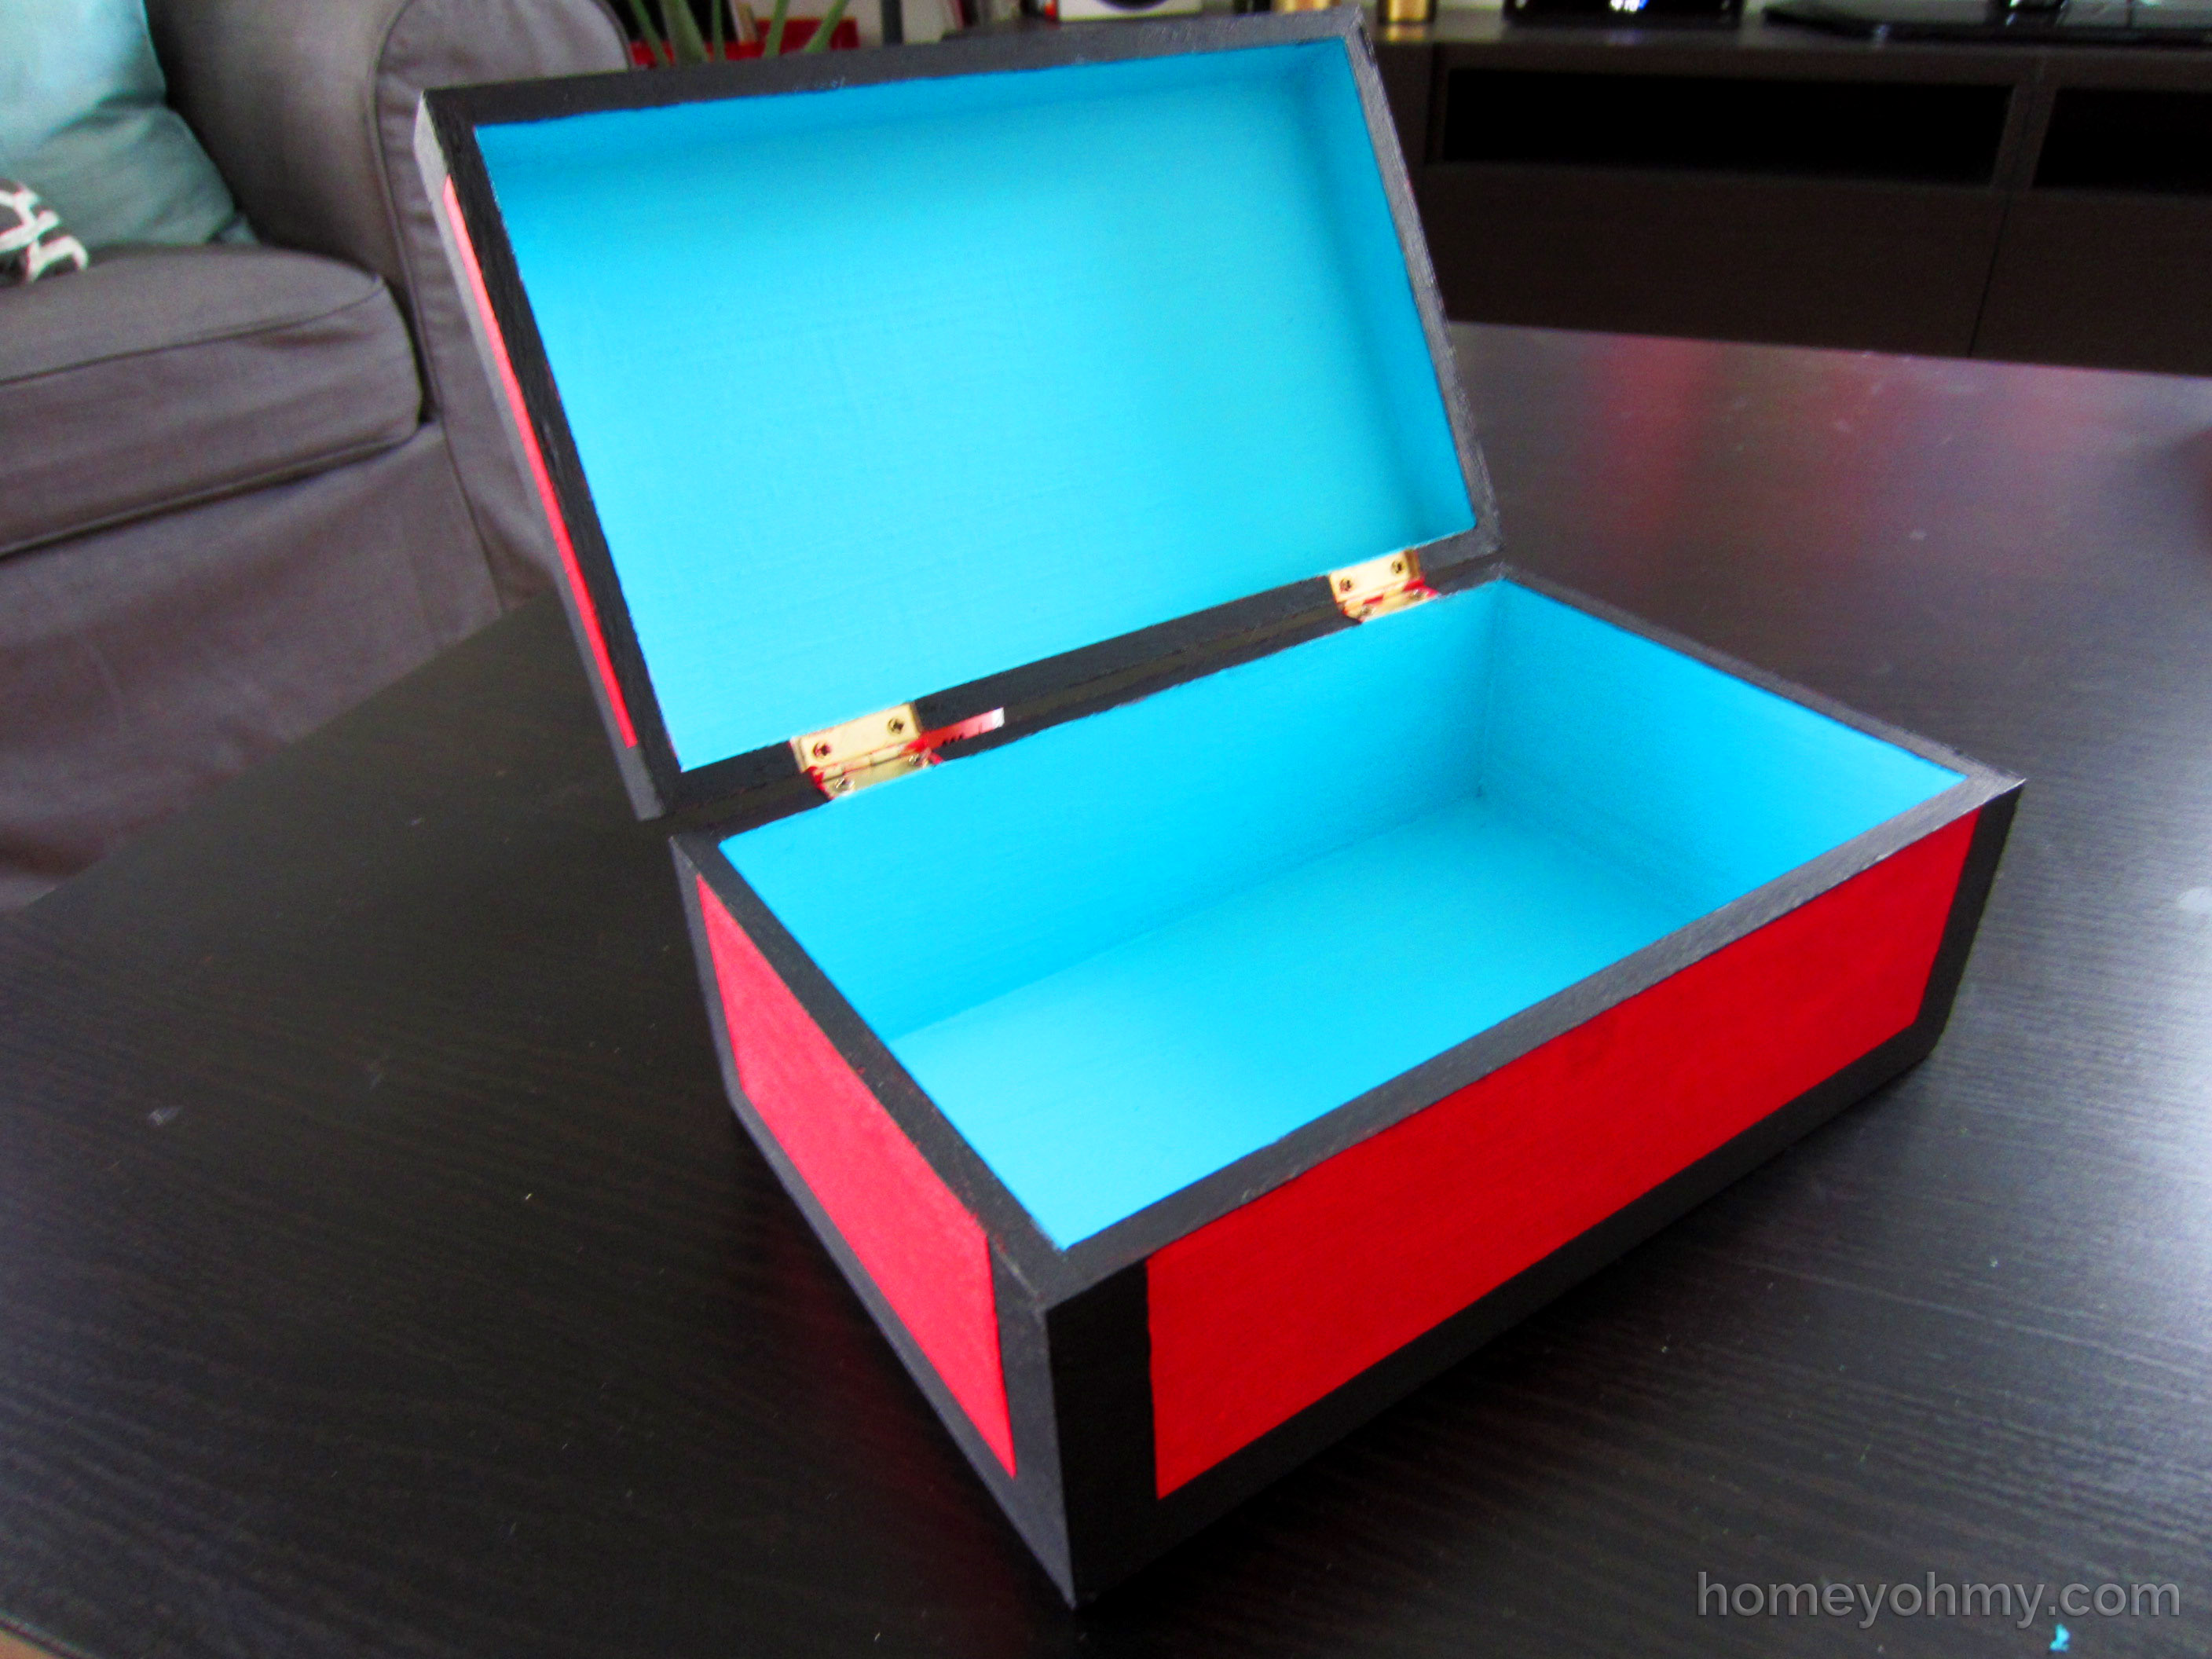
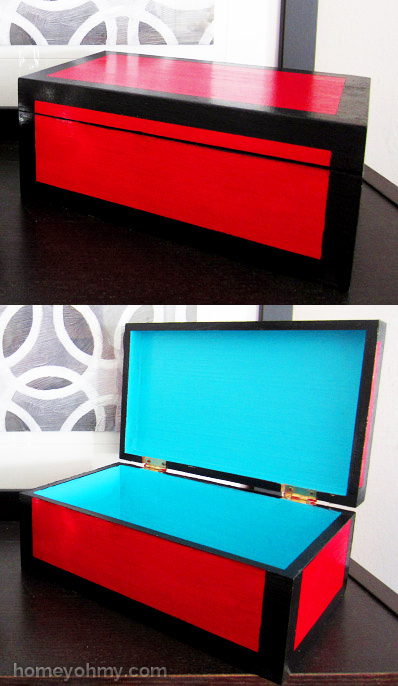
I also painted the inner rim black . It gives a nice, thin outline of the lid opening when the box is closed (if that didn’t make sense, hopefully the pictures will help). Again, let the paint dry, then apply the gloss varnish on all painted surfaces. Apply as many coats as you’d like. Since I didn’t want my box to be TOO shiny or look thickly painted, I only applied one layer.
The most time consuming part of this project is waiting for the paint to dry (it’s like watching paint dry- boring!) but the wait is absolutely worth it.

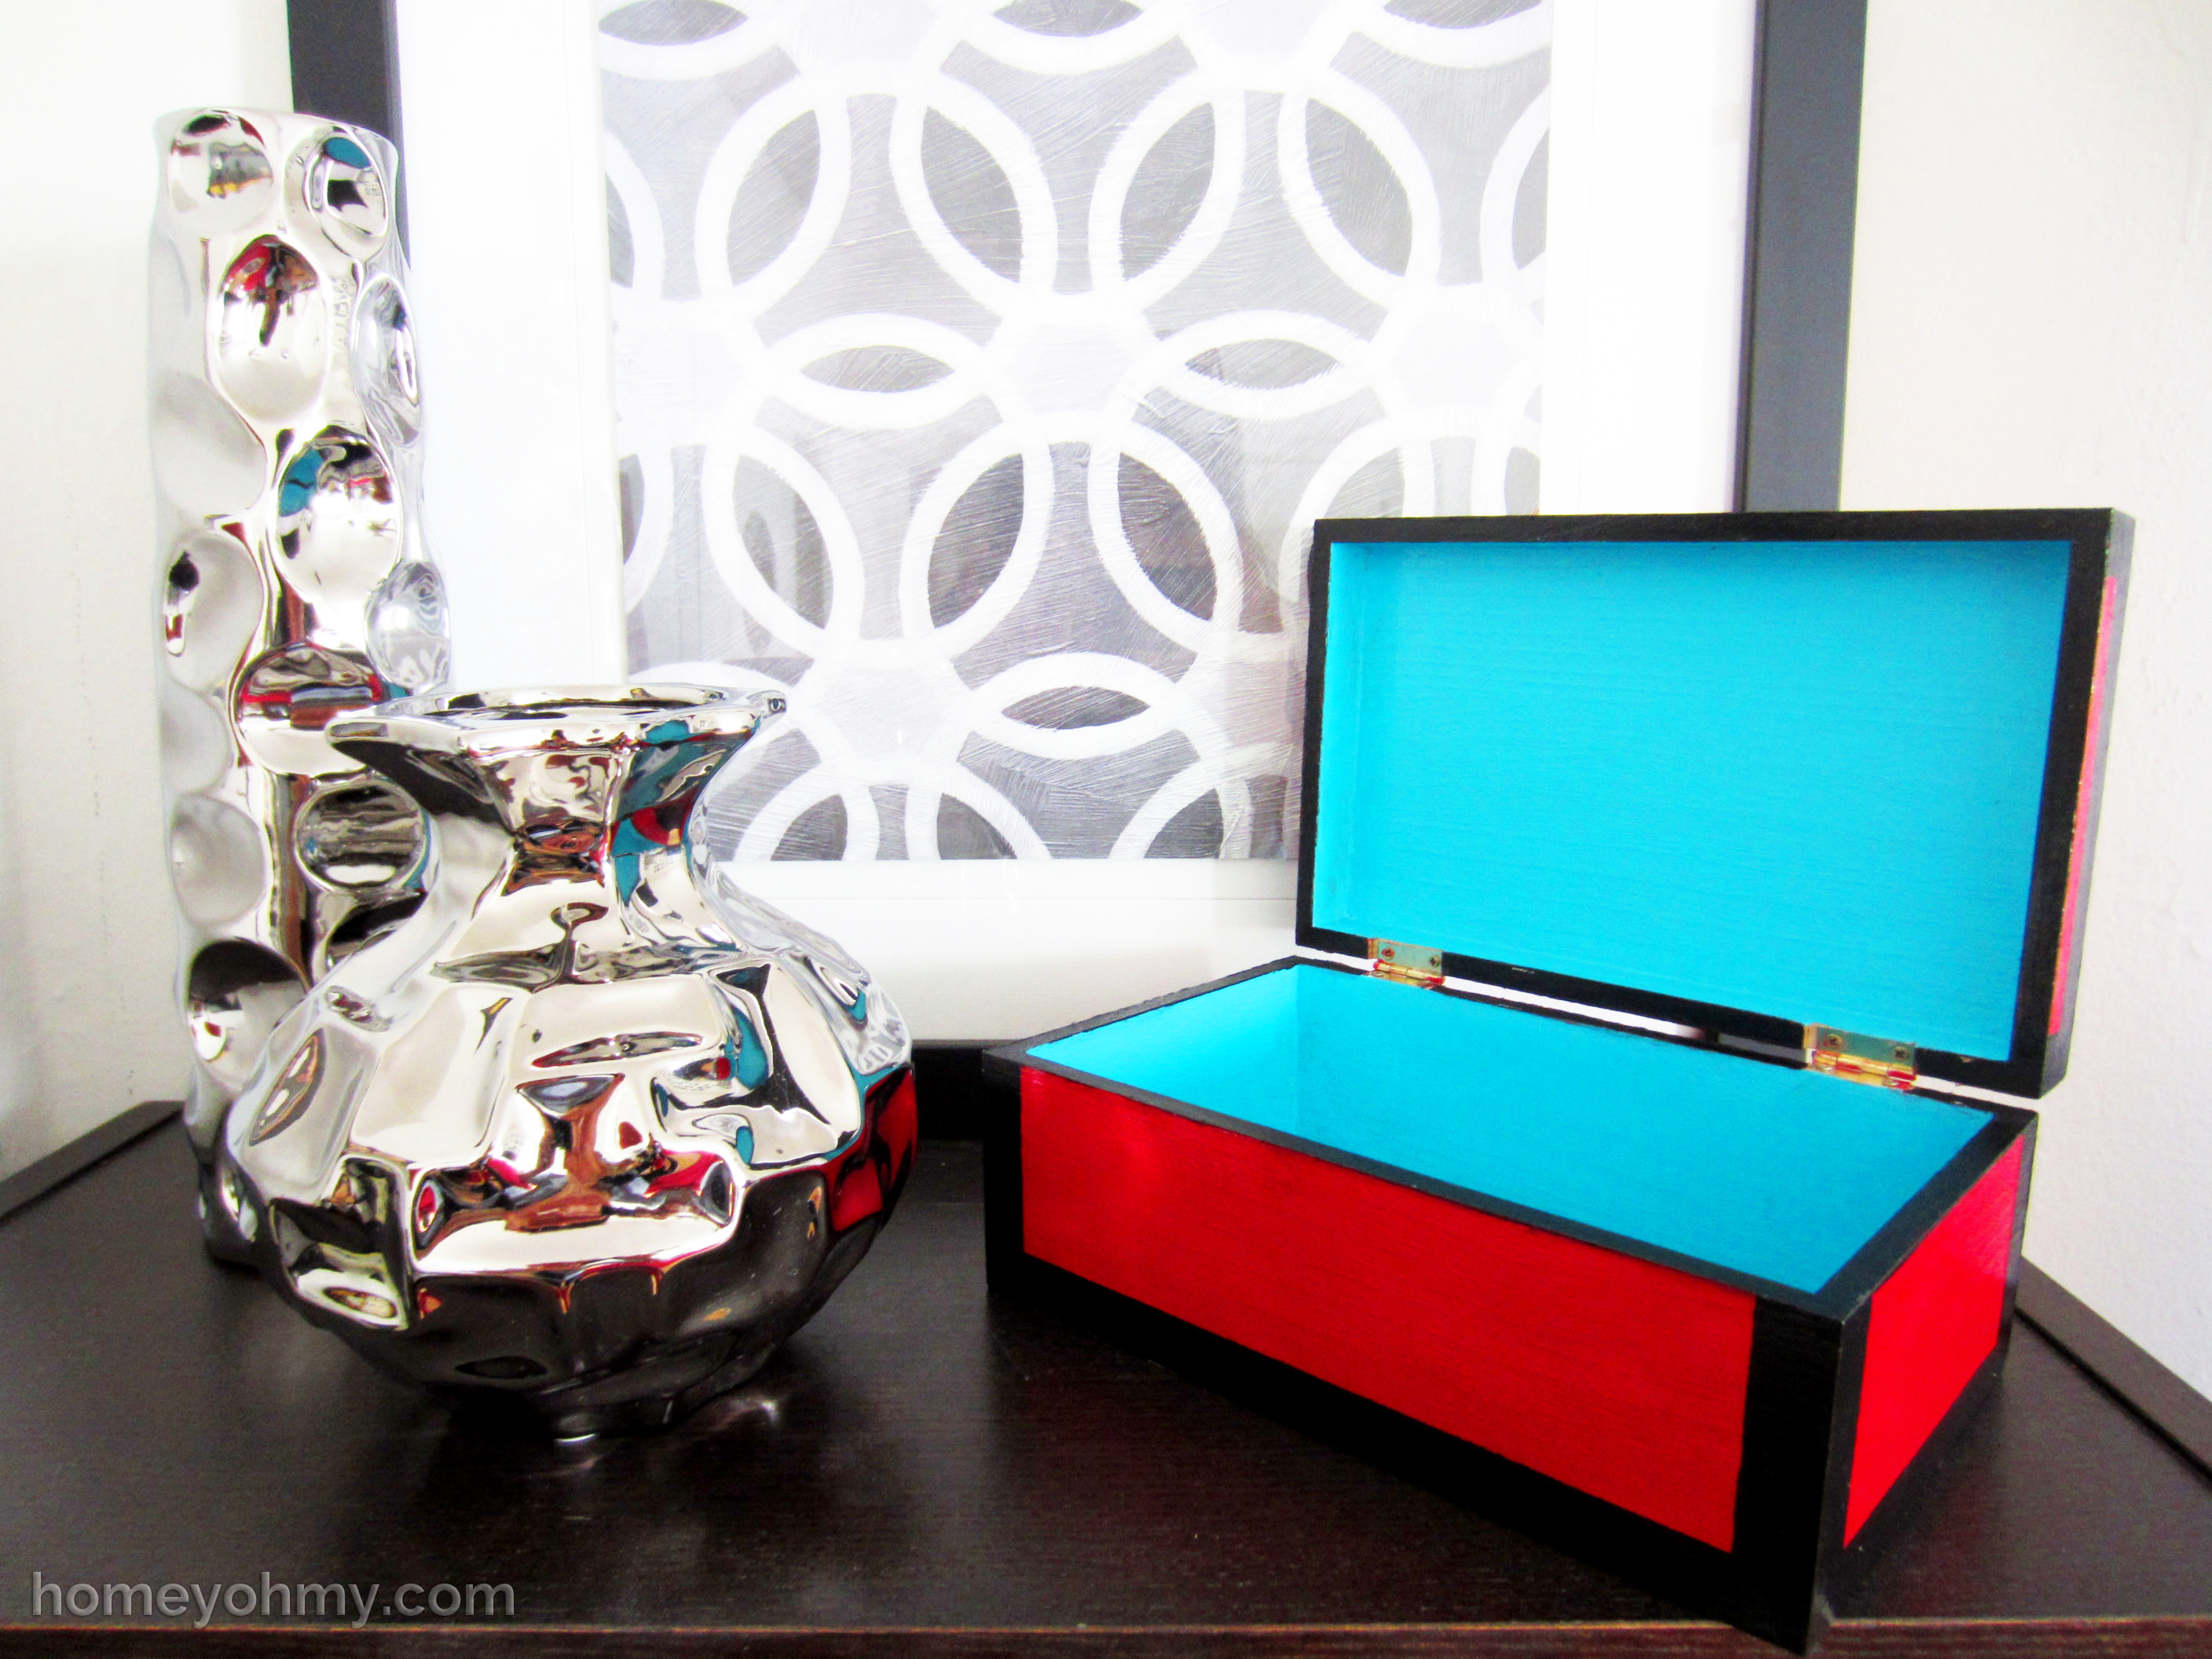
I LOVE how red and aqua/sky blue look together. They complement each other so well and I’m especially loving the blue color I chose. It’s so fresh and bright! It’s an unexpected surprise when you open the box.
What colors would you use for your lacquered box? Leave a comment to let me know!
Thank you for stopping by!


This post was featured on:


I love how the colors POP! Beautiful photographs too :) Are you using a dslr?
I LOVE what you have done. You should come show off your creativity starting at 8PM CST at Craft Frenzy Friday! http://obsessiveandcreative.blogspot.com/2013/09/craft-frenzy-friday-6.html It won’t be a party without you!
This is just amazing! Putting on my to-make list. Thanks!
Thank you so much for making this so simple. Now I know how to make a product I’ve always wanted too and without the guesswork/trial and error that has me making multiple trips to Michaels.