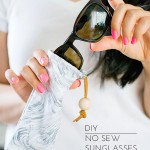
 I’m still on that grid pattern, guys. I’ve been spotting it everywhere, like when I was roaming around Instagram and saw a flat lay with a grid-patterned pouch in it. Since then I’ve been hunting for one, and you know how that goes… couldn’t find one I liked, yup, so now we gotta do this.
Before I potentially mislead you any further, I didn’t make the pouch itself. Learning to sew has yet again been pushed off. Eternally at this rate. So this is more of a tweak than a from scratch DIY. There are also probably cheaper pouches you can find, but this one I already had and was willing to risk ruining it (I didn’t, woohoo!)
Materials:
–white pouch
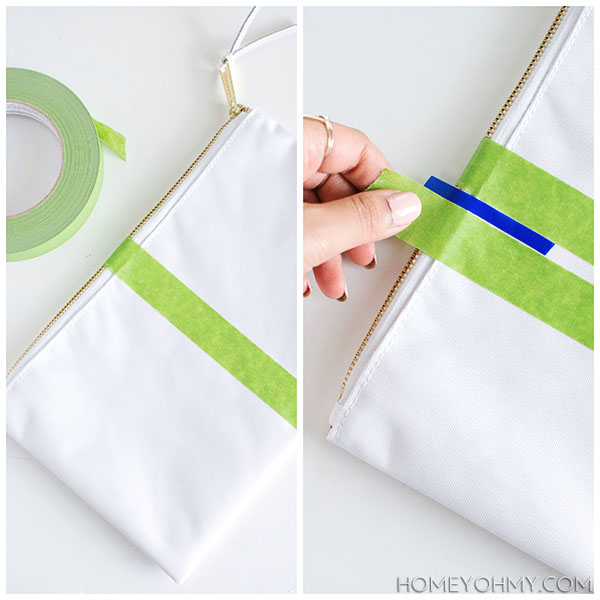
–frog tape
–1/4″ tape (optional)
–acrylic paint (whatever paint you use should indicate that it can be used on fabric, otherwise add fabric medium to it)
-flat head brush
 This is my first time using Frog Tape, and I wasn’t wildly impressed, meaning I think regular painters tape would’ve worked fine as well. Granted, the fabric on this pouch is pretty textured so it’s a difficult surface for creating flawless lines on. Still, the lines turned out pretty good, not perfect, but pretty darn good.
I started by taping one strip of tape down the center of the pouch, then laid down strips of tape adjacent to it by using the 1/4″ tape in between to evenly space them all across the pouch. I noted this specific tape I used as “optional” because it’s expensive and I only had it from being left over from other projects, so if I didn’t have it, I would have cut down a strip of Washi tape to roughly 1/4″ in width instead.
With every strip of Frog Tape, I reinforced all edges by running my fingernail firmly over them.
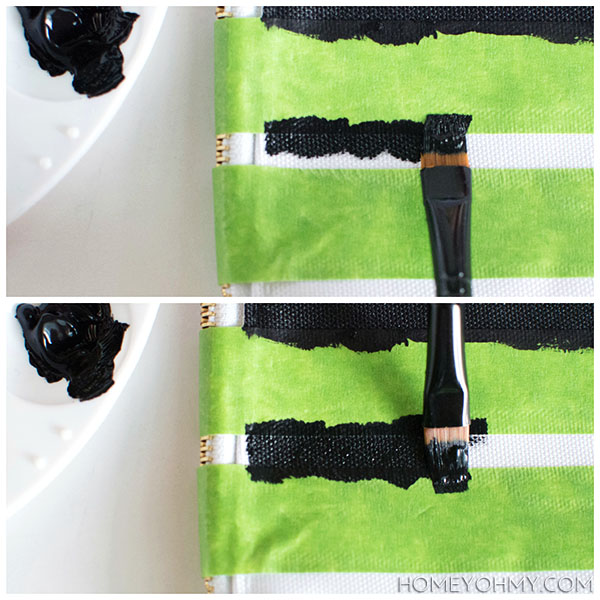 More important than the tape is the painting technique. All it is is brushing on the paint perpendicular to the tape to reduce the potential of paint getting swiped up under the tape. I did it along one edge of the tape, then down the adjacent edge, making the paint overlap in the center of the stripe.
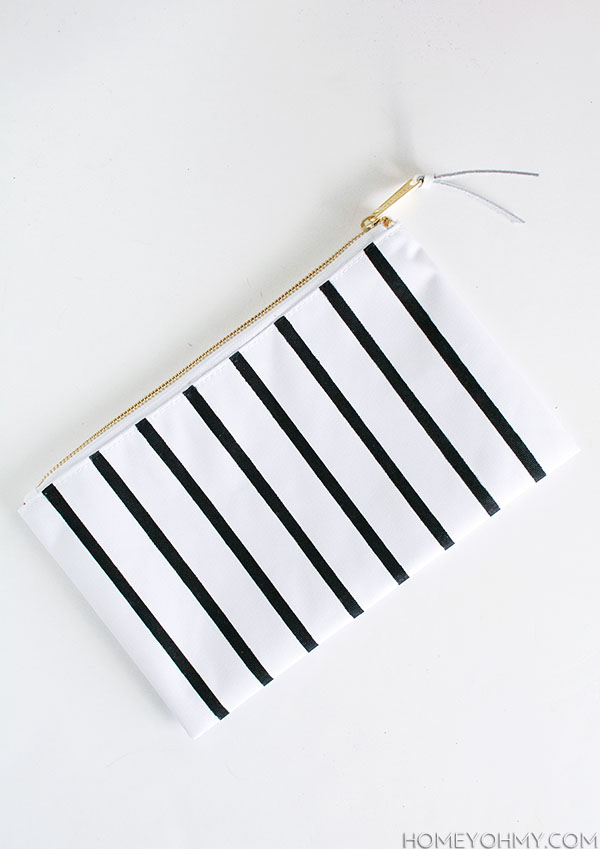 After removing the tape, the pouch looked like this, and I let the paint dry completely before continuing on to the next steps.
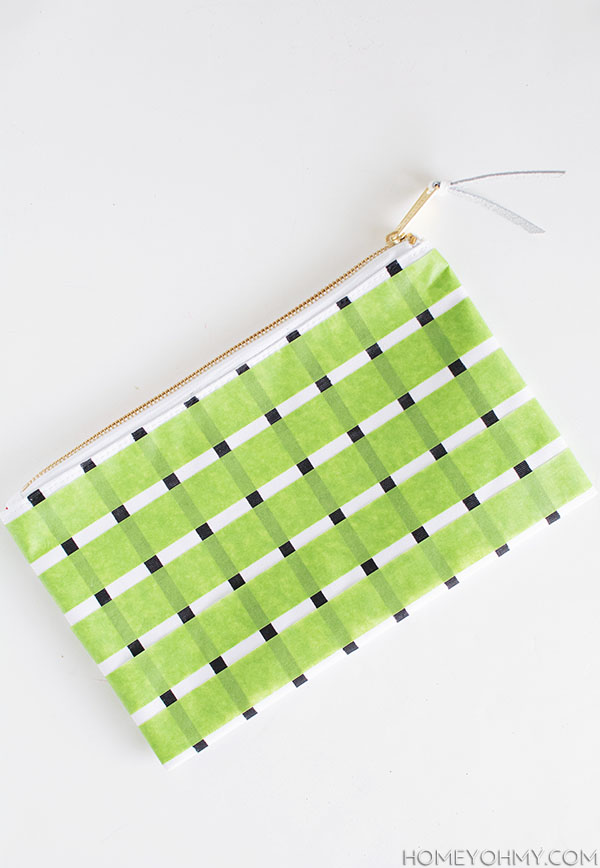 The next part is just repeating all previous steps, but perpendicular to the now dry stripes.
 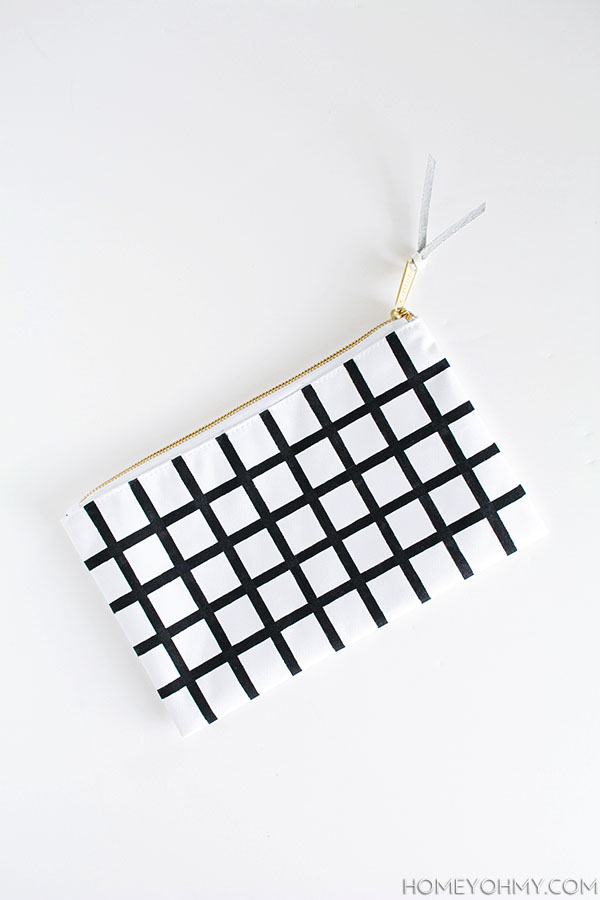 After peeling away the tape and savoring the satisfaction of revealing newborn clean lines, the pouch was good to go after drying.
 I only painted the design on one side of the pouch because I’m lazy I think that’s cool. It didn’t help that the other side had the brand logo patch stitched on it and I didn’t want to mess with painting around it, so one side was just fine with me!
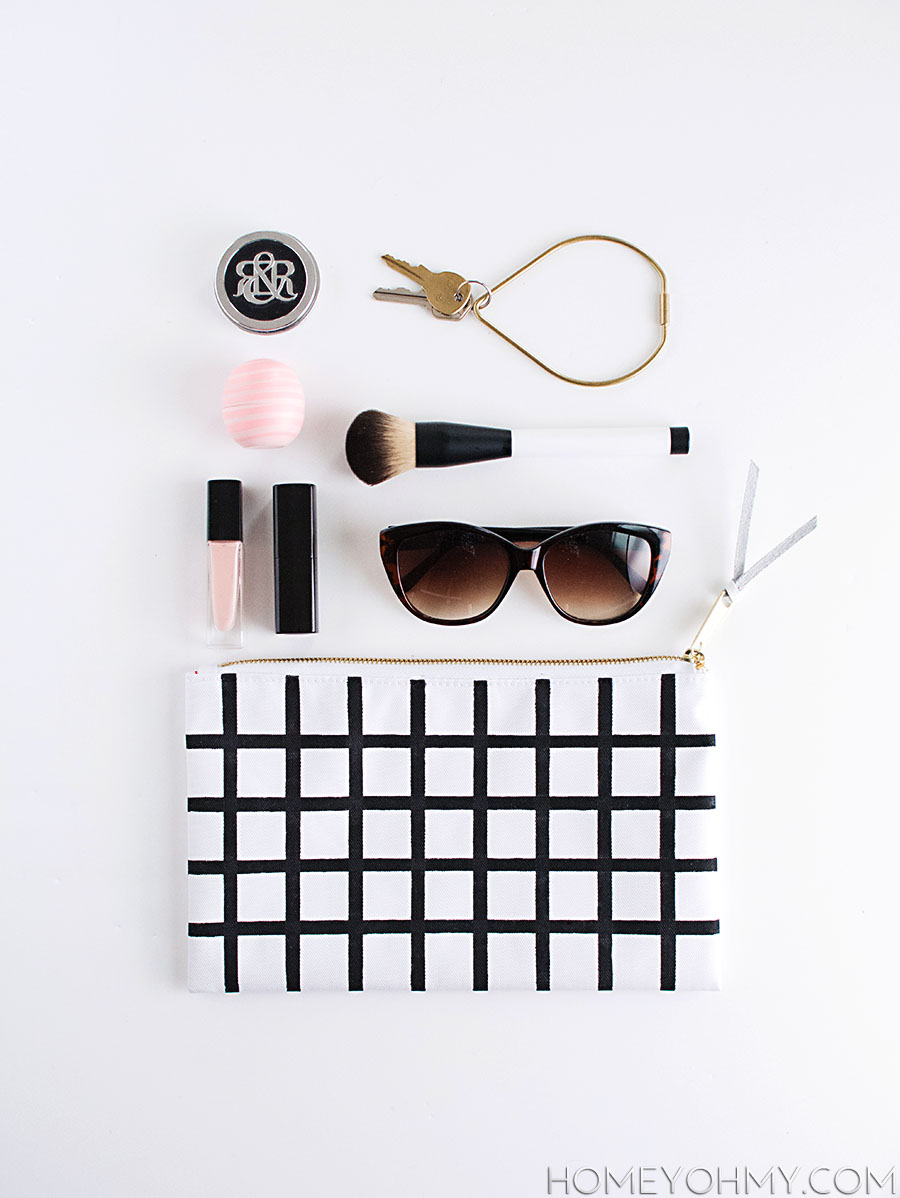
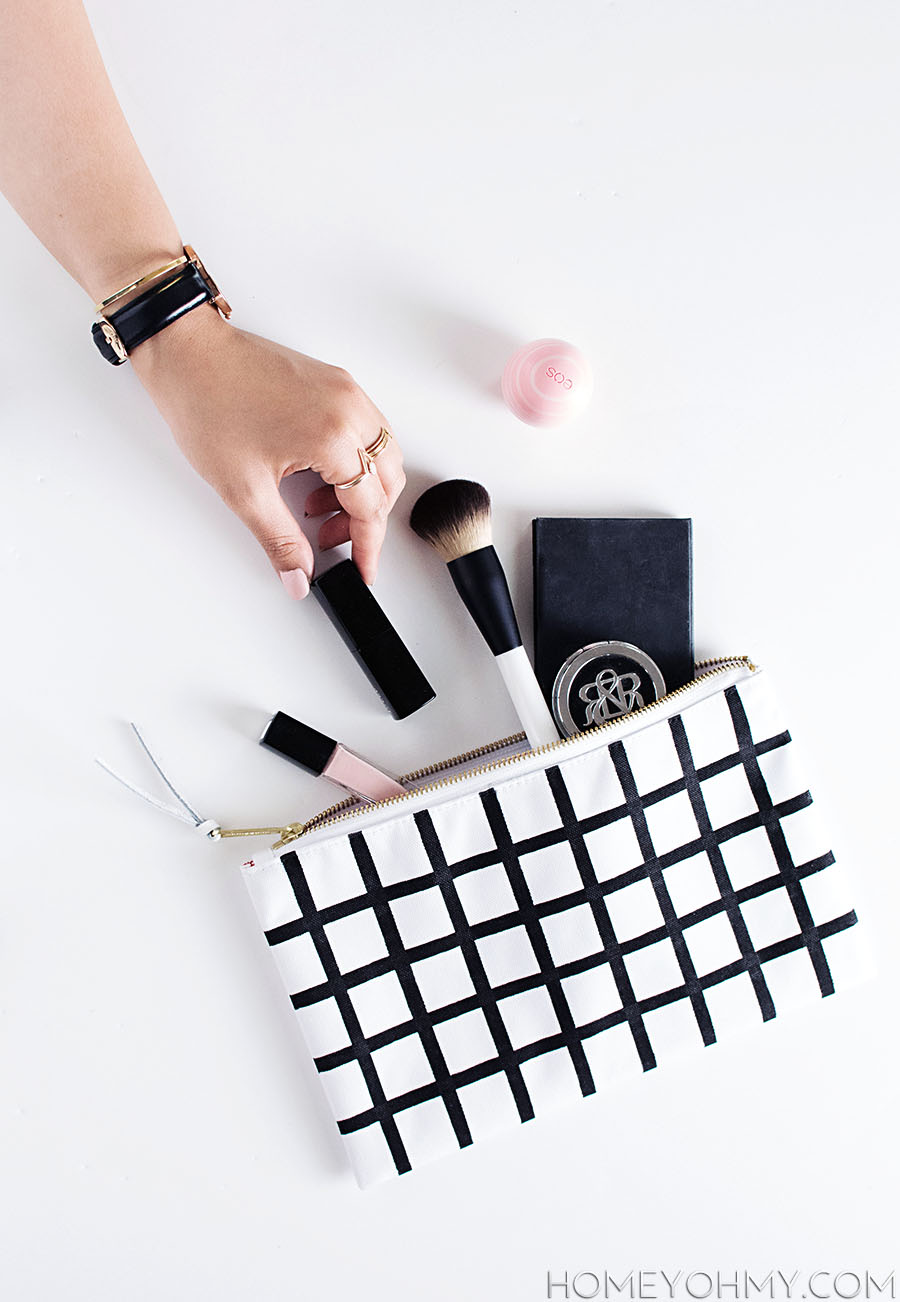 I plan on using this as an on-the-go makeup bag to hold whatever I need for the day and then throw it in my purse. Are you guys into beauty? I very much dig that stuff. If I talked about it around here now and then would you guys find that fun or no? Let me know!
So awesome, so chic… pinned!
Thank you so much, Maritza!
Hm.. , awesome… It doesn’t look like it is hand painted, that perfect. Awesome Sauce Amy – name changed again :-)
Thank you!! It definitely looks hand-painted in person, I swear ;)
I love this! I’ve been super into bold grid patterns like this lately too! There was a great clutch at Target that looked really similar to this, but when I went back to get it, of course it was gone. I may have to try this one out instead!
I think I know what you’re talking about! It was a hard case, right? I need a zipper hahaha. Really hope you give this a try, thank you Lizzie!
You say the lines didn’t turn out perfect, but I can’t tell that in the pictures. It turned out really well! I even like the halfway point where it’s just stripes, and I’m not usually a huge fan of stripes. I guess the monochrome won me over ;)
Yea, up-close you’d be able to see fuzzy edges, but from a normal distance they look fine and did turn out well. Thank you! Stripes would’ve been cute, too, but I prefer the grid, and monochrome always wins with me ;)
I’m still totally obsessed with the grid pattern too! Love this DIY :)
Thanks, Hannah! Yay for sharing obsessions <3.
Ugh, Amy! As usual your DIY’s are simply gorgeous. It looks great – I’d buy this at a store! Pinning.
Thank you thank you thank you. Buying in a store is the ultimate test in my eyes haha!
so cute! love this!
Thank you, Lauren!
Wow! It looks great! So going to make myself one! Thanks for sharing :)
Thank you, Alda! Hope you enjoy making one of your own <3
Adorable! I’m obsessed with pouches these days ;) I could see this same technique on a big white bag ;)
Thank you, Ursula! That’s a great idea. This really could be done on ANYTHING. I’m thinking the other option I probably would’ve gone with is a pillowcase!
It looks so good! I’m impressed that you painted it. I thought it must be tape or something at first glance.
I do love my tape! Honored to impress a master crafter such as yourself <3 Thanks, Alexis!
shut uppppp! This is amazing Amy! You’re the queen of the grid!
You are the best. Thanks, Rachel <3.
Amy, you just know how to speak to my modern loving heart.
Another black and white win! LOVE.
Let’s Mingle Blog
Haha yes girl, you definitely get me <3 Thank you!
Cooooool! I like it!!!
Thank you!
I love this—I’m also so into windowpane print on everything! :)
xx Hannah // TheCheapishly.com
Loved this diy sooo much I had to include it in my Modern Diy Projects to Try roundup! http://www.thebeautydojo.com/modern-diy-projects-to-try/
What a cute gift idea! And so easy to make!